Knitting Garments with Silver Reed
Introduction to Silver Reed Knitting Machines
Meet Your Knitting Machine
A knitting machine might look complex, but it's built around a few key parts working together. Think of it as a specialized tool designed to create fabric quickly and consistently. The Silver Reed machine, like most flatbed knitting machines, automates the process of creating stitches, turning a single strand of yarn into a cohesive textile.
At the heart of the machine are two main components: the needle bed and the carriage. Understanding how they interact is the key to getting started.
The Main Players
The needle bed is the long, flat foundation of the machine. It holds all the needles in parallel slots. Each needle is a tiny hook that can be selected to either grab yarn and knit, or be passed over. You can think of it as the stationary track where all the action happens.
The carriage is the part that moves. It slides back and forth along the needle bed. With each pass, the carriage moves the yarn across the needles, manipulating them to form a new row of stitches. It's the engine that drives the knitting process, translating your movement into fabric.
Together, they work like this: you thread yarn through the carriage, and as you push the carriage across the bed, it directs the yarn to the active needles, which then form the loops that create your knitted material.
Getting the Tension Right
Before the yarn reaches the carriage, it passes through the tension unit, which is typically mounted on a tall pole called the yarn mast. The tension unit does exactly what its name implies: it applies a specific amount of drag on the yarn.
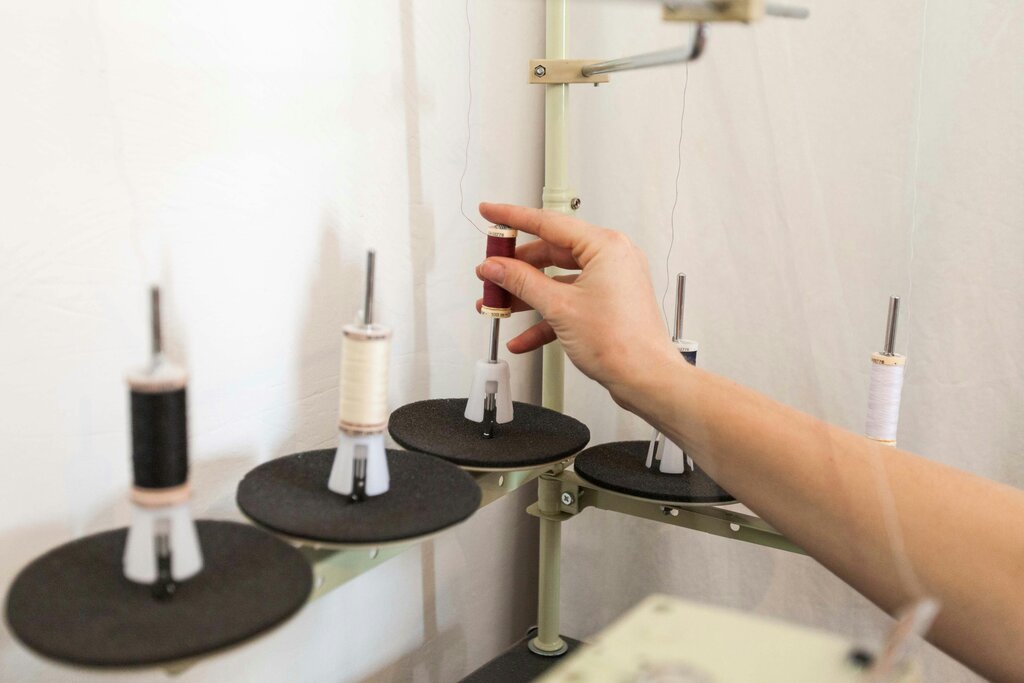
Why is this so important? The tension determines how loose or tight your stitches are. Too little tension and the stitches will be floppy and uneven. Too much, and the carriage will be hard to push and the fabric will be stiff and puckered.
Your machine's tension unit has a dial, usually numbered from 0 to 10. A lower number means less tension (looser stitches), while a higher number means more tension (tighter stitches). The right setting depends on the thickness of your yarn. A good starting point for a standard 4-ply yarn is often around 4 or 5. Always knit a small test swatch to check your tension before starting a large project.
A test swatch is never a waste of time. It's the best way to ensure your final piece will have the fabric quality and dimensions you want.
Keeping Your Machine Happy
A knitting machine is a mechanical device with many moving parts. Just like any machine, it needs a little care to run smoothly. The two most important maintenance tasks are cleaning and oiling.
Lint and dust from yarn can build up in the needle bed and carriage, causing needles to stick and the carriage to jam. After each project, use a soft brush (a nylon brush or even a clean paintbrush works well) to clear out any fluff from between the needles and inside the carriage's moving parts.
Regular oiling keeps the carriage gliding effortlessly. Use a high-quality, lightweight machine oil (specifically for knitting machines, if possible). Apply a thin line of oil along the metal rails of the needle bed where the carriage runs. A little goes a long way. After applying, slide the carriage back and forth a few times without yarn to distribute the oil evenly.
Now you've been introduced to the core components and functions of your machine. It's time to check your understanding.
What is the primary function of the carriage on a knitting machine?
If your knitting is coming out too stiff and puckered, what is the most likely cause?