JavaScript Fundamentals
JavaScript Environment Setup
Where JavaScript Lives
JavaScript is the engine that powers interactive web pages. While it was born in the browser to handle things like animations and form validations, its role has expanded dramatically. Today, JavaScript runs in two primary environments: the client-side (your web browser) and the server-side, thanks to environments like .
For frontend development, every modern web browser has a built-in JavaScript engine that executes code on the user's computer. This is what allows a website to react to clicks, update content without reloading, and create rich user experiences. We'll focus on this browser environment first, as it's the most direct way to start writing and running JavaScript.
Your First Playground The Console
The fastest way to experiment with JavaScript is using your browser's developer console. It's a built-in tool that provides a command-line interface to execute JavaScript directly within the context of the current web page. You can open it in most browsers by right-clicking anywhere on a page and selecting "Inspect," then navigating to the "Console" tab. On Windows/Linux, the shortcut is typically Ctrl+Shift+I, and on macOS, it's Cmd+Option+I.
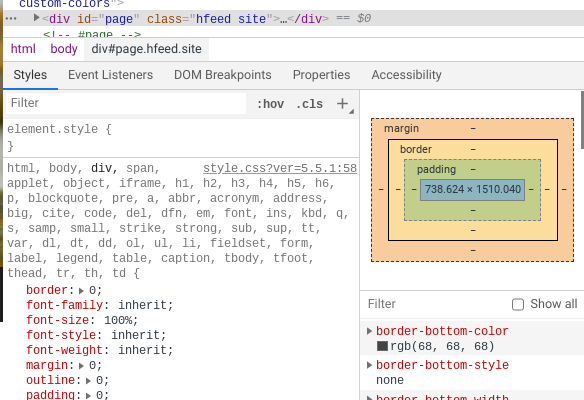
The console is perfect for testing single lines of code, debugging, or inspecting objects. Let's try a classic.
console.log('Hello from the console!');
Type that into the console and press Enter. You'll see the string Hello from the console! printed back to you. While the console is an invaluable tool for quick tests, real applications require code that's saved in files and loaded by the browser.
Connecting JavaScript to a Web Page
To make JavaScript part of a website, you need to include it in an HTML document. This is done using the tag. It tells the browser that the content inside it (or linked by it) is executable code, not plain text to be displayed on the page.
There are two primary methods for including JavaScript: writing it directly inside the HTML file (inline script) or linking to a separate .js file (external script).
For any code beyond a few simple lines, using an external file is the standard best practice. It keeps your content (HTML), presentation (CSS), and logic (JavaScript) separate, which makes your project much easier to manage and debug.
First, let's look at an inline script. This is useful for very small, page-specific snippets. The JavaScript code is placed directly between the opening <script> and closing </script> tags.
<!DOCTYPE html>
<html lang="en">
<head>
  <title>Inline Script</title>
</head>
<body>
  <h1>My Page</h1>
  <script>
    alert('Hello from an inline script!');
  </script>
</body>
</html>
If you save this as an HTML file and open it in your browser, a pop-up alert box will appear. Now for the preferred method: an external script. This approach involves creating two files.
| File Name | Purpose |
|---|---|
index.html | Contains the structure of your page. |
app.js | Contains all your JavaScript logic. |
First, your JavaScript file, app.js:
// app.js

console.log('Hello from an external file!');

document.body.style.backgroundColor = 'lightblue';
Next, your HTML file connects to this script using the src (source) attribute in the <script> tag. It's common practice to place script tags just before the closing </body> tag. This ensures that the HTML content is parsed and rendered by the browser before it has to execute any JavaScript, which can improve the perceived loading speed of your page.
<!DOCTYPE html>
<html lang="en">
<head>
  <title>External Script</title>
</head>
<body>
  <h1>Welcome to my website!</h1>

  <script src="app.js"></script>
</body>
</html>
When you open index.html in your browser, you won't see an alert. Instead, the page's background will turn light blue, and if you open the developer console, you'll see the message logged from your external file. You now have the fundamental setup for building any web application.