iPhone Cinematography Masterclass
Introduction to iPhone Cinematography
Your Pocket Film Studio
Not long ago, shooting a high-quality video required a dedicated camera, multiple lenses, and a hefty budget. Today, the powerful device in your pocket is a capable film studio. The camera in your iPhone has evolved from a simple tool for snapshots into a sophisticated system that can capture stunning, cinematic footage.
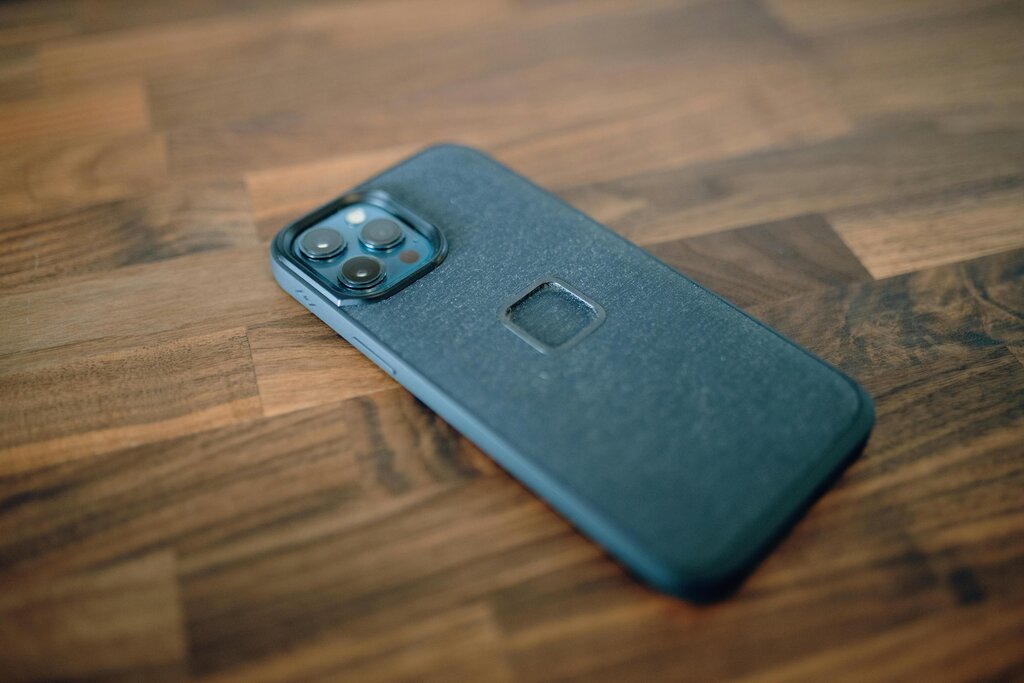
This shift to mobile filmmaking has several key advantages. The biggest is accessibility. You almost always have your phone with you, making it easy to capture spontaneous moments or planned scenes without lugging around heavy gear. It’s also discreet, allowing you to film in situations where a large camera might be disruptive.
Finally, it’s incredibly cost-effective. While professional camera equipment can cost thousands of dollars, you can start creating high-quality videos with the device you already own.
Know Your Camera
Before you start adding accessories, it’s crucial to understand the tool you already have. Your iPhone’s native Camera app offers more control than you might think. When you open it to video mode, take a moment to look around.
Two of the most important controls are focus and exposure. Your camera is smart and will try to adjust these automatically, but for a more professional look, you'll want to take manual control. Simply tap on your subject on the screen to set the focus point. You'll see a yellow box appear, and a sun icon next to it. You can drag that sun icon up or down to adjust the brightness (exposure) of your shot.
To lock your focus and exposure, tap and hold on your subject until you see “AE/AF LOCK” appear at the top of the screen. This prevents the camera from distractingly shifting focus or brightness while you're recording.
You can also change your video's resolution and frame rate. In your iPhone's main settings, under Camera > Record Video, you'll find options like 4K at 24 fps or 1080p at 60 fps. What do these mean?
- Resolution is the level of detail (e.g., 4K is higher detail than 1080p).
- Frame Rate (fps) is the number of individual images captured per second. 24 fps is the standard for a cinematic, movie-like look. 30 fps is common for standard video. 60 fps or higher is great for capturing smooth slow-motion footage.
Gear Up
While your iPhone is powerful on its own, a few key accessories can dramatically improve the quality of your videos. You don't need everything at once, but understanding what's available is the first step.
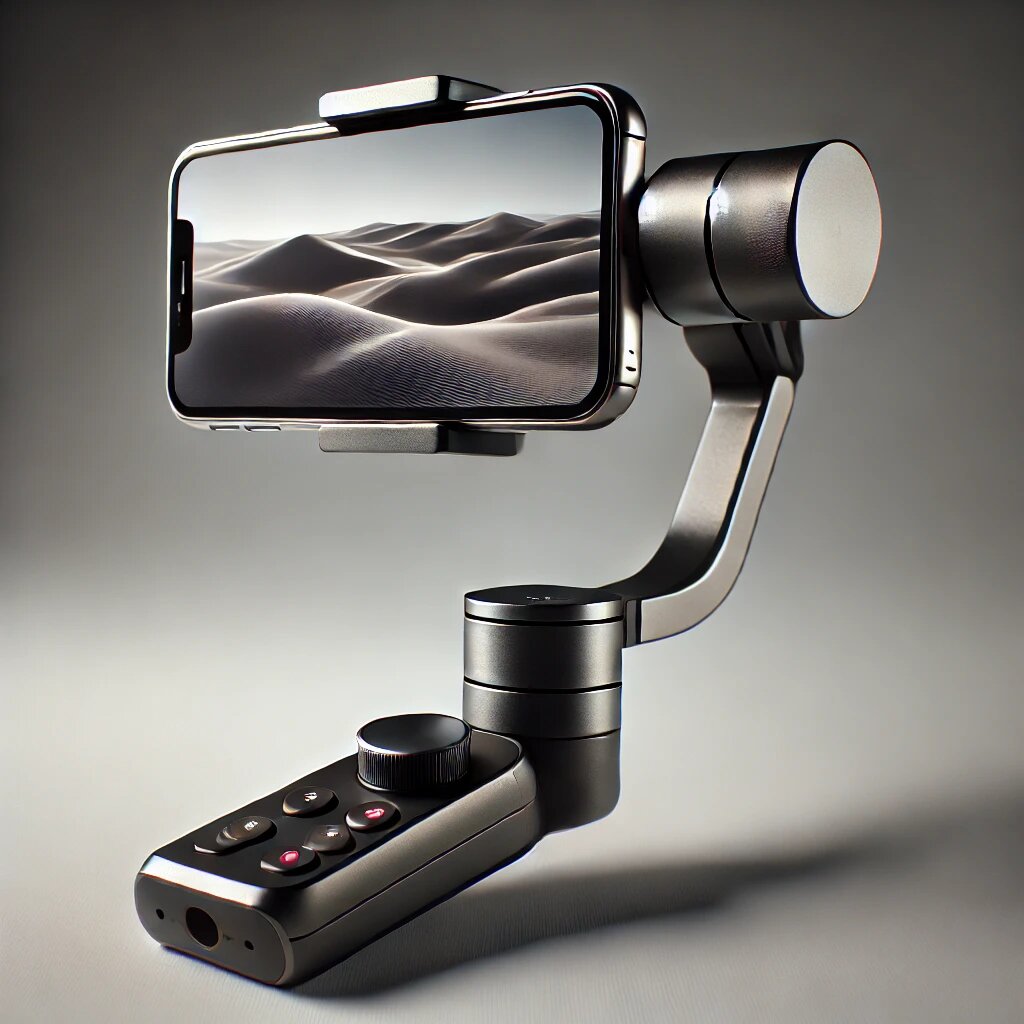
First, think about stability. Shaky footage is a clear sign of amateur video. The easiest way to fix this is with a tripod. A small, portable tripod can help you lock down your shots for steady, professional-looking scenes. For shots where you need to move the camera, a stabilizer or gimbal is your best friend. These devices use motors and sensors to counteract your movements, resulting in incredibly smooth, gliding shots.
Next, consider your audio. The built-in microphone on your iPhone is designed to pick up sound from all directions, which means it also picks up unwanted background noise. An external microphone is one of the most important investments you can make. A simple lavalier (or lapel) mic that clips onto your subject's shirt will capture clear dialogue, while a shotgun mic can be pointed directly at your sound source to isolate it from the environment.
There’s now a whole host of kit out there for the budding smartphone moviemaker: tripods, lenses (such as the Olloclip), microphones and more besides.
Finally, you can even expand your creative options with add-on lenses. These clip-on lenses can give you different fields of view, such as a wide-angle for capturing more of the scene or a telephoto lens for zooming in on distant subjects. While not essential to start, they open up a new world of visual possibilities.
Understanding these fundamentals gives you a solid base. You know the power of the camera in your hand and the basic gear that can take your videos to the next level.