Introduction to Three.js
Introduction to Three.js
3D in Your Browser
Web pages are typically flat, two-dimensional spaces. But what if you could create and interact with 3D objects right inside your browser? That's where Three.js comes in. It's a JavaScript library that makes it surprisingly simple to create and display 3D graphics using a technology called WebGL, which is built into all modern browsers.
Think of it as a toolkit that gives you the building blocks for 3D worlds. Instead of manually calculating complex perspective and lighting, you can use Three.js to define objects, set up a camera, and render the result to the screen. It handles the heavy lifting, so you can focus on creativity.
The Three Core Components
To create anything in Three.js, you need three essential things. Imagine you're a film director. You need a set for your actors, a camera to film them, and a way to get the final movie onto the screen.
In Three.js, this translates to:
- A Scene: The stage where all your objects, lights, and cameras live.
- A Camera: The viewer's eye, determining what part of the scene is visible.
- A Renderer: The engine that draws the camera's view onto the web page.
These three components are the foundation of every Three.js project. You create a scene, place a camera within it, and tell a renderer to draw what the camera sees.
Setting Up the Page
First, you need a basic HTML file. This file will be the container for your 3D canvas. We'll import Three.js using a <script> tag. For simplicity, we'll use a popular CDN (Content Delivery Network) to grab the library, so you don't have to download anything.
<!DOCTYPE html>
<html>
	<head>
		<title>My first Three.js app</title>
		<style>
			body { margin: 0; }
			canvas { display: block; }
		</style>
	</head>
	<body>
		<script type="module">
			// Our JavaScript will go here
		</script>
	</body>
</html>
Notice the type="module" in the script tag. This is important as it allows us to import the Three.js library directly in our script.
Now, let's write the JavaScript to create our scene. We'll start by importing the Three.js library and then initializing our three core components.
import * as THREE from 'https://unpkg.com/three@0.126.1/build/three.module.js';

// 1. Create the Scene
const scene = new THREE.Scene();

// 2. Create the Camera
const camera = new THREE.PerspectiveCamera( 75, window.innerWidth / window.innerHeight, 0.1, 1000 );

// 3. Create the Renderer
const renderer = new THREE.WebGLRenderer();
renderer.setSize( window.innerWidth, window.innerHeight );
document.body.appendChild( renderer.domElement );

// Position the camera
camera.position.z = 5;
Let's break that down.
First, we create a Scene. This is straightforward; it's just an empty container waiting for objects.
Next is the PerspectiveCamera. This is the most common camera type, designed to mimic how the human eye sees. It takes four arguments:
- Field of View (FOV): How wide the camera's lens is, in degrees. A bigger number means a wider, more fish-eye view.
- Aspect Ratio: The width of the view divided by the height. We use the browser window's dimensions to avoid distortion.
- Near clipping plane: How close an object can be before it's not rendered.
- Far clipping plane: How far away an object can be before it disappears.
Finally, we create the WebGLRenderer. This is the workhorse that draws everything. We tell it what size to render our scene (the full window size) and then add its output, a <canvas> element, to our HTML document.
Adding an Object
An empty scene isn't very interesting. Let's add a cube. In Three.js, an object that you can see is called a Mesh. A mesh is a combination of two things: a Geometry (the shape) and a Material (the skin or appearance).
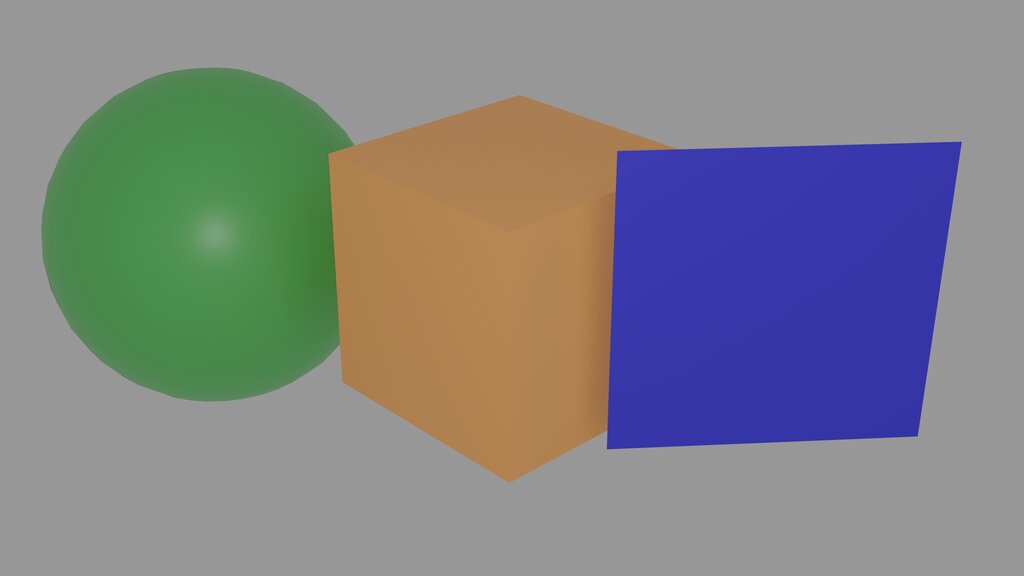
We'll create a BoxGeometry for the shape and a simple MeshBasicMaterial for the surface. A basic material doesn't react to light, making it great for getting started. Then we combine them into a Mesh and add it to our scene.
// Create the cube's shape (geometry)
const geometry = new THREE.BoxGeometry();

// Create the cube's appearance (material)
const material = new THREE.MeshBasicMaterial( { color: 0x00ff00 } );

// Combine them into a mesh
const cube = new THREE.Mesh( geometry, material );

// Add the cube to the scene
scene.add( cube );
If you run this code, you still won't see anything. Why? Because we've set up the scene, but we haven't told the renderer to actually draw it yet.
The Render Loop
To make our scene appear, we need to tell the renderer to draw it. For animations or interactive scenes, you don't just want to draw it once. You want to draw it over and over, on every screen refresh. This is called a render loop or an animation loop.
function animate() {
	requestAnimationFrame( animate );

	// Rotate the cube each frame
	cube.rotation.x += 0.01;
	cube.rotation.y += 0.01;

	renderer.render( scene, camera );
}

// Start the loop
animate();
The requestAnimationFrame() function is a special browser feature that creates a smooth, efficient loop for animations. Inside our animate function, we do three things:
- Schedule the next frame to be drawn.
- Update our objects. Here, we're slightly rotating our cube on its X and Y axes.
- Finally, we call
renderer.render(scene, camera), which tells the renderer to draw the current state of our scene from the perspective of our camera.
And with that, you have a rotating green cube in your browser! You've taken the first step into the world of 3D web graphics.
Time to check your understanding of these foundational pieces.
In Three.js, a Mesh object, which represents something you can see on the screen, is a combination of which two things?
What are the three fundamental components required to display anything in a Three.js application?
You've now got the basic structure for any Three.js project. From here, you can explore different geometries, materials, lights, and user interactions to build complex and beautiful 3D experiences.