Introduction to Studio Photography
Camera Settings
The Four Pillars of Exposure
Studio photography is all about control. You control the light, the subject, and the background. But the most important control starts with your camera. Four settings work together to determine how your final image will look: aperture, shutter speed, ISO, and white balance. Think of them as the four pillars that support every photo you take. Let's break down what each one does.
Aperture and Depth of Field
Aperture is the opening inside your lens that lets light pass through to the camera's sensor. It works just like the pupil of your eye, widening in the dark to let more light in and shrinking in bright conditions.
Aperture is measured in “f-stops,” written as f/1.8, f/4, f/8, and so on. This is where it gets a little counterintuitive: a small f-number (like f/1.8) means a large opening, which lets in a lot of light. A large f-number (like f/16) means a small opening, letting in less light.
Small f-number = large opening = more light = shallow depth of field. Large f-number = small opening = less light = deep depth of field.
But aperture does more than just control brightness. It also determines your depth of field—how much of your image is in sharp focus from front to back.
A large aperture (small f-number) creates a shallow depth of field. This is perfect for portraits, as it makes your subject pop by blurring the background. A small aperture (large f-number) creates a deep depth of field, keeping everything from the foreground to the background sharp. This is ideal for product photography or group shots where you want every detail to be clear.
Shutter Speed and Motion
Shutter speed is the length of time your camera's sensor is exposed to light. It’s measured in seconds or, more commonly, fractions of a second (like 1/60s, 1/250s, or 1/1000s).
A fast shutter speed freezes motion, which is great for capturing a crisp, clear shot of a moving subject. A slow shutter speed will blur any movement, which can be used for creative effects but is usually avoided in studio portrait or product work.
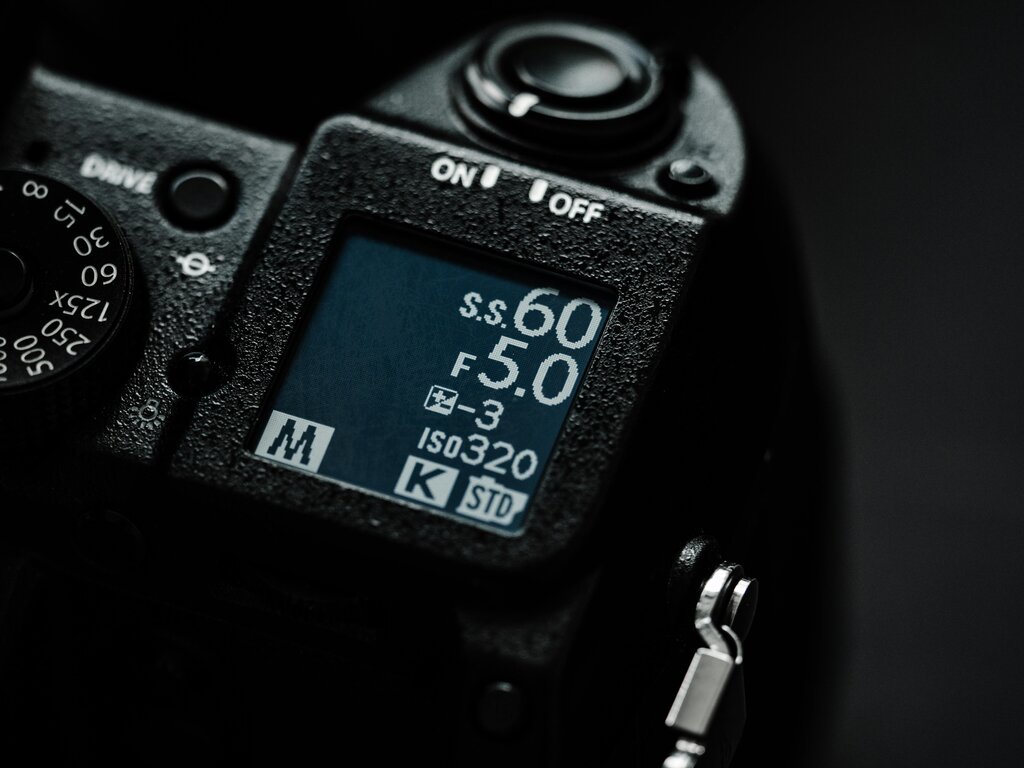
In a studio, you're typically using flashes or strobes. These produce a very short, intense burst of light. Your main job with shutter speed is to make sure it's synchronized with your flash. This is called the "flash sync speed," and it's usually around 1/200s or 1/250s for most cameras. Setting your shutter speed at or below this value ensures the entire sensor is exposed at the exact moment the flash fires. Going above it can result in a partially black photo.
ISO and Sensitivity
ISO measures the sensitivity of your camera's sensor to light. A low ISO (like 100 or 200) means the sensor is less sensitive, requiring more light to create a proper exposure. A high ISO (like 1600 or 3200) makes the sensor more sensitive, so it needs less light.
So why not just use a high ISO all the time? There's a trade-off: higher ISO settings introduce digital noise, which looks like a grainy or speckled texture in your image. It reduces the overall quality and clarity.
Low ISO = Less sensitive = Cleaner image. High ISO = More sensitive = Grainy image (noise).
In a studio, you control the lighting. Because you can add as much light as you need with strobes, you should almost always use the lowest native ISO your camera offers, typically ISO 100. This will give you the cleanest, highest-quality image possible.
White Balance for True Colors
Different light sources have different color temperatures. Sunlight is cool and blueish, while a tungsten bulb is warm and orange. Your brain automatically corrects for this, but your camera needs to be told what “true white” looks like in a given scene. This is what white balance (WB) does.
While cameras have an Auto White Balance (AWB) setting, it can be fooled by studio lights or colored backgrounds. In a controlled studio environment, you want consistent and accurate colors. Many studio strobes have a color temperature similar to daylight. Setting your camera's white balance to the "Flash" preset is a great starting point. For even more accuracy, you can use a custom white balance setting by taking a picture of a gray card under your studio lights.
| Preset | Light Source | Color Cast |
|---|---|---|
| Auto | Camera decides | Varies |
| Daylight | Direct sunlight | Neutral |
| Flash | Studio strobes, on-camera flash | Slightly warm |
| Tungsten | Incandescent bulbs | Cools down orange light |
| Fluorescent | Fluorescent tubes | Warms up cool light |
By mastering these four settings, you take full command of your camera. You're no longer just taking a picture; you're intentionally crafting an image.
You are taking a studio portrait and want to make your subject stand out with a soft, blurry background. Which aperture setting is best suited for this goal?
When using studio strobes, setting your shutter speed faster than the camera's flash sync speed will likely result in a partially black photograph.