Introduction to Pottery
Clay Preparation
Getting Your Clay Ready
Before you can shape a beautiful pot or sculpture, you have to prepare your material. Think of it like a chef prepping ingredients before cooking. Properly prepared clay is workable, consistent, and free of surprises that could ruin your piece later on. This foundational step makes everything that follows—the shaping, drying, and firing—go much more smoothly.
Choosing Your Clay
Clay isn't just mud. It's a specific type of earth with unique properties that allow it to be shaped and then fired into a hard, permanent form. There are three main categories of clay that potters use, each with its own characteristics.
| Clay Type | Firing Temperature | Porosity (Waterproof?) | Best For... |
|---|---|---|---|
| Earthenware | Low (1745-2012°F) | Porous unless glazed | Terra cotta pots, decorative tiles |
| Stoneware | Medium-High (2100-2372°F) | Not porous (vitrified) | Mugs, plates, everyday dishes |
| Porcelain | High (2300-2455°F) | Not porous (vitrified) | Fine art, delicate dinnerware |
Earthenware is famous for its reddish-brown color, like classic terra cotta pots. It's easy to work with but remains porous after firing, so it needs a glaze to hold water.
Stoneware is a fantastic all-arounder and a popular choice for beginners. It becomes strong and waterproof when fired, making it perfect for functional items like mugs and bowls. It often has a slightly gritty, or "toothy," texture.
Porcelain is known for its pure white color and smooth, delicate feel. It can be tricky to work with because it's less forgiving than other clays, but it produces stunning, almost translucent results.
The Art of Wedging
Once you have your clay, you can't just start building with it. You need to wedge it first. Wedging is a process of kneading the clay to achieve two critical goals: removing air bubbles and ensuring a uniform consistency.
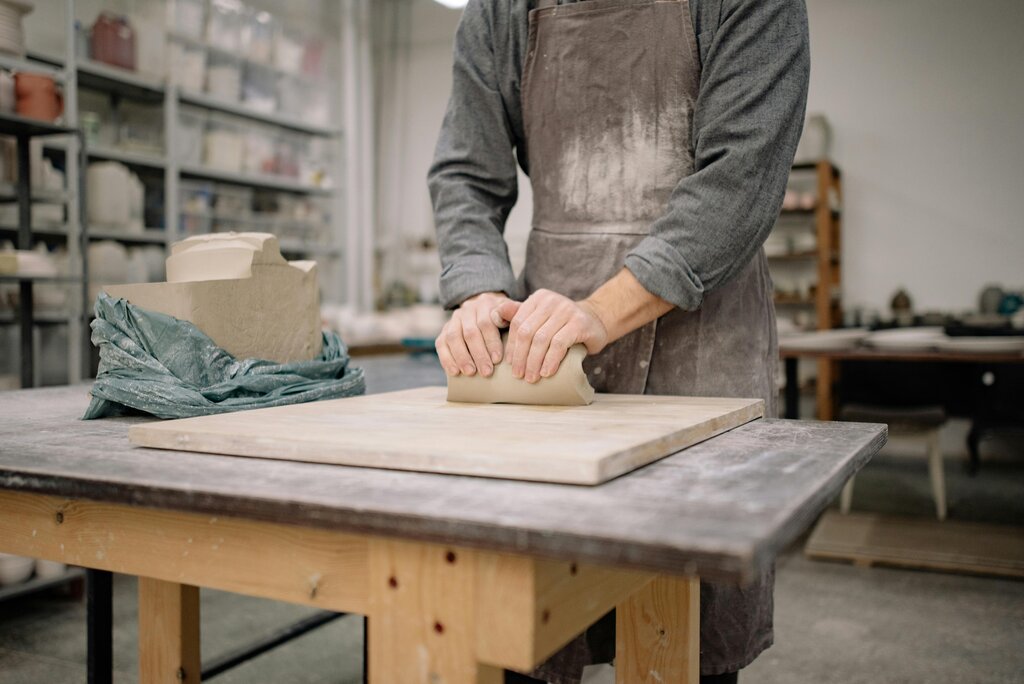
Why does this matter? Trapped air bubbles expand when heated in the kiln and can cause your piece to crack or even explode. An even consistency makes the clay easier to shape, whether you're throwing it on a wheel or building by hand.
A common technique is the ram's head method. You push down and away on the clay with the heels of your hands, then rock it back toward you, rotating it slightly. Repeating this motion folds the clay into itself, creating a shape that looks like a ram's head with curling horns. After about 50-100 repetitions, the clay should feel smooth and consistent.
The goal: a uniform, air-free lump of clay that's ready to be shaped.
Nothing Goes to Waste
One of the best things about working with clay is that almost nothing is wasted. Any dried trimmings, leftover pieces, or projects that didn't quite work out can be recycled and used again. This reclaimed clay is often called "reclaim."
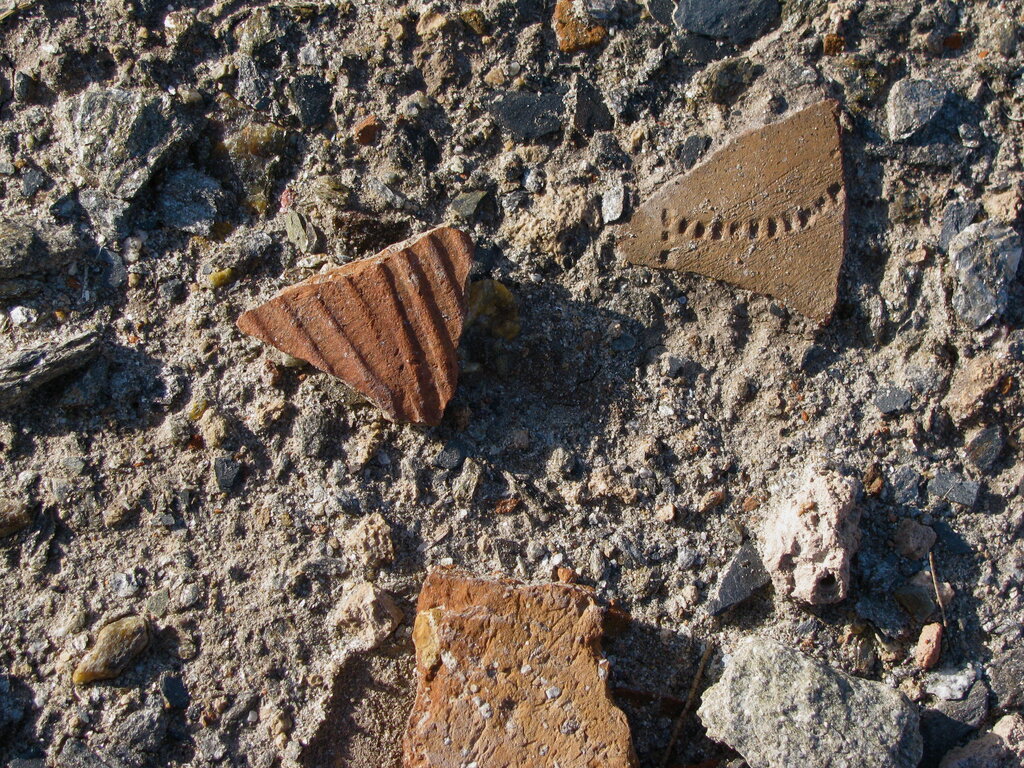
The process is simple. First, let your scrap clay dry out completely until it's brittle, or "bone-dry." Then, break it into small pieces and cover them with water in a bucket. The clay will slake down, breaking apart into a thick slurry at the bottom.
Once the clay is fully broken down, pour off any excess water from the top. Then, pour the clay slurry onto a plaster slab or a tightly-woven canvas surface. The plaster or canvas will absorb the extra moisture. Over the next few hours or days, the clay will slowly dry until it reaches a workable, plastic consistency again. From there, you just need to wedge it, and it's ready for a new project.
Now that you know how to choose and prepare your clay, you're ready to start creating. This preparation is the first, essential step on your pottery journey.