Introduction to Piano Playing
Piano Basics
Setting the Stage
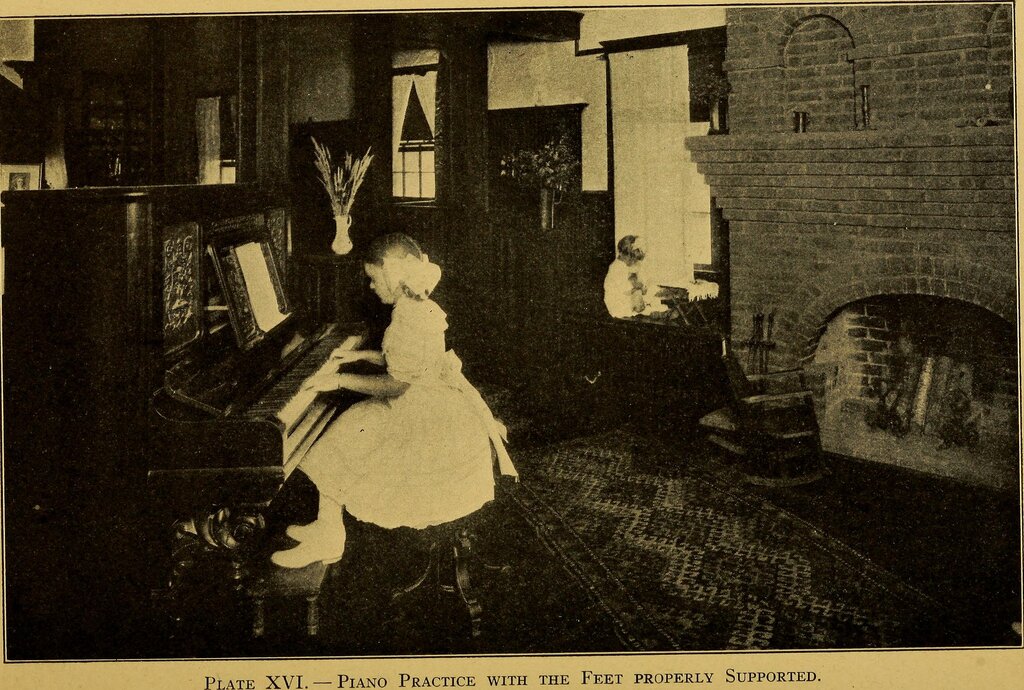
Before you play a single note, how you sit at the piano matters. Good posture isn't just about looking professional; it's the foundation for everything else. It allows you to play comfortably for longer periods, use your arm weight effectively, and avoid strain or injury.
One of the most important fundamental ideas when playing the piano is posture.
Start by sitting on the front half of the piano bench. This gives you stability while allowing your legs to move freely. Your bench should be far enough from the piano that your elbows are slightly in front of your body when your fingers touch the keys. A good rule of thumb is that you should be able to stand up easily without the bench getting in your way.
Adjust the height so your forearms are parallel to the floor. If your wrists have to bend up or down to reach the keys, the bench is at the wrong height. Finally, plant your feet flat on the floor, about shoulder-width apart. They are your anchors. If your feet can't reach, use a small footstool for support.
Hand and Wrist Position
With your posture set, let's look at your hands. Your arms, wrists, and hands should work together as a single, relaxed unit. Let your arms hang loosely at your sides, then bring them up to the keyboard, keeping your shoulders down and relaxed. Avoid any tension in your neck or shoulders.
Your wrists should be level, forming a straight line from your elbow to your knuckles. Don't let them sag down or bend sharply upwards. This neutral position allows for maximum flexibility and power without straining your tendons.
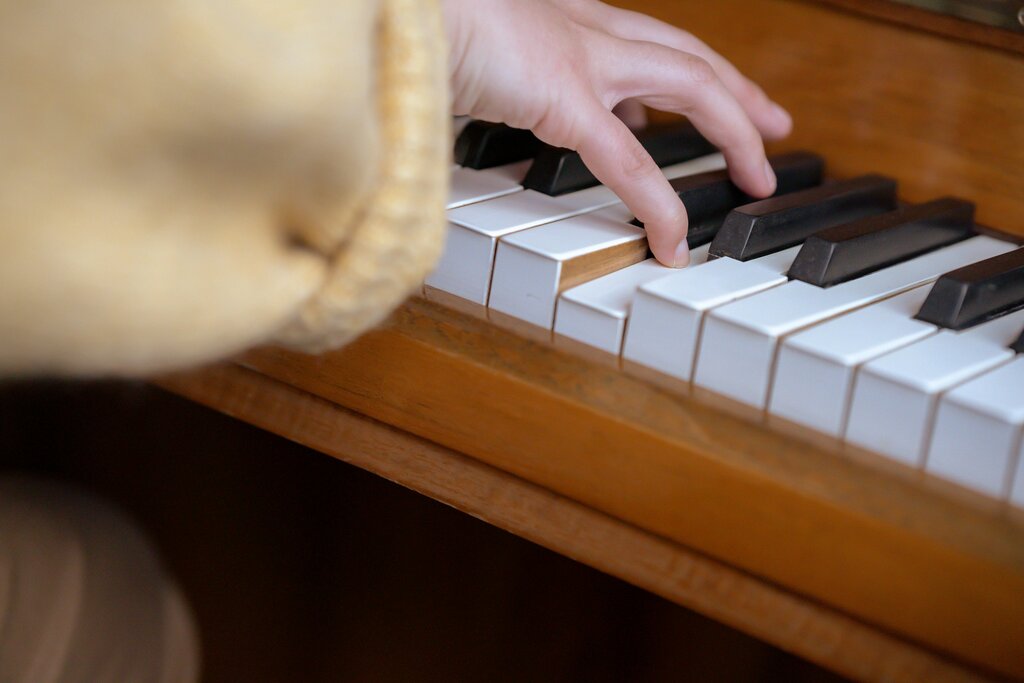
Now, for your fingers. They should be naturally curved, as if you're holding a ball. When you press a key, use the tip of your finger, not the flat part. Imagine your knuckles are a bridge—they should be held high and firm, not collapsing with each note you play.
Think of your hand shape like a gentle dome. This structure gives your fingers both strength and agility.
Waking Up Your Fingers
To talk about finger exercises, we first need a way to refer to each finger. In piano, we number them. Your thumb is 1, index finger is 2, middle is 3, ring is 4, and your pinky is 5. This numbering is the same for both the left and right hands.
Let's start with a simple five-finger exercise. Place your right hand on the piano so your thumb (1) is on the note Middle C. Your other fingers will naturally fall on the next four white keys: D, E, F, and G.
Play each note one at a time, starting with your thumb and going up to your pinky. Say the finger number as you play: 1, 2, 3, 4, 5. Focus on making each note sound even and clear. Use just enough pressure to play the note, then relax. After you reach your pinky, play the notes back down: 5, 4, 3, 2, 1. Try the same exercise with your left hand. Your pinky (5) will start on the C below Middle C.
Begin with simple exercises that emphasize finger independence and strength:
Don't worry about speed. The goal is control and relaxation. Practicing these simple movements helps build muscle memory and prepares your fingers for more complex music.
Ready to check your understanding? Let's see what you've learned.
When adjusting your piano bench height, what is the ideal position for your forearms?
Your feet should be planted flat on the floor while playing.
Establishing these habits from the beginning makes learning new skills much easier down the road. Consistent practice, even for just a few minutes each day, will make this posture and hand position feel completely natural.