Introduction to Piano Playing
Piano Basics
Finding Your Way Around
Look at a piano keyboard. You'll see a repeating pattern of white and black keys. The black keys are grouped into sets of two and three. These groups are your landmarks for navigating the keyboard.
The groups of two and three black keys are the key to finding any note.
Let's start with the group of two black keys. The white key immediately to the left of this group is always C. Find all the C's on your keyboard.
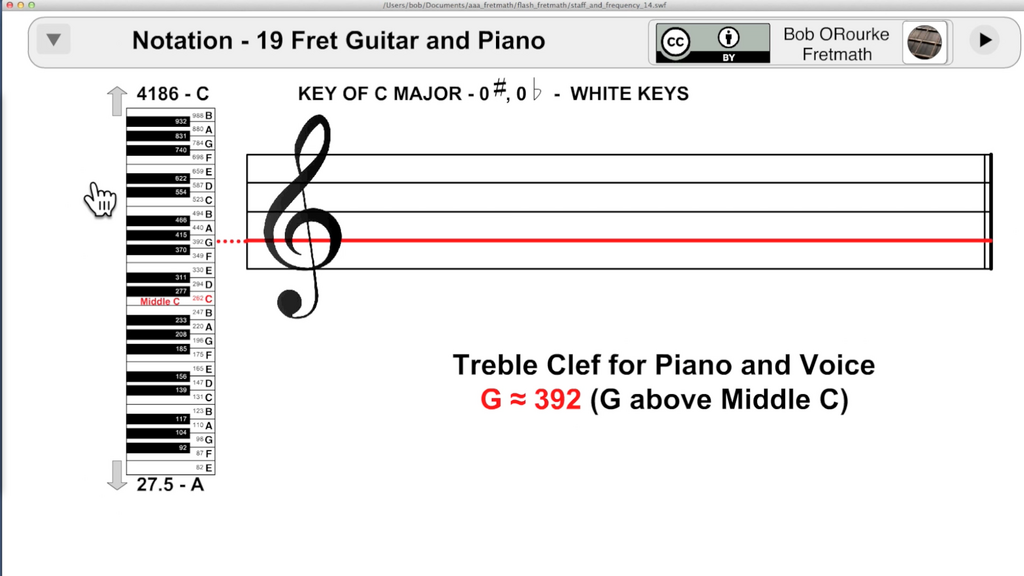
Once you've found C, the rest of the white keys follow the musical alphabet: C, D, E, F, G, A, B. After B, the pattern repeats with the next C. The distance from one C to the next is called an octave.
What about the group of three black keys? The white key to the left of this group is always F. You can use both C and F as anchor points until you know the keys by heart.
Sit Right, Play Right
How you sit at the piano matters more than you might think. Good posture helps you play comfortably, prevents strain, and allows your hands to move freely across the keys. It's the foundation of good technique.
First, center yourself in front of the middle of the keyboard. This is usually around the piano's brand name. Sit on the front half of the bench, not all the way back. This gives you better balance and mobility.
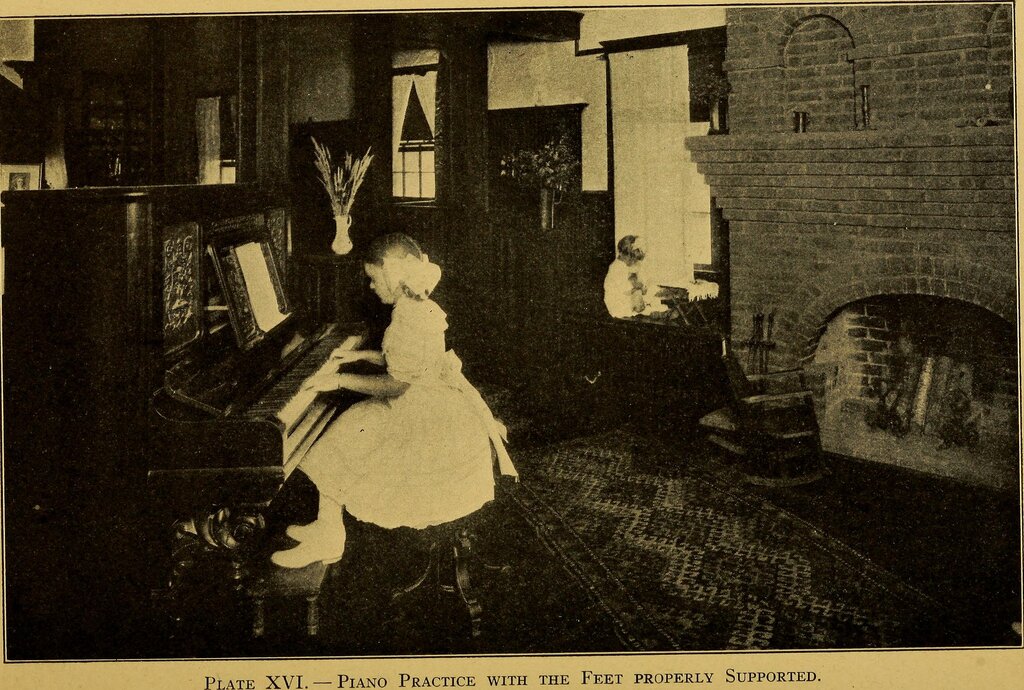
Proper piano posture allows you to play with correct technique and position your hands effortlessly on the keys.
Keep your back straight but relaxed—don't be stiff. Your shoulders should be down and relaxed, not hunched up toward your ears. Place your feet flat on the floor, about shoulder-width apart. If your feet don't reach, use a small stool or a stack of books for support.
The bench height is also crucial. Adjust it so your forearms are parallel to the floor when your hands are on the keys. Your elbows should be slightly in front of your body, not tucked into your sides.
Hand Position and Finger Numbers
To make playing easier, pianists number the fingers on each hand from 1 to 5. This system is universal, so it's important to learn it from the start.
| Finger Number | Finger Name |
|---|---|
| 1 | Thumb |
| 2 | Index Finger |
| 3 | Middle Finger |
| 4 | Ring Finger |
| 5 | Pinky Finger |
This numbering is the same for both the left and right hands. Your right thumb is 1, and your left thumb is also 1.
Now, let's get your hands in position. Let your arms hang loosely at your sides, and notice the natural curve of your fingers. That's the shape you want to maintain when you place your hands on the keyboard. Your fingers should be curved, and your knuckles should form a gentle arch. Your wrists should be level and relaxed, not bent up or down.
Imagine you're holding a small ball in the palm of your hand. This helps create the ideal curved, relaxed hand shape.
Try placing your right hand on the keys. Put your thumb (finger 1) on Middle C. Then, let your other fingers rest naturally on the next four white keys: finger 2 on D, 3 on E, 4 on F, and 5 on G. This is a basic five-finger position.
Playing with the fleshy pads of your fingertips will produce the best sound. Avoid playing with flat fingers, as this can lead to sloppy playing and tension in your hands.
Time to check what you've learned.
How can you consistently find the note 'C' on a piano keyboard?
In the musical alphabet used for piano keys, what note comes directly after 'G'?
Getting these fundamentals right—keyboard layout, posture, and hand position—sets you up for success. They might seem simple, but they are the skills you'll rely on for everything else you learn.