Introduction to Photography
Camera Basics
The Camera Body
Think of the camera body as the brain and skeleton of your setup. It's the main part you hold, and it houses all the critical components that work together to capture an image. It’s where the magic starts.
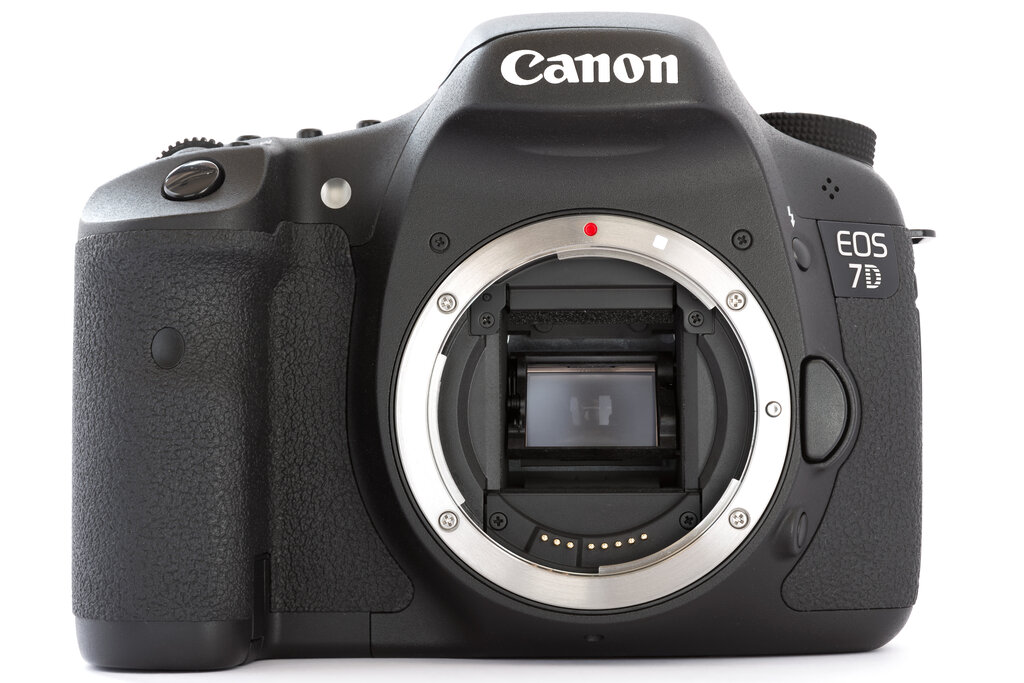
Inside this box, you'll find the most important part: the digital sensor. This is the electronic equivalent of film. It's a grid of millions of tiny light-sensitive squares that record the light coming through the lens to create your photo.
On the outside, you have the controls. The shutter button is the most obvious one—press it to take a picture. You'll also find dials and buttons for changing settings, a screen on the back for viewing your photos and navigating menus, and slots for the battery and memory card.
The Lens: The Camera's Eye
If the body is the brain, the lens is the eye. Its job is to gather light from a scene and focus it precisely onto the camera's sensor. Without a lens, the sensor would just see a meaningless blur. The quality and type of lens you use have a massive impact on the final image.
Lenses come in two main flavors:
- Prime Lenses: These have a fixed view, meaning you can't zoom in or out. To change your framing, you have to physically move closer or farther away. They are often simpler, lighter, and can produce very sharp images.
- Zoom Lenses: These offer a range of views in one package. You can twist a ring on the lens to go from a wide shot to a tight close-up. They're incredibly versatile and great for travel or situations where you can't move around easily.
Most lenses have a focus ring to make your subject sharp and, if it's a zoom lens, a zoom ring to change how much of the scene you capture.
Framing Your Shot
How do you see what the camera sees? You have two options: the viewfinder and the LCD screen.
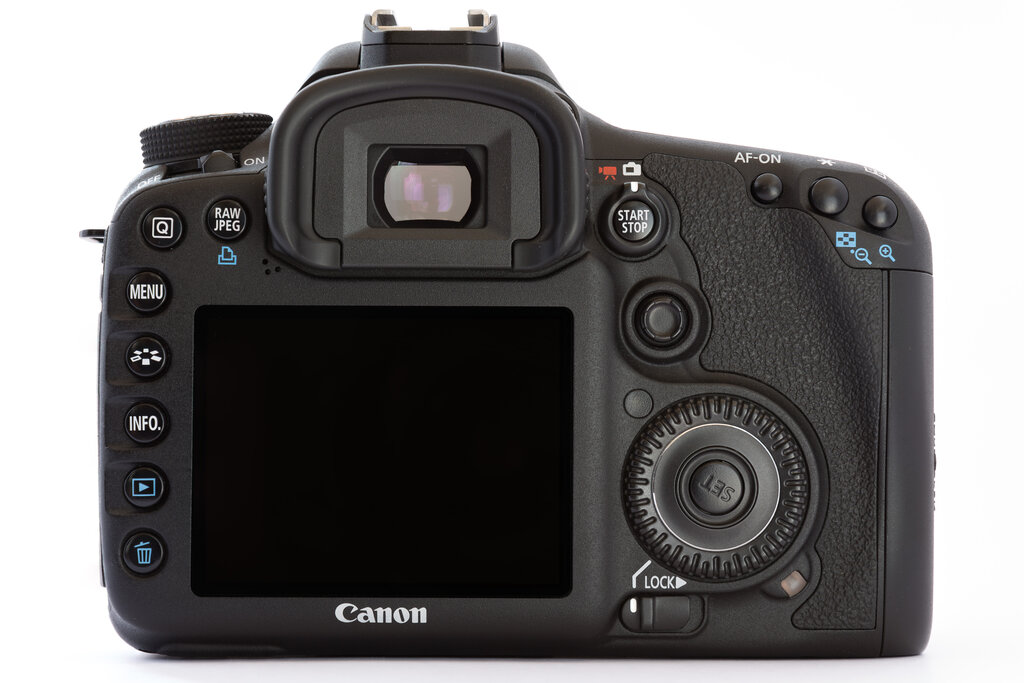
The viewfinder is that small window you press your eye against. On many cameras, like DSLRs, it's an optical viewfinder, meaning you're looking through the lens itself via a series of mirrors. This gives you a clear, lag-free view of your subject. Using it also helps you hold the camera steady by bracing it against your face.
The LCD screen on the back provides a larger, live digital preview of your shot. It's also where you'll review photos you've taken and navigate the camera's menu system. Many modern cameras have screens that can tilt or flip out, which is perfect for taking photos from high or low angles.
Controls and Handling
Your camera is covered in buttons and dials, but don't be intimidated. Most of your adjustments will happen with just a few key controls. The most common is the mode dial, which lets you switch between automatic modes, scene presets (like 'Portrait' or 'Landscape'), and manual modes where you take full control.
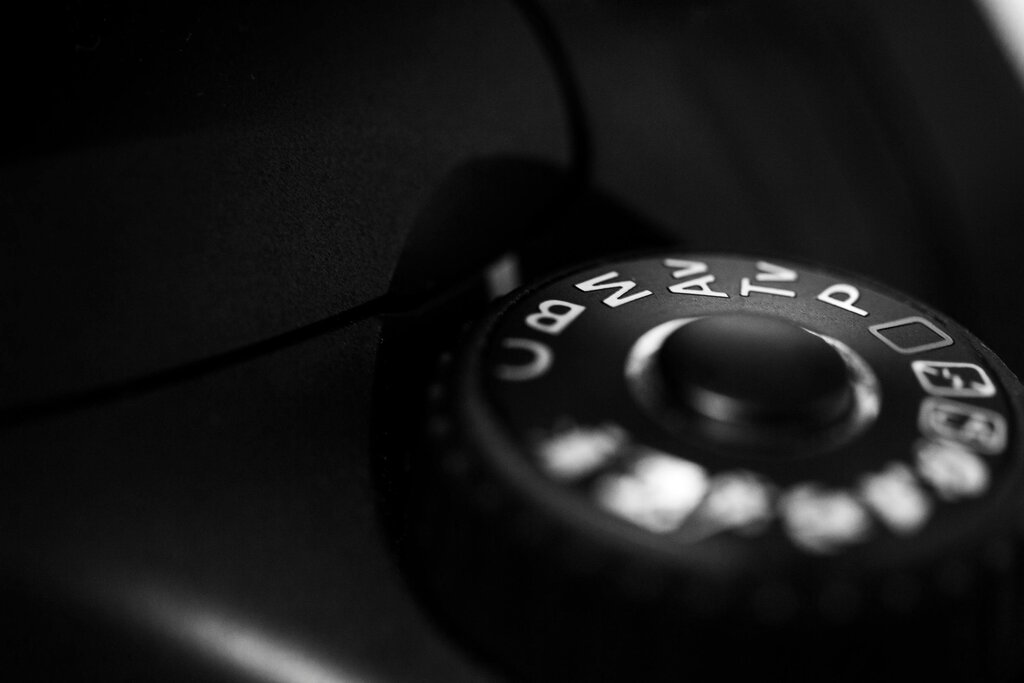
You'll also find one or more control dials, usually near the shutter button, that let you adjust core settings like aperture and shutter speed. There will be buttons for accessing the menu, playing back images, and deleting them.
Proper handling is key to sharp photos. The best way to hold a camera is with your right hand gripping the body, index finger resting on the shutter button. Your left hand should support the weight of the camera from underneath the lens. This two-handed grip provides a stable platform, minimizing the camera shake that can cause blurry pictures. Keep your elbows tucked in against your body for even more stability.
A good grip is your first line of defense against blurry photos. Right hand on the grip, left hand under the lens.
Now that you know the basic parts, you're ready to start exploring what they do. Getting comfortable with the physical camera is the first step toward taking great photos.