Introduction to Oboe Playing
Oboe Assembly
Meet the Pieces
Before you can play the oboe, you need to know how it fits together. Like a puzzle, it has a few distinct sections that join to form the complete instrument. Let's get familiar with them.
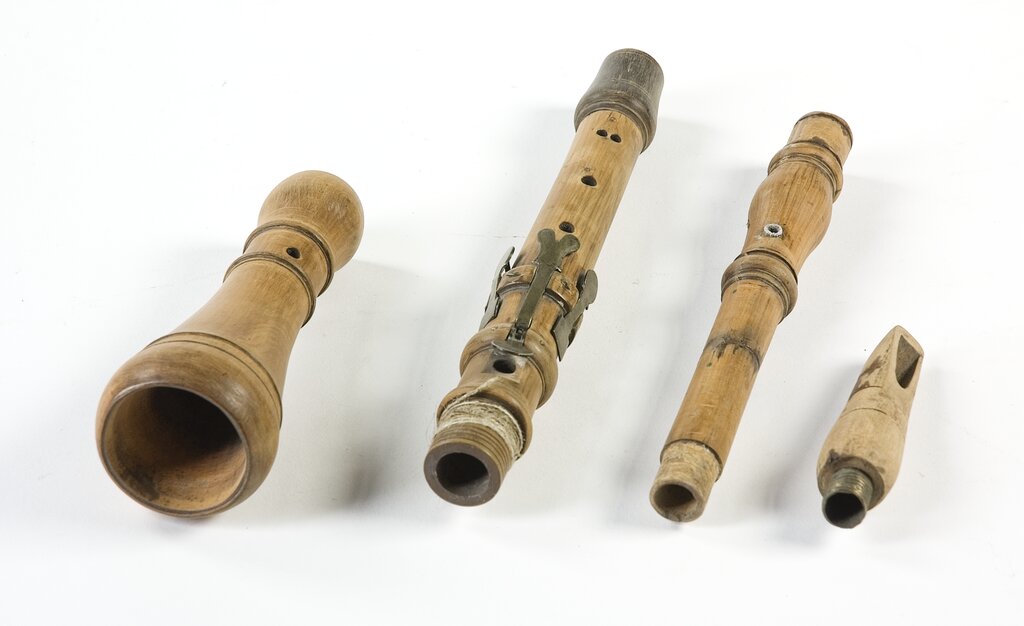
An oboe is made of three main wooden sections, plus the reed which creates the sound.
- Upper Joint: This is the top section, where your left hand will go. It has a cork-covered tenon at the bottom and a socket at the top for the reed.
- Lower Joint: The middle section. It connects to the upper joint and is where your right hand will be positioned.
- Bell: The flared end of the oboe. It helps project the sound.
- Reed: This is the mouthpiece. It's made of two thin pieces of cane tied together. It's incredibly delicate and is the source of the oboe's unique sound.
Putting It Together
Assembling an oboe requires a gentle touch. The keywork is intricate and can be bent easily. Always hold the parts where there are no keys, or on the strong metal rings at the joints. It's a good idea to apply a small amount of cork grease to the tenons (the corked ends) every few weeks to make assembly smoother. Don't overdo it, though.
Hold the joints firmly, but don't squeeze the keys. A common mistake is pressing down on the long rods and levers, which can bend them out of alignment.
First, take the lower joint in your right hand and the upper joint in your left. Look for the connecting levers, often called the "bridge keys," on both pieces. You'll need to align them carefully.
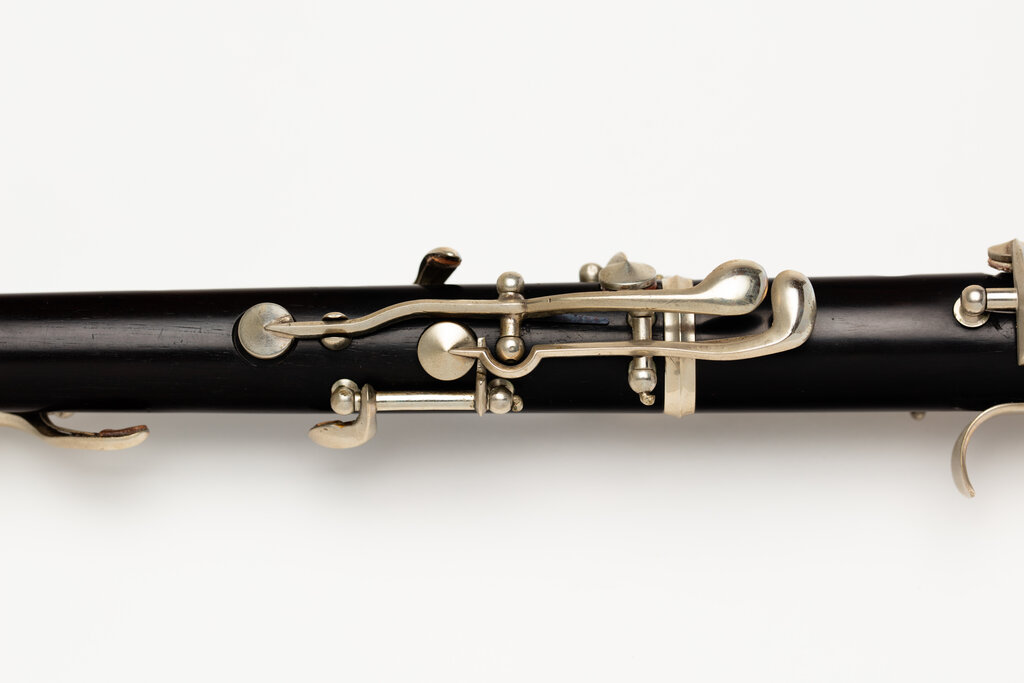
Gently press the upper joint's tenon into the lower joint's socket. Use a slight twisting motion, not a forceful push. Watch the bridge keys to make sure they overlap correctly without getting snagged. The top part of the lower joint's bridge key should sit just underneath the corresponding key on the upper joint.
Next, attach the bell. Hold the now-connected body of the oboe in one hand and the bell in the other. Align the bridge key on the bell with the key on the lower joint, and again, use a gentle twisting motion to connect them. The key on the bell should sit just below the key on the lower joint.
The final step is inserting the reed. Before you do this, you should soak the cane part of the reed in a small cup of water for about a minute. This makes it vibrate properly. Never put the cork end in the water.
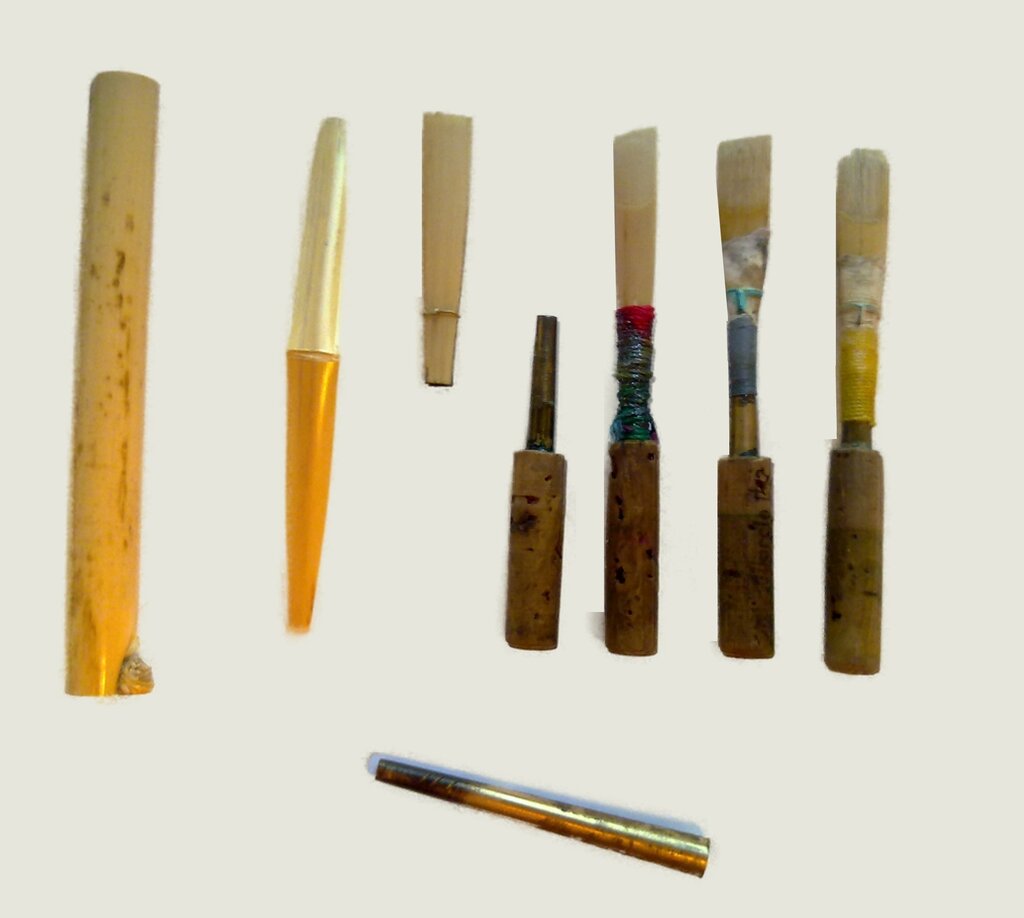
Once soaked, gently insert the cork end of the reed into the top of the upper joint. It should fit snugly. Don't force it. If it’s too tight, a tiny bit of cork grease can help.
To take the oboe apart, just reverse the process. Remove the reed first, then the bell, and finally separate the upper and lower joints. Always twist gently, never pull.
What is the correct order for assembling the main parts of an oboe?
What must you do to the reed right before playing?
Proper assembly is the first step in caring for your instrument. By handling it carefully, you protect the delicate mechanisms that make its beautiful sound possible.