Introduction to Fusion 360
Introduction to Fusion 360
Meet Fusion 360
Autodesk Fusion 360 is a powerful tool that brings your ideas to life in three dimensions. Think of it as a digital workshop where you can design, engineer, and even prepare objects for manufacturing, all in one place. It's used by designers, engineers, and hobbyists to create everything from custom furniture to complex machine parts. Before you can build anything, you need to know your way around the workspace.
The Workspace
Opening Fusion 360 for the first time can feel like walking into a high-tech cockpit. There are a lot of buttons and panels, but they all have a purpose. Let's break down the main areas.
At the very top, you have the Application Bar, where you manage files and projects. Below that is the Toolbar, which is your main set of tools. It changes depending on what you're doing—designing, rendering, or simulating. It’s like having a workbench that automatically hands you the right tool for the job.
On the left, you'll find the Browser. This is a tree-like list of all the components, sketches, and bodies in your design. It's an organized inventory of every piece of your project. The large central area is the Canvas, which is your 3D space where you'll do all your creative work.
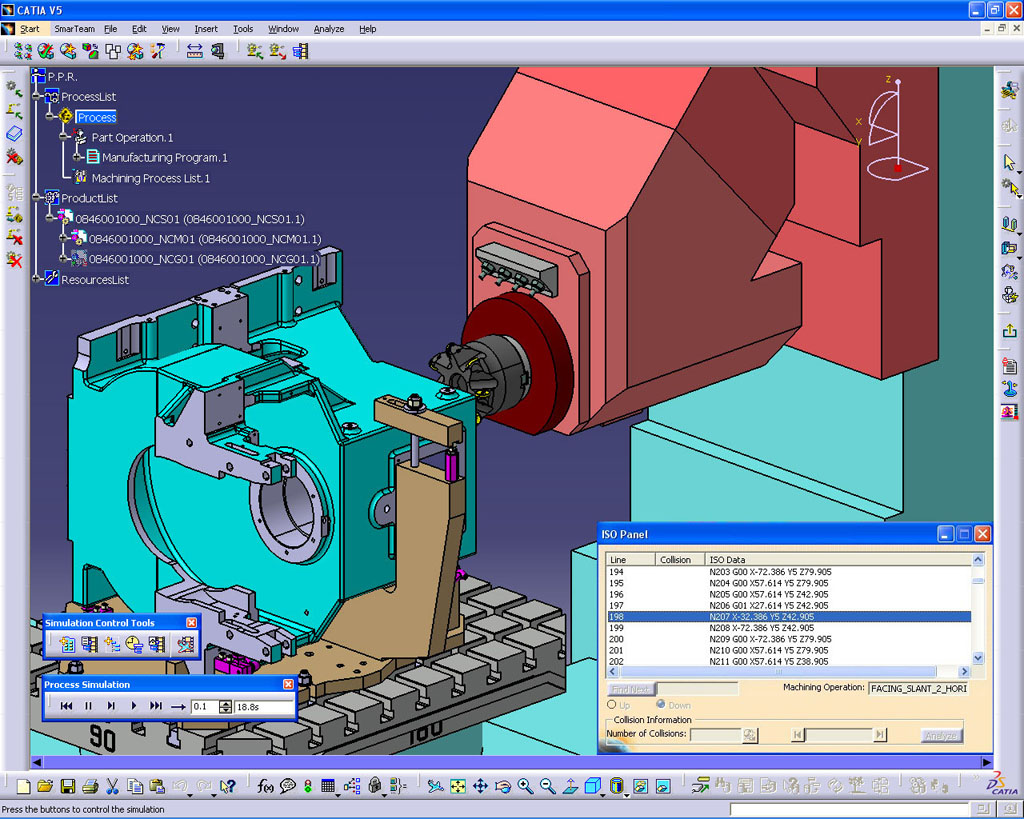
In the bottom-left of the canvas are your navigation and display settings. In the top-right is the ViewCube, a clickable cube that lets you quickly switch between standard views like top, front, and side. Finally, at the very bottom of the screen is the Timeline. This records every action you take, allowing you to go back and edit any step in your design process.
The timeline is one of the most important tools in Fusion 360.
Navigating 3D Space
To work effectively in 3D, you need to be able to move around your model with ease. The three core navigation actions are Orbit, Pan, and Zoom.
- Orbit: Rotates your view around the model. Hold
Shiftand your middle mouse button, then move the mouse. - Pan: Slides your view left, right, up, or down without rotating. Press and hold the middle mouse button, then move the mouse.
- Zoom: Moves your view closer to or further from the model. Just scroll the middle mouse wheel.
These controls will feel awkward at first, but with a little practice, they'll become second nature. The ViewCube is also your friend. Clicking on its faces, edges, or corners will snap your view to that specific orientation.
Setting Up Your Project
Before you start designing, it's best to get organized. In Fusion 360, all your work is saved to the cloud and organized into projects.
To see your projects, click the 'Show Data Panel' icon (it looks like a 3x3 grid) in the top-left corner. This opens a panel on the left side of your screen. Here, you can create a new project by clicking the 'New Project' button. Give it a descriptive name, like 'Desk Organizer' or '3D Printer Parts'.
Once your project is created, double-click to enter it. Now, any new design you create will be saved here. Always save your work! Use Cmd+S on Mac or Ctrl+S on Windows. The first time you save a new design, you'll be prompted to give it a name.
A good habit is to save your file immediately after creating it and then save frequently as you work.
You now have a basic understanding of the Fusion 360 environment. You know what the key interface elements are for, how to move around in 3D, and how to keep your work organized. It's time to test that knowledge.
What is the primary function of the Timeline at the bottom of the Fusion 360 screen?
Which mouse and keyboard combination is used to 'Orbit' the view around your model?