Intermediate Video Editing Techniques
Workflow and Management
Beyond the Timeline
Moving from basic edits to professional projects is less about learning fancy new transitions and more about building a robust, organised workflow. When you're juggling terabytes of footage, multiple audio sources, graphics, and tight deadlines, a solid structure isn't a luxury; it's the foundation that prevents your project from collapsing into chaos. Think of it as the difference between a garden shed and a skyscraper. Both serve a purpose, but one requires a much more rigorous blueprint.
If you lay the groundwork for a well-organized project, you will greatly ease the flow of post-production from here on out.
The Digital Blueprint
Your project's organisation begins before you even open your editing software. It starts on your hard drive. A disciplined folder structure is the single most effective tool for keeping your assets manageable. It ensures that you, or anyone else on your team, can find any file quickly. A common and effective approach is to create a main project folder, and within it, a set of numbered subfolders for each category of asset.
This standardised system makes your project portable and universally understandable. The ProjectFiles folder contains your NLE project file. Footage is broken down by camera or date. Audio is split into music, dialogue, and sound effects. By keeping everything in its place, you avoid the dreaded "Media Offline" error when moving the project between drives or computers.
Internal Organisation
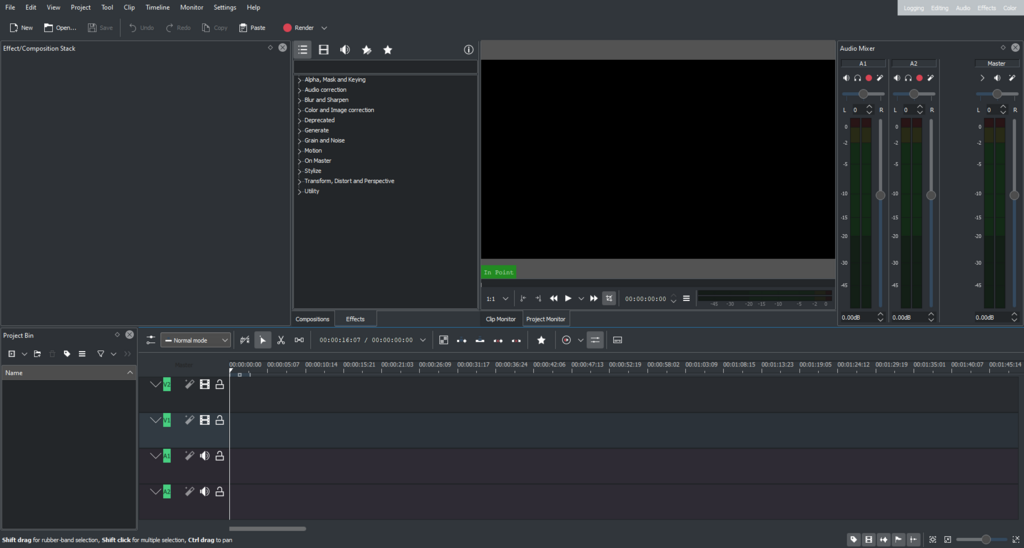
Once inside your NLE, you replicate this structure using bins. Bins are essentially folders within your editing software. Your bin structure should mirror your drive's folder structure exactly. This creates a seamless transition from file management to creative editing.
Beyond bins, metadata is your secret weapon. Most NLEs allow you to add custom metadata tags to your clips. You can tag clips with keywords, scene numbers, character names, or quality ratings ('good take', 'NG'). This turns your media library into a searchable database. Need to find every wide shot of the main character from scene 4? A quick metadata search will pull them up instantly, saving you from manually scrubbing through hours of footage.
Optimising Performance
Modern cameras shoot in incredibly high resolutions like 4K, 6K, or even 8K. While the quality is stunning, these files are massive and can bring even powerful computers to a standstill during editing. This is where a proxy workflow becomes essential. Proxies are low-resolution duplicates of your original high-res files. You edit using these lightweight files, which allows for smooth, real-time playback without lag or dropped frames.
When it's time to export the final video, the NLE automatically swaps the proxies out and links back to the original high-resolution media for rendering. This gives you the best of both worlds: a fluid editing experience and a pristine final product.
Proxy workflows involve creating lower-resolution copies of media files to facilitate faster editing and collaboration.
Equally important for performance is managing your cache and scratch disks. Your NLE is constantly creating temporary files in the background—render files, waveform data, and analysis files. These are stored in your cache. A scratch disk is the location where this cache, along with other temporary project files, is stored.
For optimal performance, your scratch disk should be a separate, fast drive—ideally an internal SSD or NVMe drive. Never use your main operating system drive or the drive holding your media as your scratch disk. Separating these functions prevents bottlenecks, as the NLE can read your source media from one drive while writing cache files to another simultaneously.
This brings us to hardware. While you can edit on a basic laptop, a professional workflow demands more. The key components are:
- CPU (Central Processing Unit): Affects playback and rendering speed. More cores and a higher clock speed are better.
- GPU (Graphics Processing Unit): Crucial for real-time effects, colour grading, and rendering. A powerful GPU can dramatically speed up your workflow.
- RAM (Random Access Memory): Allows you to work with more complex timelines and high-resolution files without performance hits. 32GB is a good starting point for 4K work, with 64GB or more being ideal.
- Storage: A multi-drive setup is key. Use a fast NVMe SSD for your OS and applications, a separate large SSD for active project media and scratch disks, and larger, more affordable HDDs for long-term storage and archiving.
Building a professional workflow is an investment in efficiency. By establishing a solid structure for your files and optimising your system for performance, you free yourself to focus on what truly matters: telling a compelling story.