Intermediate Procreate Mastery
Custom Brush Dynamics
Welcome to the Brush Studio
You've used Procreate's default brushes, but their true power is unlocked when you start customizing them. The Brush Studio is where you transform a generic digital tool into one with a unique personality, mimicking the feel of charcoal, the flow of ink, or the texture of dry-brush painting. It's how you develop a signature style.
Think of any brush as having two fundamental components: its shape and its grain. These two properties work together to create every mark you make.
The Shape is the outline of the brush tip, like a stamp. The Grain is the texture it's stamped onto. A round shape on a smooth grain creates a simple monoline pen. A square shape on a canvas-like grain produces a textured, blocky brush. You can import your own images for both, opening up endless possibilities.
Dynamic Behavior
Static brushes are fine, but the real magic comes from making them respond to your hand's movements. This is where you can mimic the beautiful imperfections of traditional media. Procreate offers several settings to achieve this, starting with and Dual Brushes.
A Dual Brush is exactly what it sounds like: two individual brushes combined into one. Procreate uses one brush's shape and grain and then uses the second brush to erase from or blend with the first. This is fantastic for creating complex, textured effects that would be impossible with a single shape. Imagine a standard soft airbrush combined with a speckled spray paint brush. The result is a stroke that has a soft body but a gritty, unpredictable edge.
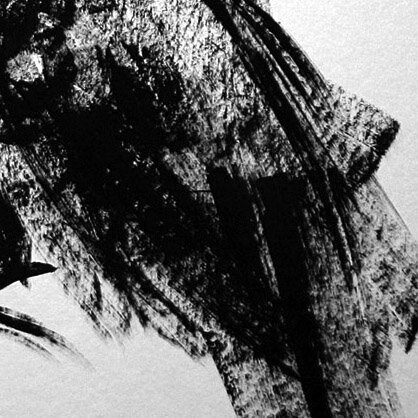
You can set the blending mode for how the two brushes interact. For example, the Multiply mode will darken the stroke where the brushes overlap, while Difference can create wild, inverted color effects. Experimenting here is key.
Perfecting Your Linework
Even with a steady hand, drawing perfectly smooth digital lines can be a challenge. Procreate's stabilization features are designed to solve this. These settings don't change the look of your brush, but rather how it responds to your drawing speed and movement, smoothing out jitters and wobbles.
The primary setting here is , a feature beloved by digital inkers. It adds a slight 'drag' to your brush, averaging out minor imperfections and resulting in silky-smooth curves. Turn it up for clean, confident line art, or turn it down for a more raw, sketchy feel. For artists with natural hand tremors, Motion Filtering goes a step further by averaging your stroke's position to smooth out larger shakes.
Finally, the Pressure Curve adjusts how the Apple Pencil's pressure sensitivity is interpreted. This is a powerful and personal setting. By default, the curve is a straight diagonal line, meaning pressure and brush size/opacity have a 1:1 relationship. If you make the curve steeper at the beginning, even light pressure will produce a strong mark. A gentler S-shaped curve can give you more nuanced control over thin-to-thick transitions, perfect for calligraphy or expressive linework.
In Procreate's Brush Studio, what are the two fundamental components that create the appearance of every mark a brush makes?
What is a "Dual Brush" in Procreate?
Customizing brushes moves you from being a user of Procreate to an artist shaping your own tools. By mastering these settings, you can build a brush library that is uniquely yours and perfectly suited to your creative vision.