Intermediate Photography and Visual Composition
Advanced Exposure Control
Beyond Automatic Exposure
You already know that aperture, shutter speed, and ISO work together to control the brightness of your photos. But what happens when the lighting gets tricky? Scenes with very bright areas and very dark areas, like a sunset portrait or a snowy landscape, can easily fool your camera's automatic modes.
This is where manual mode becomes essential. It gives you the power to override the camera's interpretation and make a creative decision. Instead of letting the camera average a high-contrast scene into a bland middle gray, you can choose exactly which part of the image should be perfectly exposed.
Using Your Light Meter
Your camera's built-in light meter is your primary guide in manual mode. It's the scale you see in your viewfinder, usually with a zero in the middle and markings on either side (+/-). The camera's goal is to adjust settings until the indicator is at zero, which represents an exposure it thinks is correct, often called "18% gray."
However, the camera doesn't know what you're shooting. It just sees light. To gain more precise control, you need to tell it where to measure that light. This is done with metering modes. While evaluative or matrix metering reads the entire scene, spot metering is your tool for precision. It measures light from a very small point, typically in the center of the viewfinder, allowing you to isolate and expose for a specific tone.
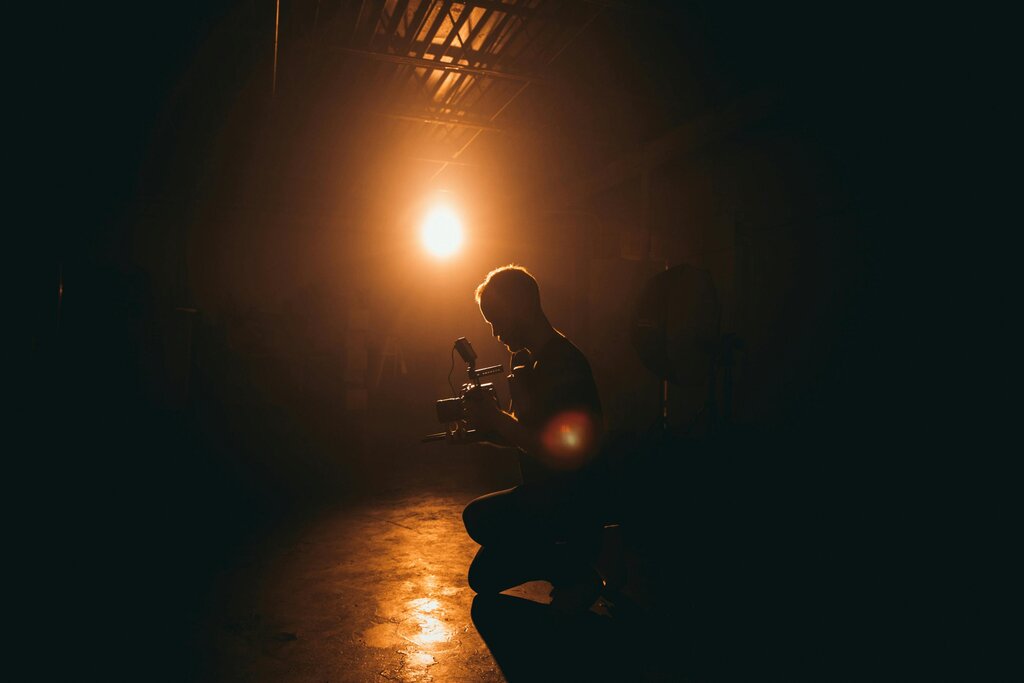
For example, to create a silhouette, use spot metering on the brightest part of the background, like the sky. The camera will expose for the sky, and your subject in the foreground will become dark or black.
Conversely, if you want to expose your subject correctly against a bright background, point the spot meter directly at their face. Set your exposure based on that reading, and let the background become very bright, or even completely white. This technique is crucial for portraits in challenging light.
Reading the Histogram
Your camera's LCD screen can be misleading, especially in bright sunlight. For a truly objective look at your exposure, you need the histogram. A histogram is a graph that shows the distribution of tones in your image, from pure black on the far left to pure white on the far right.
The horizontal axis represents the brightness levels (shadows, midtones, highlights), and the vertical axis represents the number of pixels at each level. A graph bunched up on the left side means the image is dark (underexposed). A graph bunched to the right means it's bright (overexposed).
Your main goal is to avoid "clipping." If the graph is slammed against the right wall, you have clipped highlights, meaning details in the brightest parts of your photo are lost forever and will just appear as pure white. If it's pushed against the left wall, you have crushed shadows, where shadow detail is lost to pure black. Some clipping is sometimes unavoidable or even desirable for artistic effect, but the histogram lets you make that choice consciously.
This brings us to managing , which is the range of tones your camera's sensor can capture in a single shot. High-contrast scenes often exceed your camera's dynamic range. A common strategy is to "expose for the highlights." This means setting your exposure so that the brightest parts of your image are not clipped. It's often easier to recover detail from slightly underexposed shadows in post-processing than it is to recover detail from completely blown-out highlights.
By combining spot metering with a careful eye on the histogram, you can confidently tackle even the most difficult lighting. Meter the most important part of your scene, check the histogram to ensure you aren't losing crucial highlight or shadow detail, and adjust accordingly. This methodical process separates a good photo from a great one.
Why is manual mode particularly useful for a high-contrast scene, like a sunset portrait, compared to an automatic mode?
When you're taking a portrait with a very bright background, which metering mode is the best tool to ensure your subject's face is properly exposed?
Mastering exposure isn't about memorizing rules, but about understanding how to use your tools to translate your vision into a final image. With practice, reading the light and interpreting your histogram will become second nature.