Intermediate Music Production Techniques
Signal Flow Logic
The Path Inside the Box
Think of your Digital Audio Workstation (DAW) as a virtual mixing console. Every audio track has a path it follows, from the raw audio file to the final output. This path is called the signal flow. Understanding it is the key to moving from basic recording to crafting professional mixes. It’s not just about getting sound from point A to point B; it’s about controlling how the sound is shaped along the way.
The most basic signal flow is a straight line: audio clip -> track fader -> master output. But the real magic happens when we create more complex routes using sends, returns, and busses. This allows us to process multiple sounds together, create shared effects, and organize our session like a real studio.
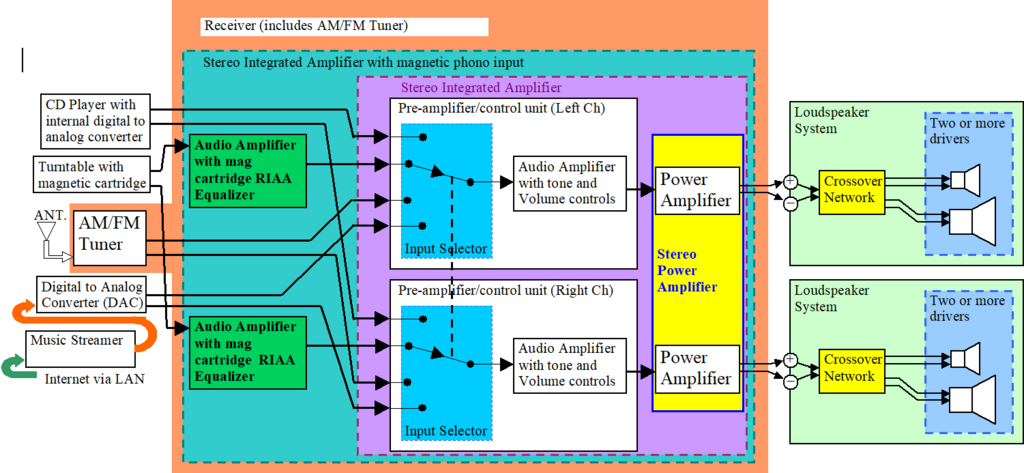
A common tool for this is the auxiliary (aux) send. A send taps into the audio from a track and routes a copy of it somewhere else. This is incredibly useful for time-based effects like reverb or delay. Instead of putting a separate reverb plugin on every single track, you can create one reverb on an aux track and send a little bit of signal from many different tracks to it. This saves CPU power and creates a more cohesive sonic space, making it sound like all your instruments are performing in the same room.
Pre-Fader vs. Post-Fader
When you create a send, you have a crucial choice: should it be pre-fader or post-fader? This choice determines where the signal is tapped from. A post-fader send taps the signal after the track's main volume fader. This is the most common setting for effects like reverb. Why? Because as you turn the track's fader up or down, the amount of signal being sent to the reverb changes proportionally. The 'wet/dry' balance remains consistent. If you pull the fader all the way down, the send is silenced too.
A taps the signal before the fader. This means the fader's level has no effect on the send level. You could pull the fader all the way down, silencing the track in the main mix, but the pre-fader send would still be sending signal. This is perfect for creating separate headphone mixes for musicians. A singer might want to hear more of their own voice than what's in the main mix, so you can use a pre-fader send to give them a custom, independent 'more me' mix without messing up your main fader levels.
Headroom and Gain Staging
In the digital world, there's a hard limit to how loud a signal can be. This limit is 0 dBFS (decibels relative to full scale). Any signal that tries to go above this will be harshly clipped, resulting in nasty digital distortion. The space between your signal's peak level and 0 dBFS is called an absolutely critical concept.
Proper gain staging is the process of managing the levels at every stage of your signal flow to maintain adequate headroom. It's not just about the final master fader; it's about the level going into each plugin, out of each plugin, and into each bus. If you send a signal that's too hot into a compressor plugin, it might distort before the compressor even does its job.
Good gain staging means each part of the chain gets a healthy, distortion-free signal, ensuring plugins work optimally and you have plenty of space for mastering.
Imagine a bucket brigade. If one person throws water so hard that the next person spills half of it, the effort is wasted. Gain staging is about passing the audio signal cleanly from one stage to the next without spilling (clipping) or passing along a mere trickle (poor signal-to-noise ratio).
Processing Architectures
There are two main ways to apply processing: in series or in parallel.
Series processing is like a production line. The audio goes through one plugin, then the output of that plugin goes into the next, and so on. This is what happens when you stack effects in the insert slots of a single track. The order matters immensely. An EQ placed before a compressor will cause the compressor to react differently than an EQ placed after it.
Parallel processing involves mixing a processed ('wet') signal with the original unprocessed ('dry') signal. This is often called New York-style compression. You send a copy of your drum track to an aux track, apply very heavy compression, and then blend that heavily squashed signal back in underneath the original, dynamic drum track. This gives you the punch and power of the compression without sacrificing the natural transient detail of the original.
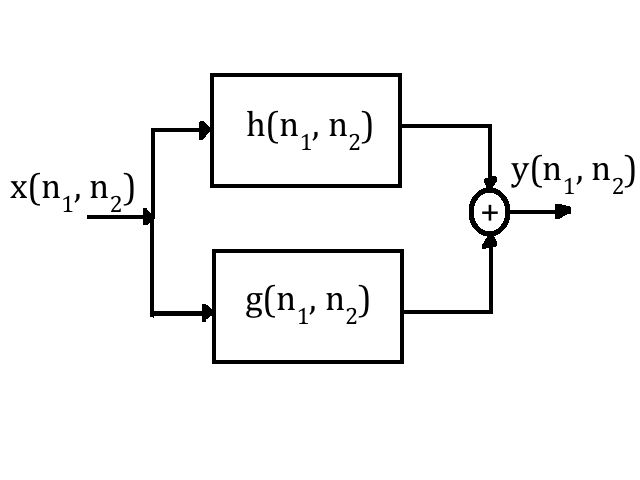
Finally, let's talk about busses. A bus is simply a channel that you can route multiple tracks to. Instead of adjusting the faders for 10 different background vocal tracks, you can route them all to a single 'BG Vox' bus and control their overall level with one fader. This is a sub-group or submix.
The master bus (or master fader) is the final bus that all tracks and sub-groups in your session flow to. It's the last stop before the audio is rendered into a stereo file. Any processing applied here, like a final limiter or EQ, will affect the entire mix.
You are creating a separate headphone mix for a singer who wants to hear more of their own voice, independent of the main mix levels. Which type of send is best suited for this task?
What is the primary purpose of 'gain staging' in a digital audio workstation?
Mastering these routing concepts moves you from being a DAW operator to a mix engineer. You can now build complex, efficient, and professional-sounding sessions by controlling exactly where your audio goes and how it's treated at every step of its journey.