Home Studio for Instrumental Production
Studio Setup
Your Studio's Foundation
The first step in setting up a home studio is choosing the right space. This decision has a bigger impact on your sound than you might think. The ideal room is quiet. Listen for intrusive sounds like traffic, humming refrigerators, or noisy air conditioners. These can easily bleed into your recordings.
Room shape and size also matter. Perfectly square rooms are problematic because sound waves can build up in predictable ways, creating annoying frequencies that are hard to mix out later. A rectangular room is better. Avoid rooms with lots of hard, reflective surfaces like tile floors and bare walls, as they cause sound to bounce around uncontrollably. A room with carpeting, furniture, and irregular surfaces is a great starting point.
Essential Gear
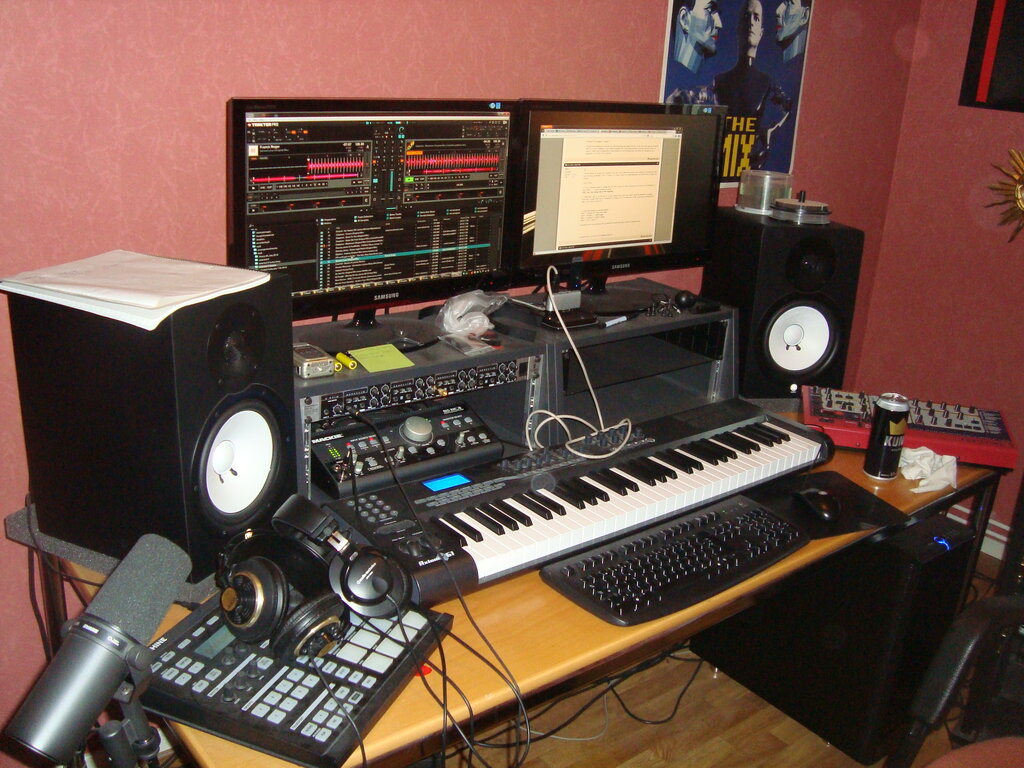
You don't need a mountain of expensive gear to get started. A few key pieces will form the core of your studio.
Computer: This is the brain of your operation. Modern music production demands a good amount of processing power (CPU), memory (RAM), and fast storage. A computer with a multi-core processor, at least 16GB of RAM, and a Solid-State Drive (SSD) will ensure smooth performance, even with complex projects.
Digital Audio Workstation (DAW): This is the software where you'll record, edit, and mix your music. Think of it as your virtual recording studio. There are many options available, such as Ableton Live, Logic Pro X, and FL Studio. Most offer free trials, so you can find one that fits your workflow before committing.
Audio Interface: This is a small box that acts as the bridge between your instruments and your computer. It converts the analog signal from a microphone or guitar into a digital signal that your computer can understand. It also lets you plug in studio headphones and speakers (monitors) to hear your music accurately.
Taming the Room
Once your gear is set up, the next step is to control how sound behaves in your room. This is called acoustic treatment. The goal isn't to soundproof the room—that's a much more complex and expensive task. Instead, you want to manage sound reflections to create a more accurate listening environment.
Reflections from bare walls, floors, and ceilings can color the sound, misleading you during the mixing process. You can tame these reflections with absorption. Porous, soft materials are great for this. You can hang heavy blankets on walls, place thick rugs on the floor, or even use strategically placed bookshelves filled with books to break up and absorb sound waves.
Low-frequency sounds (bass) tend to build up in corners. You can manage this with bass traps. While you can buy professional ones, you can also DIY them by stacking rockwool panels or even dense blankets in the room's corners.
Acoustic treatment controls sound within a room. Soundproofing stops sound from entering or leaving it. For a home studio, treatment is the key.
With a good room, the right gear, and some basic acoustic treatment, you'll have a solid foundation for producing high-quality instrumental music.
Time to check your understanding of these foundational concepts.
Which of the following room shapes is generally considered the least ideal for a home recording studio due to problematic sound wave buildup?
What is the primary function of an audio interface in a home studio setup?
Building a home studio is a process. Start with these basics and you can always expand and upgrade as you grow as a producer.