Home Cooking Essentials
Knife Skills
The Right Tool for the Job
Walking into a kitchen store can be overwhelming. There are dozens of knives, each promising to be the only one you'll ever need. The truth is, you only need a few key players to handle almost any task. Getting to know them is the first step to becoming more confident and efficient in the kitchen.
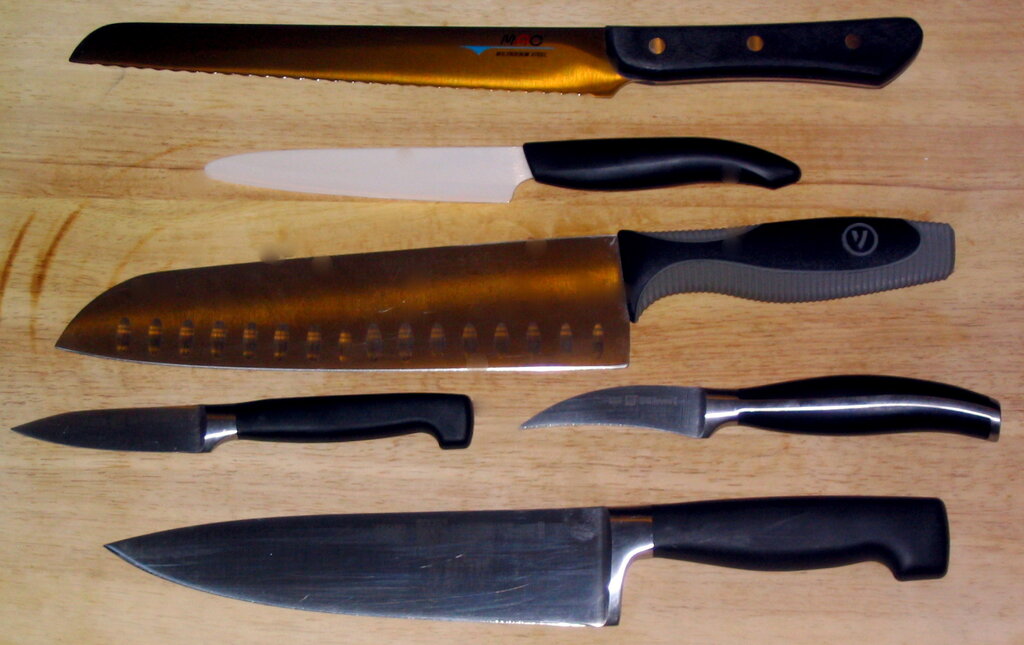
Think of your knives like a small, specialized team. You don't need a huge roster, just three reliable starters: the chef's knife, the paring knife, and the serrated knife. Each one excels at different things.
| Knife Type | Best For |
|---|---|
| Chef's Knife | Your all-purpose workhorse. Chopping vegetables, dicing onions, mincing herbs, and slicing meat. |
| Paring Knife | Small, detailed tasks. Peeling an apple, deveining shrimp, or hulling strawberries. |
| Serrated Knife | Slicing through foods with a hard exterior and soft interior. Think crusty bread, tomatoes, and citrus. |
Your chef's knife will be your most-used tool. It's designed for a rocking motion on the cutting board, making it perfect for chopping large amounts of food quickly. The paring knife is for in-hand work or delicate cuts. And the serrated knife saws through tough skins without squishing what's inside.
Holding and Handling
How you hold your knife is just as important as which one you choose. A proper grip gives you control, which means cleaner cuts and fewer accidents. It might feel awkward at first, but it quickly becomes second nature.
“Sharp knives allow you to do your prep faster and more safely,” says Ralston, pointing out that duller knives tend to promote slips and cuts.
A dull blade requires more pressure to cut, which increases the chance it will slip off the food and into your finger. A sharp knife, guided by a proper grip, does the work for you.
The most stable way to hold a chef's knife is the “pinch grip.” You'll grip the handle with your last three fingers, while your thumb and index finger pinch the blade itself, right where it meets the handle. This gives you maximum control over the blade's movement.
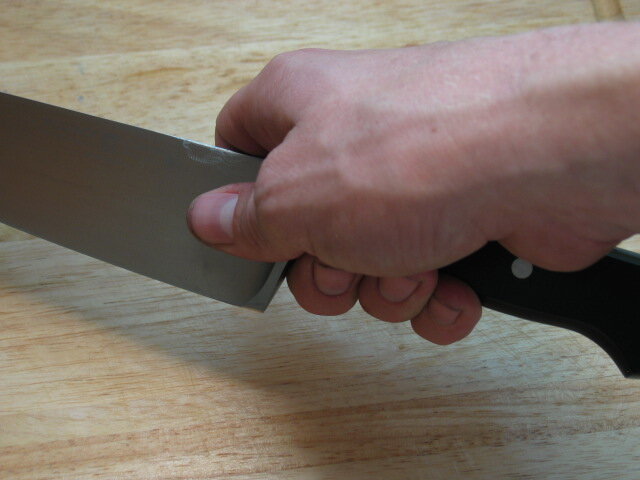
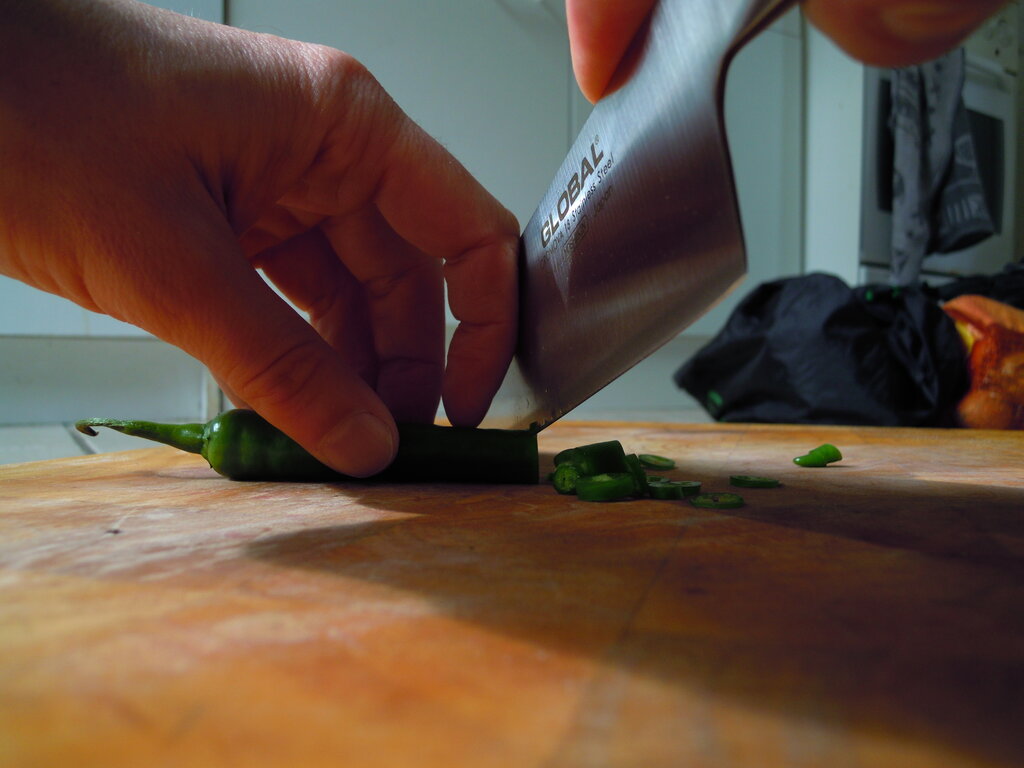
Your other hand, the guiding hand, is also crucial for safety. Tuck your fingertips under to form a “claw.” Your knuckles then act as a guide for the side of the knife blade. This keeps your fingertips safely away from the sharp edge as you slice.
Making the Cut
With your grip sorted, you can start practicing a few basic cuts. The goal isn't speed, it's consistency. Cutting ingredients to a uniform size ensures they cook evenly. A mix of giant chunks and tiny bits means some will be mushy while others are still raw.
Let’s look at three fundamental techniques.
Chopping: This is a general, all-purpose cut for creating bite-sized pieces. Keep the tip of your chef's knife on the board and use a rocking motion, moving the knife forward and down through the ingredient.
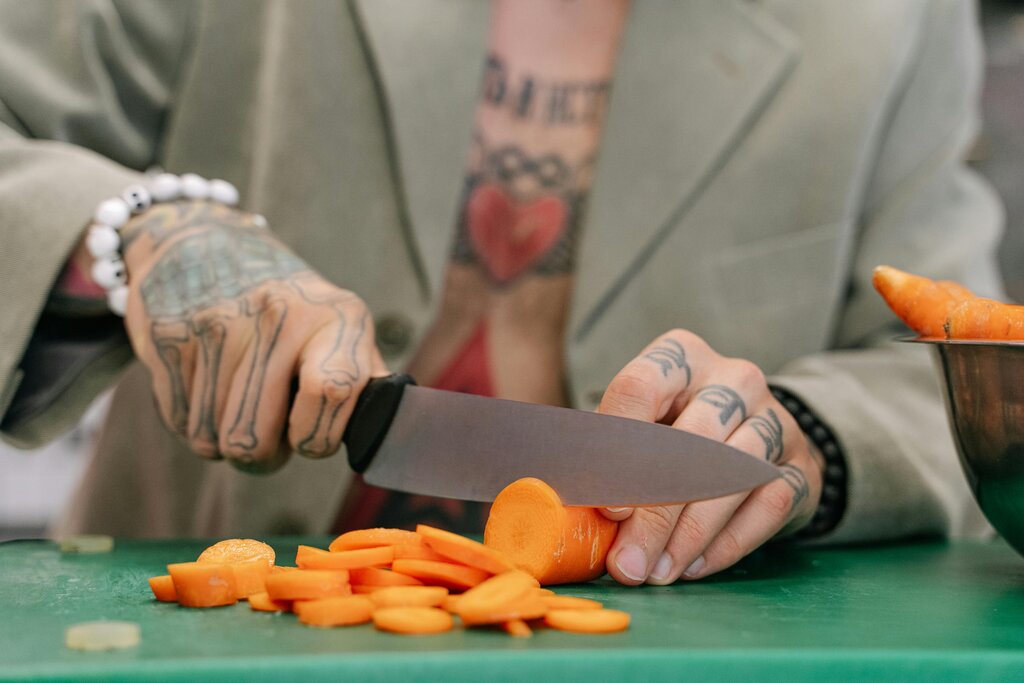
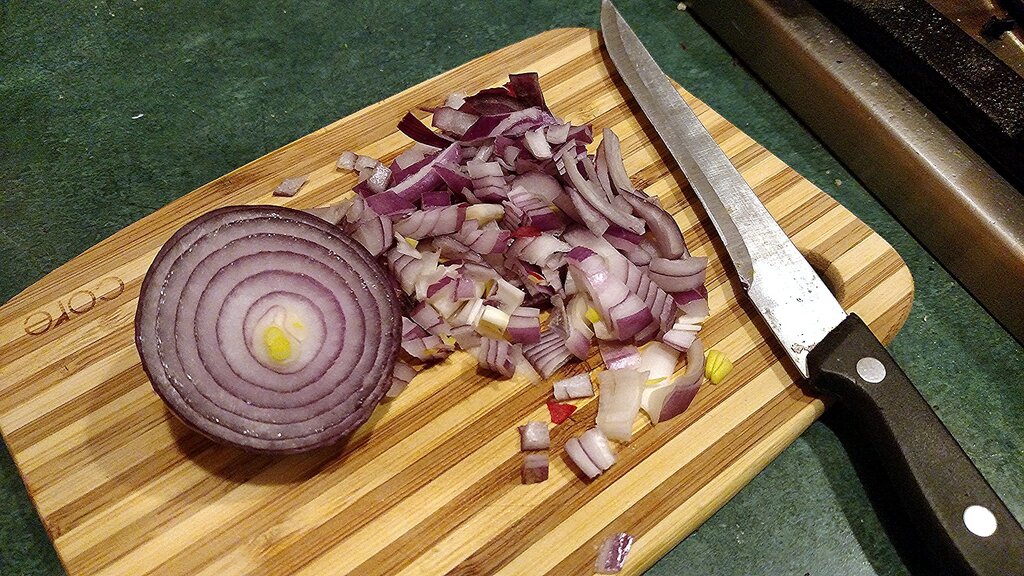
Dicing: This means cutting food into small, uniform cubes. First, you'll cut the item into planks, then sticks (or batons), and finally, you'll cut across the sticks to create a dice.
Julienning: This is the process of cutting vegetables into thin, matchstick-like strips. It’s perfect for salads, slaws, and stir-fries. Like dicing, you start by creating flat surfaces and planks before slicing them into thin strips.
Keeping Your Edge
A good knife is an investment, and proper care keeps it working for you. The two key parts of maintenance are honing and sharpening. People often confuse them, but they do very different jobs.
Honing doesn't sharpen the knife. Instead, it realigns the microscopic edge of the blade, which can get bent and knocked out of alignment with regular use.
Honing
verb
The process of realigning the edge of a knife blade using a steel or ceramic rod. It straightens the existing edge but does not remove metal.
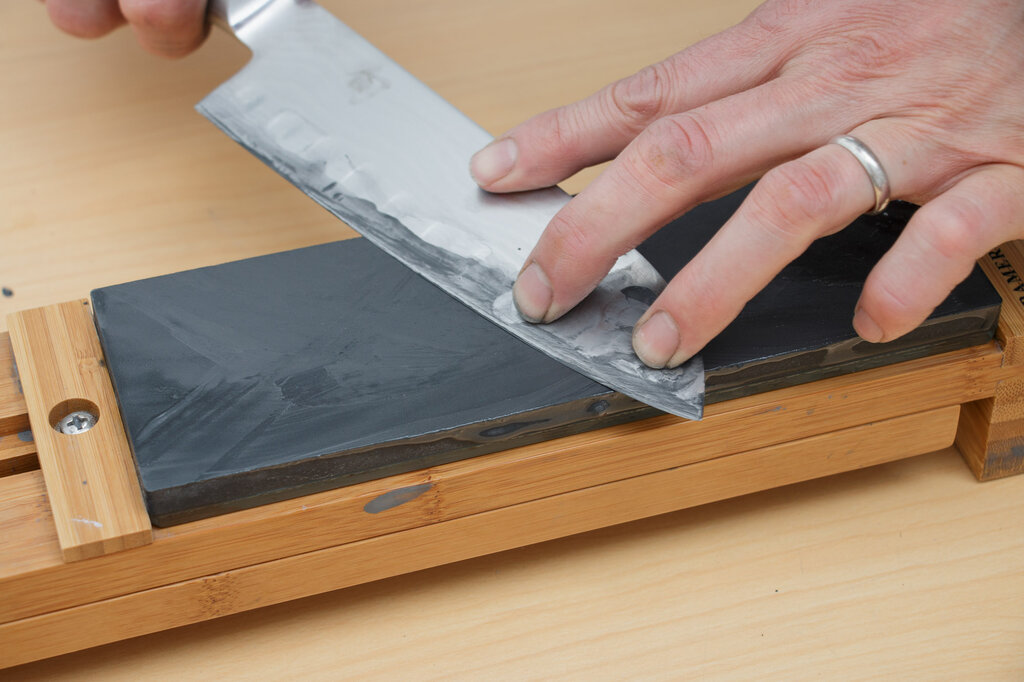
You should hone your knife frequently, even before every use. It only takes a few seconds. Sharpening, on the other hand, is a more intensive process that actually grinds away a tiny bit of metal to create a brand-new, sharp edge. This is only necessary once or twice a year for a home cook.
Finally, store your knives properly. Tossing them in a drawer can chip and dull the blades. A knife block, a magnetic wall strip, or individual sheaths are all great ways to protect your tools and your fingers.
Ready to test your knowledge?
According to the text, what are the three most essential knives for a home cook?
What is the primary purpose of honing a knife?
Practicing these fundamentals will make you a safer, faster, and more confident cook. Your prep work will become less of a chore and more a part of the joy of cooking.