Guitar Fundamentals
Guitar Basics
Know Your Instrument
Before you can play a song, it helps to know your way around the guitar. Think of it like learning the names of kitchen tools before you start cooking. Let's break down the main parts.
The big wooden part is the body, which makes the sound loud and rich. The sound comes out of the soundhole. The long part you hold is the neck, and its top surface is the fretboard. Those metal strips are the frets; they change the note when you press a string down.
At the top is the headstock, which holds the tuning pegs. You twist these to tighten or loosen the strings, changing their pitch. The strings run from the bridge on the body, over the white saddle, up to the nut at the top of the neck.
Getting in Tune
Playing an out-of-tune guitar is like trying to sing a song with all the wrong notes. It just won't sound right, no matter how perfectly you play. Tuning is the first thing you should do every time you pick up your instrument.
Standard tuning is the most common setup. From the thickest string (closest to you) to the thinnest, the notes are E, A, D, G, B, E. A popular mnemonic to remember this is: Eddie Ate Dynamite, Good Bye Eddie.
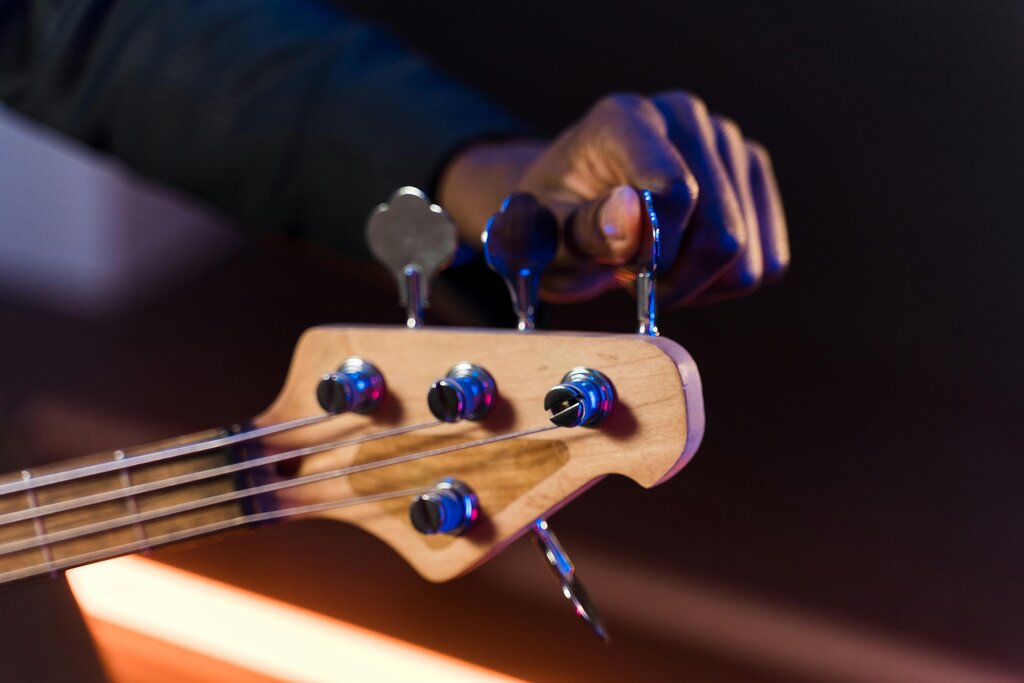
The easiest way to tune is with an electronic tuner. You can use a clip-on tuner that attaches to the headstock or a smartphone app. Here’s how:
- Pluck the thickest string (low E). The tuner will show what note you're playing.
- If the tuner says the note is "flat" (b), it's too low. Turn the tuning peg to tighten the string, raising the pitch.
- If it says the note is "sharp" (#), it's too high. Loosen the string to lower the pitch.
- Adjust until the tuner shows the needle is in the middle and indicates you're on the correct note (E).
- Repeat this process for all six strings: E, A, D, G, B, and the high E.
Sit Right, Play Better
How you hold the guitar affects everything from comfort to the sound you produce. Good posture helps you play longer without getting sore and gives your hands the freedom they need to move correctly.
Sit on a chair without arms, keeping your back straight. Rest the curved part of the guitar's body on your right thigh (if you're right-handed). The guitar should be angled slightly upward, so the headstock is about level with your shoulder. Don't hunch over; bring the guitar to you, not your body to the guitar. This relaxed, stable position is your foundation.
Your fretting hand wrist should be relatively straight, not bent at a sharp angle. This prevents strain and makes it easier to reach the frets.

Your fretting hand (usually your left) supports the neck. Your thumb should rest on the back of the neck, roughly opposite your index or middle finger. Keep your fingers curved, like you're holding a ball, and press down on the strings with your fingertips, just behind the frets.
Your other hand is your strumming or picking hand. Let your arm rest naturally over the body of the guitar. Whether you're using a pick or your fingers, you'll be striking the strings over the soundhole to get the best tone.
Practical Exercises: Reinforce your learning with hands-on exercises that strengthen your muscle memory, improve finger dexterity, and develop essential guitar skills.
Try this: without making a chord, practice pressing down on each string with each of your fretting-hand fingertips. Aim for a clean sound. This simple exercise builds strength and muscle memory where you need it most.
Which part of the guitar holds the tuning pegs?
What is the standard tuning for a guitar, from the thickest string (low E) to the thinnest string (high E)?
With these fundamentals in place, you're ready to start making music. Every part of the guitar has a purpose, and every aspect of your posture contributes to your playing. Now, let's learn some chords.