Guitar Fingerpicking Mastery
Introduction to Fingerpicking
Playing Without a Pick
So far, you've likely used a pick to strum chords and play notes. Now, let's put the pick aside and use your fingers. This technique, called fingerpicking or fingerstyle, opens up a new world of sound. It allows you to play bass notes and melody notes at the same time, creating a richer, more complex sound all by yourself.
Fingerpicking—also known as fingerstyle guitar—is a timeless, expressive way to play the instrument.
Instead of a single pick hitting the strings, your thumb and fingers work as a team. Each one can be assigned to a different string, letting you play intricate patterns and arpeggios that are difficult or impossible with a flatpick.
Your Picking Hand Position
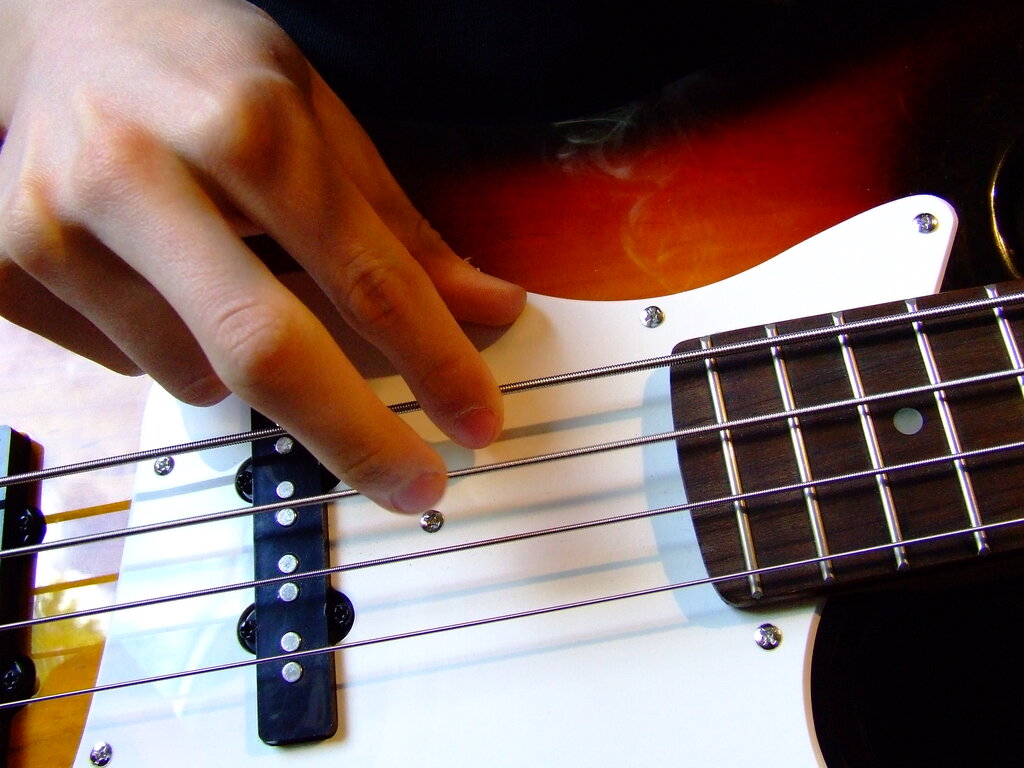
Proper hand position is key. Rest the forearm of your picking hand on the body of the guitar. Your hand should hover over the strings, near the soundhole. Avoid resting your wrist on the bridge, as this can restrict your movement.
Let your hand relax and curve naturally, as if you were loosely holding a ball. Your fingers should be slightly bent, pointing down toward the strings, and your thumb should stick out to the side, parallel to the strings. The goal is a relaxed posture that allows for fluid movement.
Giving Your Fingers Jobs
To keep things organized, we use a system that assigns each finger a specific role. This system uses letters from Spanish words for the fingers, known as PIMA.
| Finger | Abbreviation | Typical String Assignment |
|---|---|---|
| Thumb | p (pulgar) | 6th, 5th, 4th (E, A, D) |
| Index | i (índice) | 3rd (G) |
| Middle | m (medio) | 2nd (B) |
| Ring | a (anular) | 1st (high E) |
Think of your thumb as the anchor of the rhythm, responsible for playing the bass notes on the thicker strings. Your index, middle, and ring fingers will handle the higher-pitched melody and harmony notes on the thinner strings. Your pinky finger (often called 'c' or 'chiquito') is typically not used in basic patterns, so you can just let it float comfortably.
Your thumb should hover over the bass strings (E, A, and D), while your index, middle, and ring fingers should be ready to tackle the G, B, and high E strings, respectively.
Your First Fingerpicking Patterns
Let's put this into practice with a simple pattern. Hold a C major chord with your fretting hand. We'll use the PIMA assignments to play the notes one by one.
The Forward Roll: Pluck the 5th string (A) with your thumb (p), then the 3rd string (G) with your index finger (i), then the 2nd string (B) with your middle finger (m), and finally the 1st string (E) with your ring finger (a). Try to make each note sound even and clear.
Another common pattern is the "pinch," where you play the thumb and one or more fingers simultaneously. Let's try it with a G major chord.
Hold the G chord shape. With your picking hand, place your thumb (p) on the 6th string (E) and your middle (m) and ring (a) fingers on the 2nd (B) and 1st (E) strings, respectively.
The Pinch Pattern: Pluck all three strings (6th, 2nd, and 1st) at the same time. This creates a three-note chord. After the pinch, pluck the 3rd string (G) with your index finger (i). The pattern is: Pinch, then Index.
Practice these two patterns slowly and deliberately. Focus on getting a clean sound from each string without hitting the adjacent ones. Once you feel comfortable, try switching between chords you already know, like G, C, and D, while maintaining a steady fingerpicking pattern.
In the PIMA system for fingerpicking, what do the letters 'i', 'm', and 'a' typically represent?
According to proper fingerpicking technique, where should you avoid resting your picking hand's wrist?
Like any new skill, fingerpicking takes patience. Start slow, focus on clean technique, and the speed will come naturally.