Graphic Design Professional Practice
Advanced Vector Logic
Beyond Single Fills and Strokes
You've mastered creating objects with a single fill and stroke. Now it's time to add real depth. The key to complex styling without creating a mess of duplicate objects is the Appearance panel. Think of it as a dedicated layers panel for a single vector object, allowing you to stack multiple fills, strokes, and effects non-destructively.
Imagine you want to create a button with an inner glow, a subtle drop shadow, and a double outline. Instead of creating three separate, stacked objects, you can do it all on one path. In the Appearance panel, you can add a new fill, change its color, and apply a 'Gaussian Blur' effect. Then, add another stroke, offset it using the 'Transform' effect, and change its color and weight. Each of these attributes can be edited, reordered, or removed at any time without altering the underlying vector path.
This method keeps your files clean and your workflow flexible. Need to change the base shape? Just edit the path, and all your stacked appearances update automatically. This non-destructive approach is a cornerstone of professional vector work, separating simple drawings from sophisticated, editable illustrations.
Constructing Complex Shapes
When you need to create a single, unified shape from multiple overlapping paths, Illustrator offers two primary tools: the Pathfinder panel and the Shape Builder tool. Both perform —like uniting, subtracting, or intersecting shapes—but they approach the task differently.
The Pathfinder panel offers a set of one-click commands. You select your shapes, click a button like 'Unite' or 'Minus Front', and Illustrator produces a final shape. It's fast and precise, but it's also a permanent, destructive action. It's best used when you are certain about the final form you want to create.
The Shape Builder tool, on the other hand, is interactive and intuitive. After selecting your objects, you can click and drag across the segments you want to combine. Holding the 'Alt' or 'Option' key allows you to subtract segments. This visual, hands-on method gives you more granular control and is perfect for building complex forms piece by piece, like working with digital clay. It excels in situations where you are exploring ideas and the final form isn't yet set in stone.
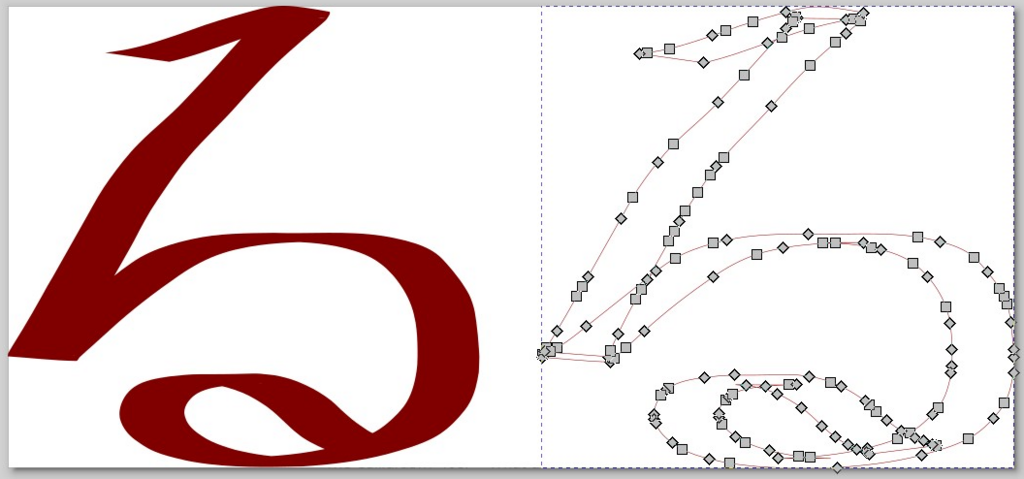
Use Pathfinder for decisive, final combinations. Use Shape Builder for interactive, exploratory construction.
Patterns and Organic Textures
Creating patterns with slight variations can be tedious. The 'Transform Each' command (Object > Transform > Transform Each) is a powerful tool for this. Instead of duplicating an object and manually rotating or scaling it, you can create an array of duplicates and apply transformations to each one individually but all at once. The key is the 'Random' checkbox. You can set a maximum scale, rotation, and move value, and Illustrator will apply a random value within that range to each copy. This is perfect for creating fields of stars, scattered leaves, or geometric backgrounds that feel less robotic.
For more organic effects, turn to the Symbolism tools (found in the toolbar, grouped with the Symbol Sprayer). First, create a base object, like a small stipple dot or a rough brush mark, and save it as a symbol. Then, using the Symbol Sprayer tool, you can paint instances of this symbol onto your artboard. Other tools in the set let you modify the cloud of symbols: the Symbol Sizer to vary their size, the Symbol Spinner to rotate them, and the Symbol Stainer to tint them with color. This workflow is incredibly efficient for adding rich textures and shading to illustrations.
Managing Complex Files
As your illustrations grow in complexity, so does the need for organization. A well-structured Layers panel is not just a preference; it's essential for a professional workflow. Don't settle for 'Layer 1'. Name your layers descriptively: 'Background', 'Character Linework', 'Shading', 'Text Elements'.
Within each main layer, use groups and sub-layers to maintain a clear For example, a 'Character' layer might contain sub-layers for 'Head', 'Body', and 'Limbs'. The 'Head' layer could then contain groups for 'Eyes', 'Mouth', and 'Hair'. This nesting makes it easy to select, edit, or hide specific parts of your drawing without affecting others. Use the lock icon next to a layer or object to prevent accidental changes—a lifesaver when you have finalized a background or a complex element. A clean file is easier to navigate, faster to edit, and simpler to hand off to another designer.
What is the primary advantage of using the Appearance panel to style an object?
When is the Shape Builder tool a better choice than the Pathfinder panel?
By mastering these advanced techniques, you can move beyond simple shapes and create intricate, dynamic, and professional-grade vector artwork that remains fully editable.