Full-Stack Vite React Development
Development Environment Setup
Setting Up Your Workspace
Before you can build an application, you need to set up your workshop. For modern web development, this means installing a few key tools. The first and most important is Node.js.
Node.js is a JavaScript runtime environment. It allows you to run JavaScript code outside of a web browser, which is essential for building the server-side of an application. It also comes with npm, the Node Package Manager, which you'll use to install other tools and libraries.
First, check if you already have Node.js and npm installed. Open your terminal or command prompt and type these commands, pressing enter after each one:
node -v
npm -v
If you see version numbers (like v20.11.0), you're all set. If you get an error, you'll need to install them. The best way is to download the LTS (Long-Term Support) version directly from the official Node.js website. Installing Node.js will automatically install npm as well.
Creating Your First Project
With Node.js and npm ready, you can now create your project. We'll use a tool called Vite. Vite is a modern build tool that provides a faster and leaner development experience for web projects.
Navigate in your terminal to the directory where you want to store your projects. Then, run the following command:
npm create vite@latest
This command will prompt you with a few questions:
- Project name: Give your project a name, like
my-fullstack-app. - Select a framework: Use the arrow keys to choose
React. - Select a variant: Choose
JavaScript.
Once it's done, the tool will give you three final commands to run. They'll look like this:
cd my-fullstack-app
npm install
npm run dev
Let's break these down. The cd command moves you into your newly created project directory. npm install downloads all the necessary code libraries (dependencies) that your project needs to run. Finally, npm run dev starts the development server.
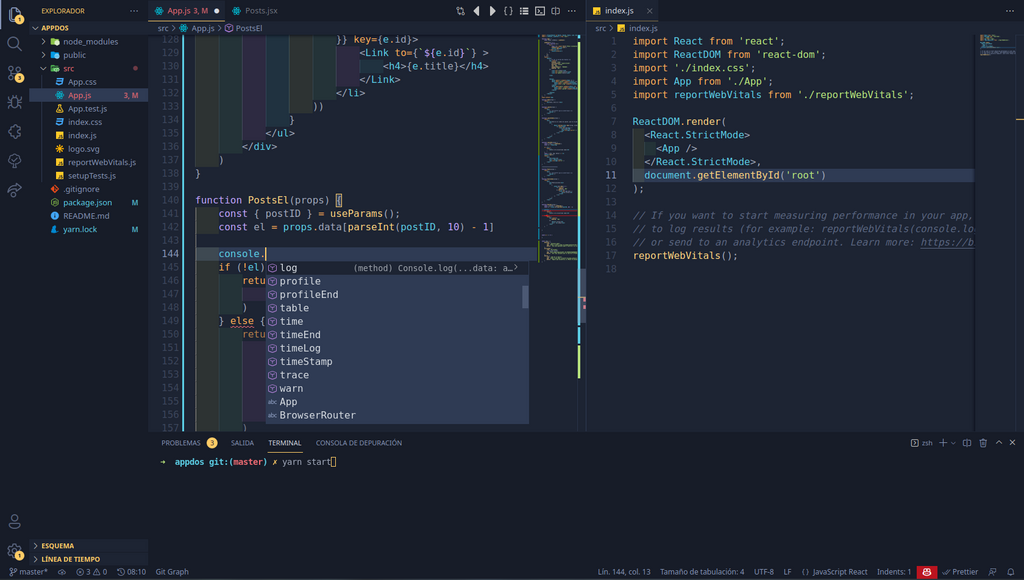
When you run npm run dev, your terminal will display a local URL, usually http://localhost:5173. Open this URL in your web browser. You should see the default Vite + React starter page. This server features Hot Module Replacement (HMR), meaning that when you save changes to a file, the browser will update instantly without needing a full page refresh.
Understanding the File Structure
Your new project folder isn't empty. Vite has created a standard structure for a React application. Here are the most important files and folders:
| Folder / File | Purpose |
|---|---|
index.html | The main HTML file that serves as the entry point for your app. |
node_modules/ | A folder where all the third-party libraries you install are stored. |
public/ | Contains static assets that don't need to be processed, like fonts or icons. |
src/ | This is where your application's source code lives. You'll spend most of your time here. |
src/main.jsx | The JavaScript entry point. This file finds the root element in index.html and tells React to render your application inside it. |
src/App.jsx | The main component of your application. This is the top-level piece of your user interface. |
package.json | A configuration file that lists your project's dependencies and defines scripts like npm run dev. |
For now, the key takeaway is that your work will primarily happen inside the src folder, modifying files like App.jsx and creating new ones to build out your user interface.
What command would you run in your terminal to check if Node.js is installed on your system?
True or False: When you install the LTS version of Node.js from the official website, you must install npm separately.
You now have a fully functional local development environment. You can start the server, make changes to the code, and see them reflected live in your browser.