Full-Stack Flask App on AWS with Docker
Setting Up Development Environment
Your Development Toolkit
Before building a house, you need to set up your workshop. The same is true for software. A development environment is your personal workshop, equipped with all the tools you need to build, test, and deploy a web application. We'll set up everything you need for a full-stack project using Python for the backend and JavaScript for the frontend, all on a Windows machine.
Having a properly configured environment reduces frustration caused by configuration errors and lets you focus on coding logic.
Python and Flask
First, you need Python, the language for our application's backend. Go to the official Python website and download the latest version for Windows. During installation, there's one crucial step: make sure to check the box that says Add python.exe to PATH. This allows you to run Python from any command prompt window.
Once installed, open PowerShell or Command Prompt and verify it works.
python --version
Next, let's create a dedicated space for our project. It's a best practice to use a virtual environment for every Python project. This creates an isolated folder for all the project's dependencies, preventing conflicts between different projects that might need different versions of the same library.
Think of a virtual environment as giving each project its own clean, private toolbox. No more searching for the right tool or worrying if one project's tools will mess up another's.
Create a new folder for your project, navigate into it in your terminal, and run these commands. The first creates the virtual environment (named venv), and the second activates it. You'll know it's active because your command prompt will change to show (venv) at the beginning.
# Create the virtual environment
python -m venv venv

# Activate it
.\venv\Scripts\Activate.ps1
With your environment active, you can install Flask, the lightweight web framework we'll use to build our backend.
pip install Flask
Code Editor and Version Control
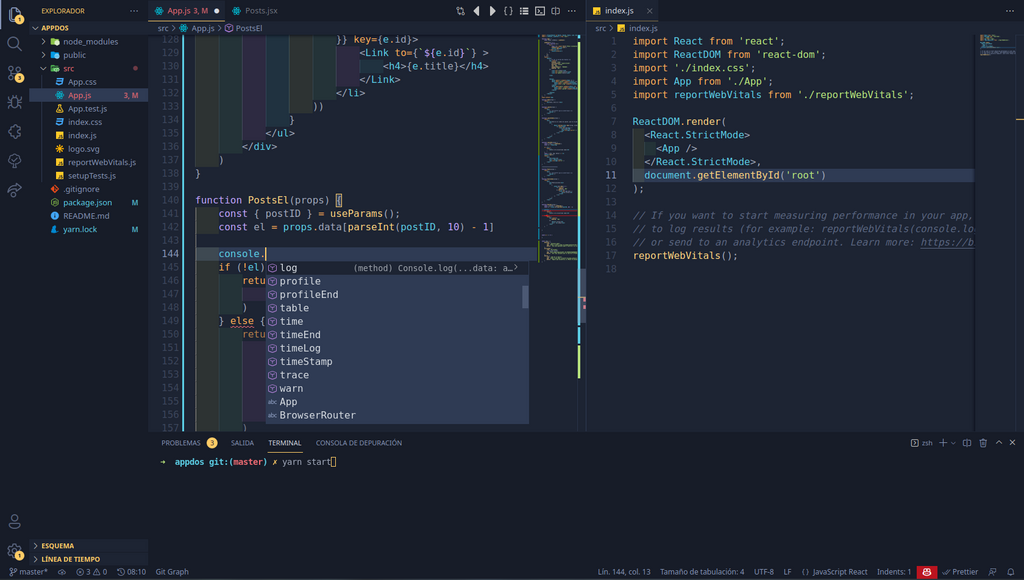
You need a place to write your code. A good code editor makes development faster and more enjoyable. We recommend Visual Studio Code (VS Code), a free, powerful editor from Microsoft. It has excellent support for Python and JavaScript, a huge library of extensions, and an integrated terminal.
Download and install it from the official website. During installation, make sure to check the boxes for "Add 'Open with Code' action" to make it easy to open your project folders.
Now for a tool that will save you countless headaches: Git. Git is a version control system. It tracks every change you make to your code, creating a history of your project. This lets you revert to previous versions if you make a mistake, see exactly what changed when, and collaborate with other developers without overwriting each other's work.
Download and install Git for Windows. After it's installed, you need to introduce yourself to Git. Open a new terminal and run these commands, replacing the placeholder text with your actual name and email. This information will be attached to every change you save.
git config --global user.name "Your Name"
git config --global user.email "youremail@example.com"
Frontend and Deployment Tools
For our application's frontend, we'll use JavaScript. To manage JavaScript libraries and run build tools, we need Node.js and its package manager, npm. Installing Node.js automatically installs npm.
Head to the Node.js website and download the LTS (Long-Term Support) version. It's the most stable choice for most users. Run the installer, accepting the default options. To verify the installation, open a new terminal and check the versions.
node -v
npm -v
Finally, we'll set up two tools that simplify deployment. Docker allows you to package your application and all its dependencies into a standardized unit called a container. This ensures your app runs the same way everywhere, from your laptop to a production server.
Docker is like creating a perfect, self-contained shipping container for your app. The container has the app, the right version of Python, all the libraries—everything it needs to run. You can then ship that container anywhere, and it just works.
Download and install Docker Desktop for Windows. Note that it may require you to enable virtualization features in your computer's BIOS and install the Windows Subsystem for Linux (WSL 2), but the installer will guide you through these steps.
Lastly, we'll set up the AWS Command Line Interface (CLI). This tool lets you interact with Amazon Web Services from your terminal, which is essential for deploying and managing your application in the cloud. Download the AWS CLI installer for Windows and run it. After installation, you'll need to configure it with your AWS credentials, which you can get from your AWS account's security settings.
aws configure
The prompt will ask for your Access Key ID, Secret Access Key, default region name, and default output format. Once you enter these, you're ready to interact with AWS from your command line.
Let's check your understanding of these essential tools.
When installing Python on Windows for the first time, which installation option is crucial to check to ensure you can run Python from any command prompt?
What is the primary benefit of using a Python virtual environment (venv) for each project?
Your development environment is now fully configured. You have the tools to write backend code with Python and Flask, build a frontend with JavaScript, track your work with Git, and containerize and deploy your application with Docker and the AWS CLI.