From VM to Live Website
Provisioning the Virtual Server
Choosing Your Foundation
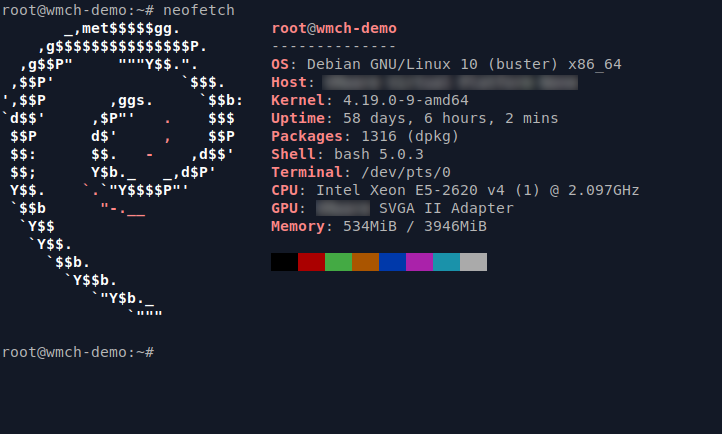
The first step in deploying a web application is choosing the right operating system. While countless Linux distributions are available, each with its own philosophy and toolset, the choice for a web server often comes down to stability, security, and community support. For these reasons, we'll focus on Ubuntu Server.
It's a popular, robust choice backed by Canonical and a massive global community. Specifically, we'll use a Long-Term Support (LTS) version. This ensures we get security updates and maintenance for five years, which is crucial for a server you want to set and forget, without worrying about major system changes every six months.
Server vs. Desktop
When you choose Ubuntu, you'll see two main options: Desktop and Server. The desktop version is what you'd install on a laptop. It comes with a full graphical user interface (GUI), web browser, office suite, and other applications for daily use. The server version is different.
It's a headless server, meaning it operates without a monitor, keyboard, or mouse connected—and most importantly, without a GUI. You interact with it exclusively through a command-line interface, typically over a network connection. This might seem limiting, but it's a massive advantage for a web server. With no graphical environment to run, the server uses far fewer resources (CPU, RAM) and presents a much smaller attack surface for potential security threats.
Where Will It Live?
Your server needs a home. You have two primary options: running it locally on your own machine inside a virtual machine (VM), or hosting it in the cloud.
Local VMs A local VM, using software like VirtualBox or VMware, is essentially a computer running inside your computer. It's a fantastic, no-cost option for development and testing. You have complete control over the environment and can quickly create snapshots or tear it down. The main drawback is that it's limited by your computer's resources and is only online when your machine is running.
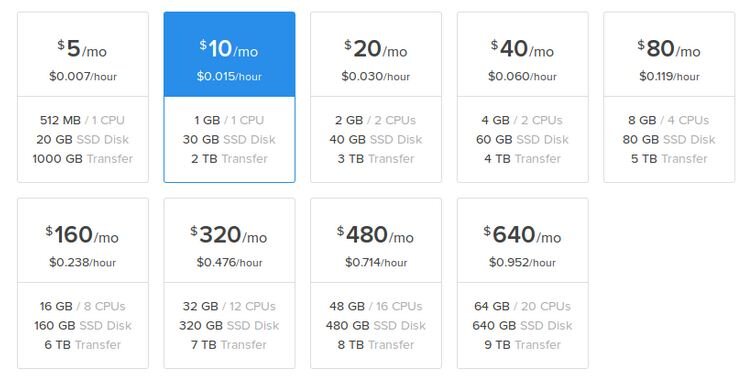
Cloud Hosting Cloud providers like AWS, Google Cloud, and Azure offer virtual private servers (VPS). This is the standard for production environments. You rent a slice of a massive, professionally managed data center. This gives you high availability, scalability, and robust networking. While it comes with a monthly cost, it's the practical choice for any application that needs to be accessible to the public.
First Boot and Updates
Whether you've spun up a local VM or a cloud instance, the very first task is always the same: update the system. The installation image you used is static; in the time since it was created, developers have released crucial security patches and bug fixes. Applying them immediately is non-negotiable for a secure server.
Log into your new server's command line and run the following command. It's actually two commands chained together with &&, which means the second command will only run if the first one succeeds.
sudo apt update && sudo apt upgrade -y
Let's break that down:
sudo: Executes the command with administrative (root) privileges.apt update: Downloads the latest list of available packages and their versions from Ubuntu's repositories. It doesn't install anything; it just refreshes the local catalog.apt upgrade -y: Compares the versions of installed packages against the newly updated catalog. It then downloads and installs the newer versions of any outdated packages. The-yflag automatically answers "yes" to any prompts, which is useful for automation.
With your system provisioned and up-to-date, you now have a clean, secure foundation ready for a web server.