Flute Fundamentals for Self-Taught Musicians
Flute Assembly and Care
The Three Parts of the Flute
Your flute comes in three main pieces. Knowing them is the first step to playing. Each part has a specific role in creating the instrument's sound and feel.
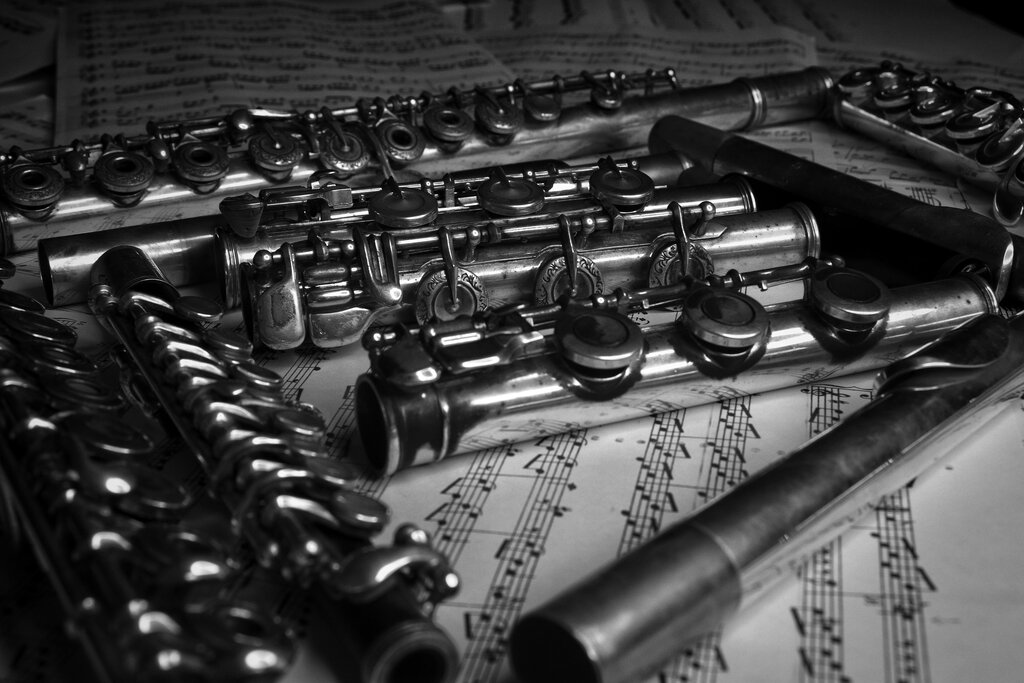
The head joint is where you make the sound. It has the lip plate, where you rest your chin, and the embouchure hole, which you blow across. Think of it as the flute's voice box.
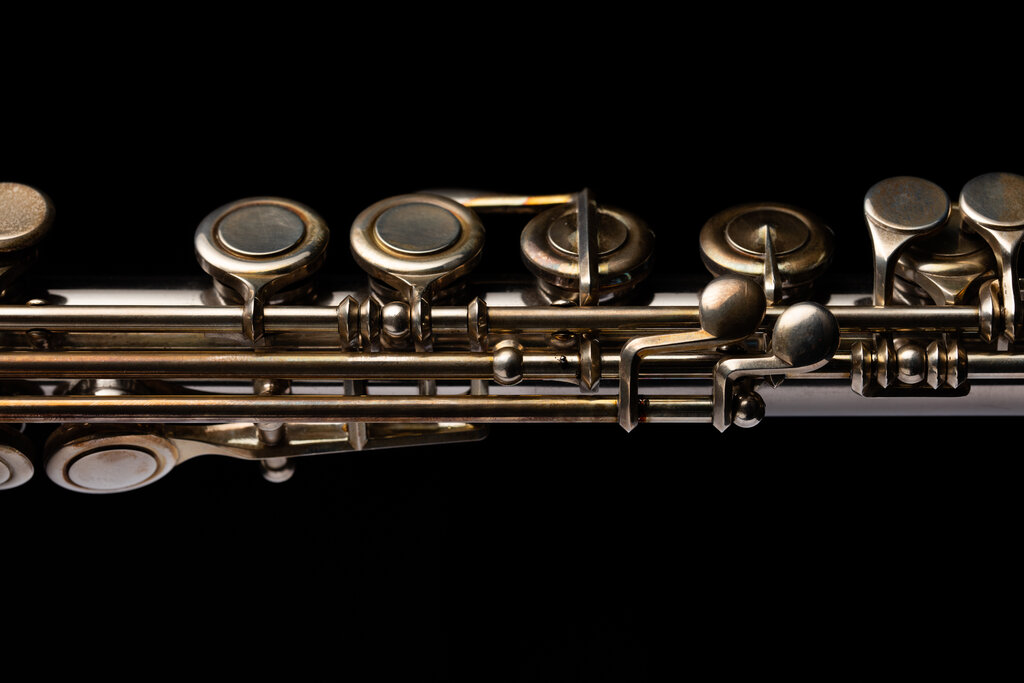
The body is the long middle section. It holds most of the keys your fingers will play. This is the core of the instrument, where different notes are formed.
The foot joint is the shortest piece at the end. It adds the lowest notes to the flute's range. Not every song uses these notes, but they complete the instrument.
Putting It All Together
Assembling your flute correctly protects it from damage. Always handle the parts carefully, and never grab them by the keys. The keys and rods are delicate and can bend easily.
Start with the body and the foot joint. Hold the body in one hand near the top, where there are no keys. Pick up the foot joint with your other hand, also holding it by a smooth, keyless section. Gently twist the foot joint onto the body. A slow, careful turning motion works best. Don't force it. If it feels tight, it might need to be cleaned by a professional.
To align the foot joint, look at the rod that runs along its length. This rod should line up with the center of the lowest keys on the main body of the flute.
Next, attach the head joint to the body. Hold the body just below the barrel, where the brand name is usually engraved. Use a similar gentle twisting motion to connect the head joint. The embouchure hole on the head joint should line up with the first key on the body. This alignment ensures a comfortable and natural playing position.
Keeping Your Flute Clean
Cleaning your flute after every time you play is the most important part of maintenance. Your breath creates moisture inside the instrument, which can damage the pads on the keys over time. A few minutes of cleaning will keep your flute in great shape for years.
First, disassemble the flute in the reverse order you assembled it. Handle each part just as carefully. You'll need a cleaning rod, which usually comes with the flute, and a soft, absorbent cloth. A piece of silk or a cotton handkerchief works well.
Thread a corner of the cloth through the eye of the cleaning rod. Don't wrap the cloth around the rod, as this can make it too thick and potentially scratch the inside of the flute. Instead, pull the cloth through so it covers the tip of the rod.
Insert the rod into each section of the flute and gently swab the inside two or three times to absorb all the moisture. For the head joint, be careful not to disturb the cork at the very top.
Finally, use a separate polishing cloth to wipe any fingerprints off the outside of the flute. This keeps the silver finish looking shiny and prevents tarnish. Once clean and dry, place each piece back in its designated spot in the case.
Never store your flute assembled. Always take it apart and put it away in its case after cleaning.
Time to check your understanding of the flute's parts and care.
Which part of the flute is primarily responsible for sound production?
When assembling the flute, what is the most important area to avoid grabbing?
Proper assembly and regular cleaning are foundational skills for any flutist. By mastering these simple routines, you protect your instrument and set yourself up for successful practice.