FL Studio Music Production Fundamentals
FL Studio Interface
Getting Around FL Studio
Opening FL Studio for the first time can feel like stepping into the cockpit of a spaceship. There are buttons, knobs, and windows everywhere. But once you know what the main controls do, you'll see it's all designed to help you make music quickly.
FL Studio's interface is built around five key windows that you'll constantly switch between: the Channel Rack, Piano Roll, Playlist, Mixer, and Browser. Each one has a specific job, and they all work together to bring your track to life. Let's break them down one by one.
This diagram shows how everything connects. Your sounds from the Browser are used to build ideas, which are sketched out in the Channel Rack and Piano Roll. Those sketches are then arranged into a song in the Playlist and polished in the Mixer.
The Core Components
Let's look at each window's role. You can open any of these using the toolbar icons at the top of the screen.
Channel Rack
noun
The heart of beat-making in FL Studio. It's a simple sequencer where you can load sounds (like drums, samples, and instruments) and create patterns by clicking in steps.
Each sound gets its own row, or "channel." The grid of buttons next to each sound is a step sequencer. You click buttons to place a sound on a specific beat. This makes it incredibly fast to lay down drum patterns or simple repeating melodies.
Every new instrument or sample you add to your project will first appear here. Think of it as your sketchbook for musical ideas and rhythms.
The Channel Rack is for creating the building blocks of your song, called patterns.
When you want to write more complex melodies or chords, you'll use the Piano Roll. You can open the Piano Roll for any channel by right-clicking its name in the Channel Rack.
Piano Roll
noun
A powerful note editor that lets you compose and edit melodies, chords, and basslines. It displays notes on a grid, with pitch on the vertical axis and time on the horizontal axis.
This is where you get surgical with your notes. You can adjust their exact timing, length, and velocity (how hard they're played). The piano keyboard on the left side serves as a visual guide for the pitches. If the Channel Rack is a sketchbook, the Piano Roll is where you turn those sketches into detailed drawings.
Once you've created a few patterns in the Channel Rack and Piano Roll, you need a place to arrange them into a full song. That's the job of the Playlist.
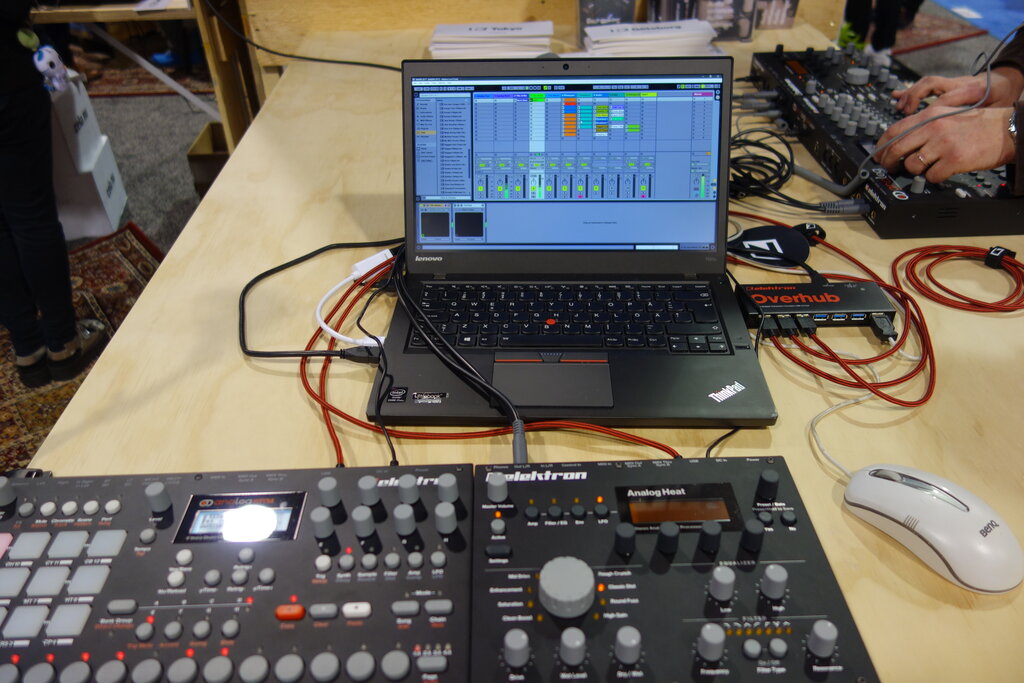
The Playlist is a timeline that reads from left to right. You can take the patterns you created and paint them into the Playlist to build out the structure of your song: intro, verse, chorus, and so on.
Besides patterns, you can also place audio clips (like vocals or sound effects) and automation clips directly onto the Playlist. Automation allows you to make changes over time, like slowly fading the volume up or tweaking a filter.
The Playlist is your canvas for arranging all the parts of your track into a complete song.
With your song arranged, it's time to make sure all the sounds work well together. For that, we head to the Mixer.
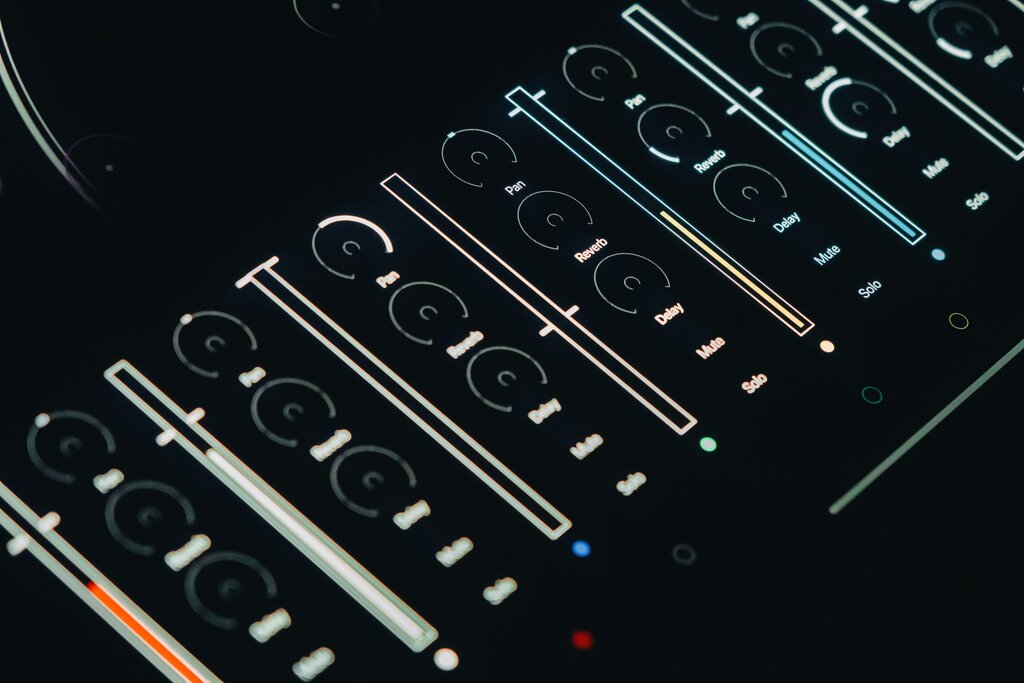
The Mixer is where you balance the volume levels of all your instruments and sounds. Each channel from the Channel Rack can be assigned to its own vertical strip in the Mixer, called a mixer track.
Each mixer track has a volume fader, knobs to control stereo panning (left and right placement), and slots where you can add effects like reverb, delay, and EQ. This is how you take a collection of individual sounds and make them sound like a cohesive, professional track.
But where do all these sounds and instruments come from in the first place? That's the final piece of the puzzle: the Browser.
Browser
noun
A file explorer built into FL Studio. It gives you access to all your sound libraries, samples, presets, plugins, and project files without having to leave the program.
Located on the left side of the screen by default, the Browser is your creative toolkit. It's organized in a folder structure. You can click to preview sounds, then drag-and-drop them directly into the Channel Rack or Playlist to use them in your song. It's also where you'll find all the virtual instruments and effects that come with FL Studio.
Understanding these five windows is the key to mastering your workflow. You'll soon be navigating between them without a second thought, focusing on what really matters: making music.