FL Studio Mastery
FL Studio Interface
Your First Look at FL Studio
Opening FL Studio for the first time can feel like stepping into the cockpit of a spaceship. There are buttons, knobs, and windows everywhere. But don't worry, you only need to understand three main areas to get started: the Channel Rack, the Playlist, and the Mixer. Think of them as your core toolkit for making music.
The Channel Rack
The Channel Rack is where your sounds live. Every instrument, drum sample, or audio clip you use will appear here as a separate channel. It’s your sonic palette. When you open a new project, FL Studio loads a few default drum sounds like a kick, clap, hat, and snare to get you going.
To the right of each channel name, you'll see a grid of buttons. This is the Step Sequencer. It's a simple but powerful tool for creating patterns, especially for drums. Just click on the buttons to place a sound at a specific step in the sequence. For example, clicking the first, fifth, ninth, and thirteenth buttons for the kick drum will create a standard four-on-the-floor beat common in dance music.
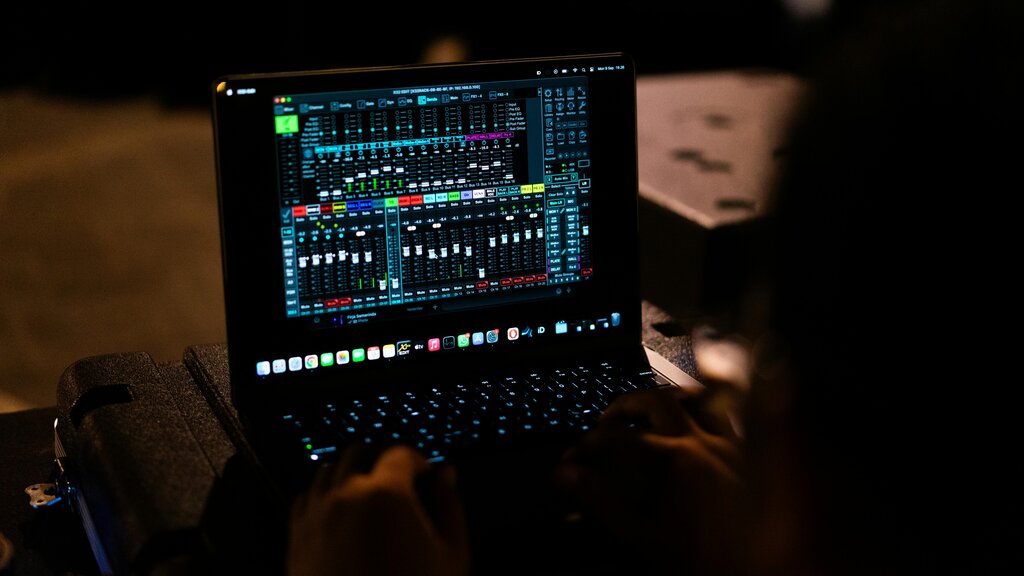
Each sound in the Channel Rack is automatically assigned to a track in the Mixer, which is where you'll process and balance them. You can see the number for the assigned Mixer track next to each channel's name. This connection is key to making your sounds work together.
The Playlist
Once you've created a few patterns in the Channel Rack, you need a place to arrange them into a full song. That's what the Playlist is for. Think of it as your timeline or canvas. You can paint your patterns onto the Playlist to build out the structure of your track: intro, verse, chorus, and so on.
To place a pattern, you simply select it and click it into the grid. You can stack different patterns on top of each other to have multiple instruments playing at once. This is also where you'll work with audio clips, like vocals or samples, and automation clips, which control how parameters change over time.
The Mixer
The Mixer is where you become a sound engineer. Every sound from your Channel Rack flows into a corresponding channel strip in the Mixer. Each strip has a fader to control its volume, a knob for panning (placing the sound in the left or right speaker), and slots for adding effects.
This is where you balance the levels of your instruments so nothing is too loud or too quiet. You can also add effects like reverb to make a sound feel like it's in a big room, or EQ (equalization) to shape its tonal character. The Master track is the final channel where all your sounds are combined before they reach your speakers.
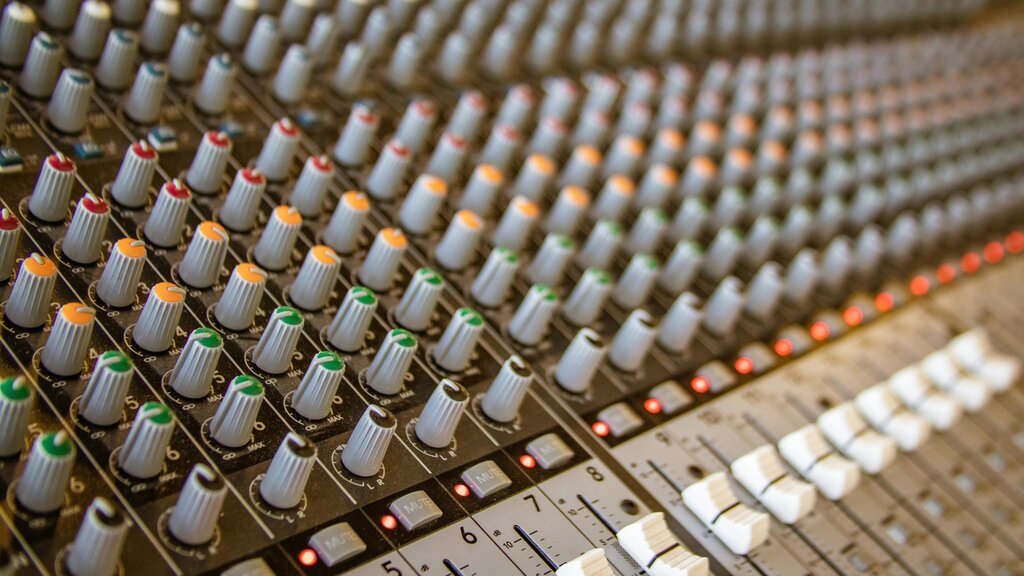
Start simple. Focus on getting a good volume balance between your kick, snare, and melody before diving into complex effects.
Now that you know the main windows, let's see how they work together.
What is the primary function of the Channel Rack in FL Studio?
If you want to arrange your patterns to form an intro, verse, and chorus, which window would you use?
Understanding these three windows is the first major step. You now have a map to navigate FL Studio and can start bringing your musical ideas to life.