Figma for Product Managers
Figma Basics
Getting Around Figma
When you first open a Figma file, you'll see a clean workspace divided into a few key areas. Think of it like a digital workshop. You have your tools, your materials, and your workbench right in front of you.
Here's a quick breakdown:
-
Canvas: The large area in the middle is your canvas. This is where you'll create all your designs, from simple wireframes to detailed mockups. You can pan around by holding the spacebar and clicking-and-dragging, and zoom in and out using your trackpad or
Ctrl/Cmd+ scroll wheel. -
Toolbar: The bar across the top holds your primary tools. This is where you'll find the move tool, shape tools, text tool, and more.
-
Layers Panel: On the left, this panel lists every single object on your canvas—shapes, text, images, and groups. It's like a table of contents for your design.
-
Properties Panel: On the right, this panel is context-sensitive. When you select an object on the canvas, this panel shows all the properties you can change, like color, size, font, and effects. If nothing is selected, it shows properties for the canvas itself.
Your Basic Toolkit
You don't need to master every tool to get started. For now, let's focus on the essentials you'll use constantly: shapes and text. These are the fundamental building blocks of any design or diagram.
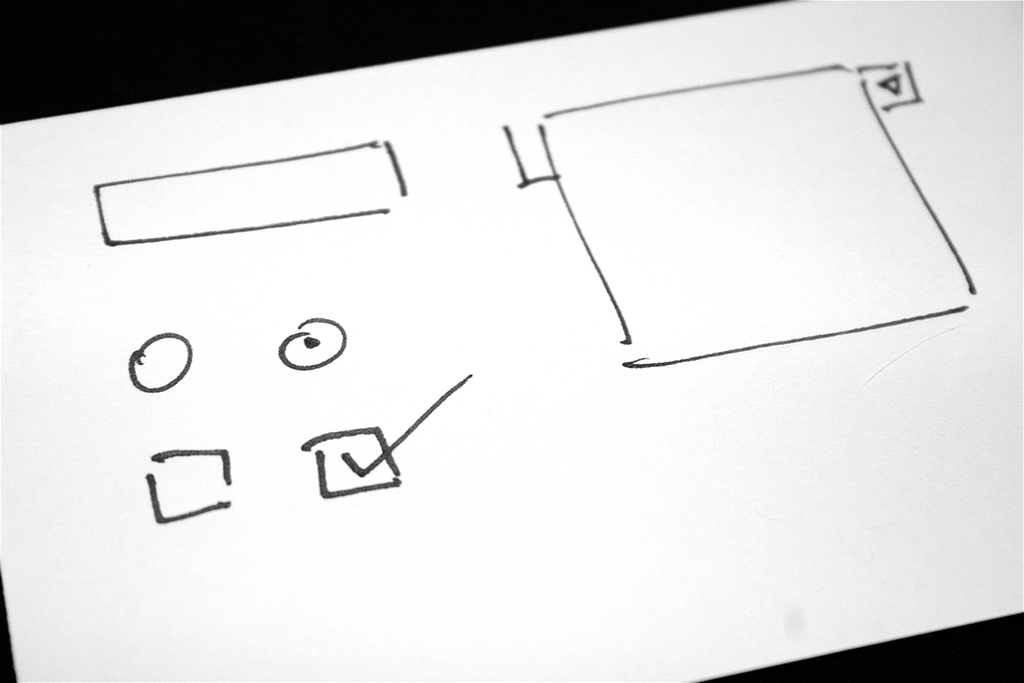
In the toolbar, you'll see a square icon. Clicking the dropdown arrow next to it reveals a menu of shape tools: Rectangle, Line, Arrow, Ellipse, Polygon, and Star. Select one, then click and drag on the canvas to draw it. Simple as that.
Once you've drawn a shape, select it with the Move tool (the arrow icon in the toolbar). Now look at the Properties Panel on the right. You'll see options to change its dimensions, position (X and Y coordinates), corner radius, fill color, and add a stroke (an outline).
Pro Tip: Hold the
Shiftkey while dragging to create a perfect square or circle. HoldAlt/Optionto draw a shape from its center instead of a corner.
Next up is the Text tool, marked with a 'T' in the toolbar. Select it, click anywhere on the canvas, and start typing. To create a block of text that wraps automatically, click and drag to draw a text box first, then type inside it.
With your text selected, the Properties Panel transforms to show text-specific options. You can change the font, weight (bold, regular), size, line height, letter spacing, and alignment. All the controls you'd expect are right there.
Staying Organized
As you add more shapes and text, your canvas can get crowded. This is where the Layers Panel becomes your best friend. Every object you create appears as a new layer in this list. The order of the layers matters: layers at the top of the list appear in front of layers at the bottom.
You can rename any layer by double-clicking it. Giving layers descriptive names like 'Header Text' or 'Login Button' will save you a lot of headaches later.
To change the stacking order, just click and drag a layer up or down in the list. You can also group layers together to keep your panel tidy. Select multiple layers by holding Shift and clicking on them, then right-click and choose 'Group Selection' or use the shortcut Ctrl/Cmd + G. Now you can move and modify the whole group as a single unit.
Finally, let's talk about files. Figma organizes your work into Projects, which are like folders, and Files, which are the documents inside them. From your Figma dashboard, you can create new projects to organize your work by feature, team, or status. Keeping your files organized from the start is a simple habit that makes a big difference.
What is the main purpose of the Canvas in the Figma interface?
You have nothing selected on your Figma canvas. What will the Properties Panel on the right show?
With these basics, you have everything you need to start creating simple diagrams and wireframes in Figma.