Figma for Deck Design
Introduction to Figma
Your First Steps in Figma
Figma is a design tool that runs right in your web browser. While it's powerful enough to build entire websites and apps, it's also a fantastic tool for creating clear, professional presentations. Think of it as a limitless whiteboard where you can design your slides exactly how you want.
Figma is a collaborative, cloud-based design tool primarily used for creating user interfaces and prototypes for websites and applications.
The first thing you'll need to do is create a free account. Just visit the Figma website and sign up. Once you're in and create a new design file, you'll see your workspace. This is where you'll build your slide deck.
The Figma Interface
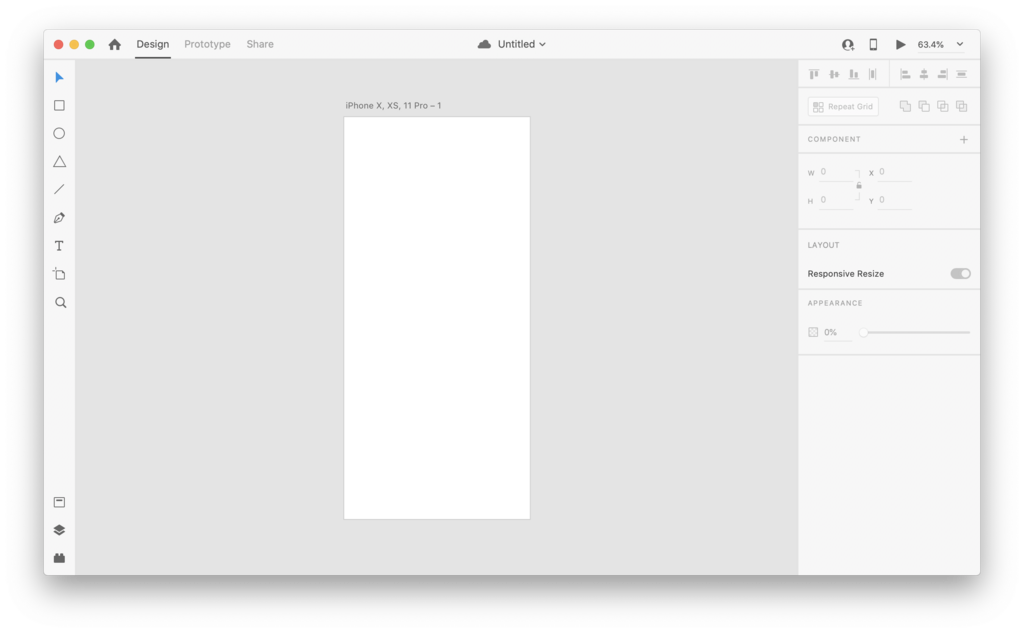
When you first open a file, the interface might look busy, but it's organised logically into three main areas.
-
Toolbar (Top): This is where you'll find all the main tools for creating things. We'll focus on the Frame, Shape, and Text tools.
-
Layers Panel (Left): Every object you add—a piece of text, a shape, an image—appears here as a 'layer.' This panel helps you keep your work organised, especially as your slides get more complex.
-
Properties Panel (Right): When you select an object on your canvas, this panel comes to life. It lets you change properties like colour, size, font, and alignment. It’s your main control centre for customising elements.
Building Your Slides with Frames
In Figma, you don't start with a 'slide.' You start with a Frame. A frame is just a container for your design elements. For our purposes, each frame will be one slide in our presentation.
Frame
noun
A container in Figma that acts as a canvas for your designs. For presentations, each frame typically represents a single slide.
To create your first slide, select the Frame tool from the toolbar (or just press the 'F' key). When you do, the Properties Panel on the right will show you a list of preset sizes. Look for the 'Presentation' category and choose a size like 16:9. Figma will instantly create a perfectly sized frame on your canvas, ready for you to design on.
Once you have a frame, you can start adding content. The three most basic tools you'll use are for creating shapes, text, and adding images.
| Tool | Shortcut | What it does |
|---|---|---|
| Rectangle | R | Draws a rectangle or square. Click the arrow next to it for other shapes. |
| Text | T | Creates a text box for you to type in. |
| Place Image | Ctrl+Shift+K | Opens a file browser to add an image from your computer. |
Try it now. Select your frame, press 'T' to select the text tool, and click inside the frame to write a title for your slide. Then, select the text you just wrote. Look over at the Properties Panel on the right. You can now change the font, size, colour, and alignment, just like in any text editor.
Adding shapes works the same way. Press 'R' to draw a rectangle. Once it's on your canvas, use the Properties Panel to change its fill colour, add a border (called a 'stroke' in Figma), or round its corners.
What is the primary container for a single slide in a Figma presentation called?
You've just created a rectangle and want to change its colour. Which part of the Figma interface would you use?
That's it for the basics. You now know how to set up your workspace, create slides using frames, and add the fundamental building blocks of any presentation.