Family Camping in Shenandoah
Skyline Tent Setup
Pitching the Skyline
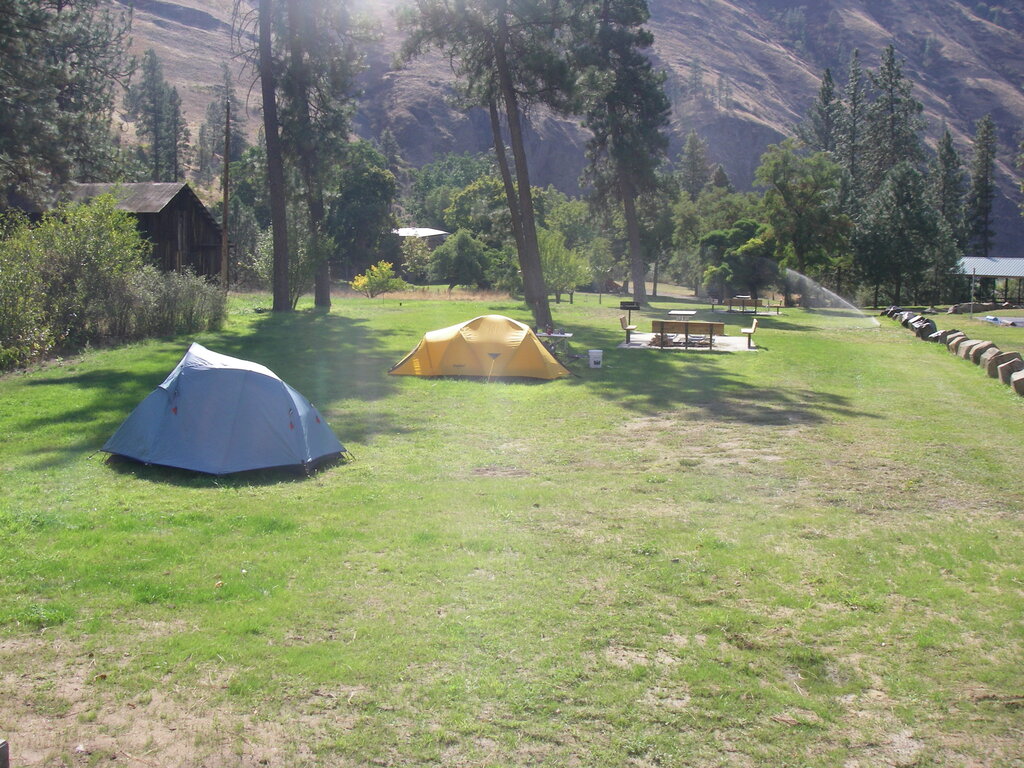
The Springbar Skyline isn't your average backpacking tent. Its generous footprint, around 10x14 or 12x15 feet depending on the model, offers ample living space but demands a specific kind of campsite. Unlike flexible dome tents, the Skyline's tension-based structure requires a nearly flat, level surface to achieve a taut, storm-worthy pitch. In Shenandoah's rolling terrain, finding a suitable spot is the first and most critical step. Look for established tent pads in designated campgrounds, as they are usually your best bet for a pre-leveled area large enough to accommodate the tent without putting strain on the seams.
Assembly and Tension
Setting up a Skyline follows a unique and deliberate sequence. The entire structure relies on tension created against a perfectly staked perimeter. Don't try to raise the poles first. Instead, lay the tent flat and square it up. Begin by driving in the heavy-duty steel wedge stakes at each corner loop, pulling the floor taut but not over-stretching it. Continue staking all the perimeter loops.
Only after the base is fully secured should you assemble the poles. Connect the sections of the ridge pole and slide it into the sleeves along the tent's peak. Then, position the two upright poles under the ridge pole at either end. This is where the magic of the design happens. Push the uprights into a vertical position. This action levers the canvas upward and outward, creating the tension that gives the tent its shape and stability. The final structure should be tight as a drum, with no sagging in the roof or walls.