Exploring Hand Stitching Techniques
Introduction to Hand Sewing and Embroidery
The Right Tools for the Job
Hand sewing and embroidery are simple skills, but the right tools make a world of difference. Your journey starts with three basics: a needle, thread, and fabric. Choosing the correct combination is the first step toward creating neat, durable stitches.
Needles, Thread, and Fabric
Needles aren't one-size-fits-all. They vary in length, thickness, and the size of the eye (the hole for the thread). A smaller needle number means a thicker, longer needle. For general sewing, a size 7 or 8 is a good starting point.
| Needle Type | Key Feature | Common Use |
|---|---|---|
| Sharps | Medium length, sharp point | General hand sewing |
| Embroidery | Long eye, sharp point | Stitching with thicker floss |
| Tapestry | Large eye, blunt point | Cross-stitch on Aida cloth |
| Betweens | Short length, sharp point | Quilting and detailed work |
Next is thread. For basic repairs and construction, all-purpose polyester or cotton thread is perfect. For decorative embroidery, you'll use embroidery floss. Floss is a bundle of six strands that can be separated to create stitches of different thicknesses. Most patterns call for using two or three strands at a time.
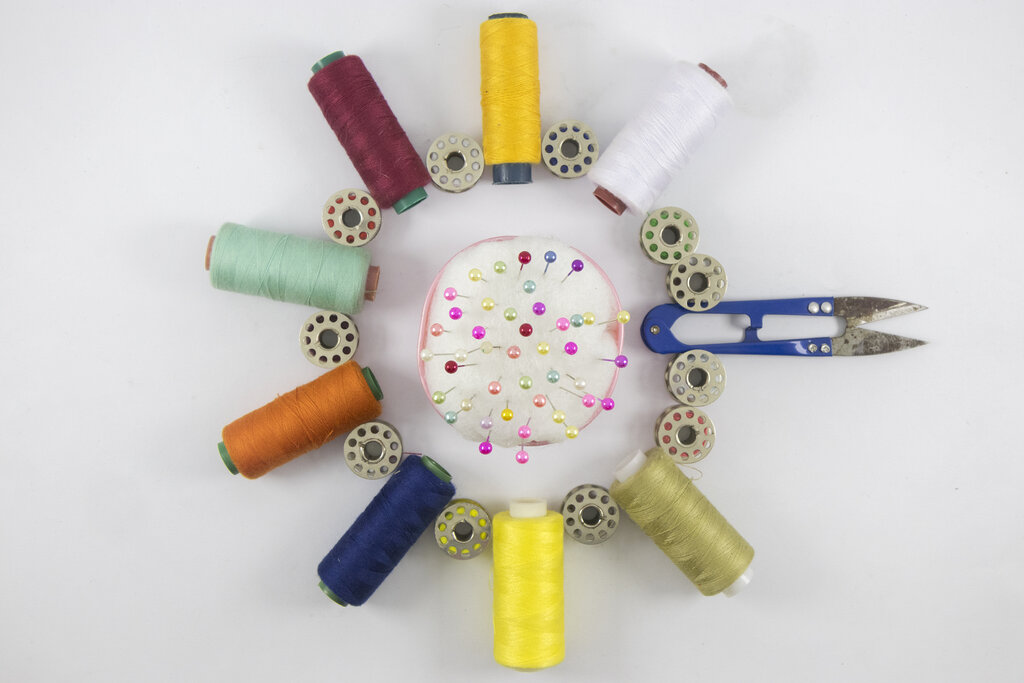
Finally, choose your fabric. Beginners should start with medium-weight woven fabrics like cotton, linen, or muslin. Their stable weave doesn't stretch, making it easier to pull the needle through and create even stitches. Avoid slippery fabrics like silk or stretchy knits until you're more comfortable.
Preparing for Your First Stitch
Before you sew, it's a good idea to prepare your fabric. Washing and drying it beforehand preshrinks it, preventing your finished project from warping later. Ironing the fabric creates a smooth, flat surface that makes stitching much easier and more precise.
For embroidery, an embroidery hoop is essential. It holds the fabric taut, which prevents puckering and helps you make uniform stitches.
- Loosen the screw on the outer ring.
- Separate the two rings.
- Lay your fabric over the inner ring.
- Place the outer ring over the fabric and press down firmly.
- Pull the fabric edges to make sure it's drum-tight, then tighten the screw.
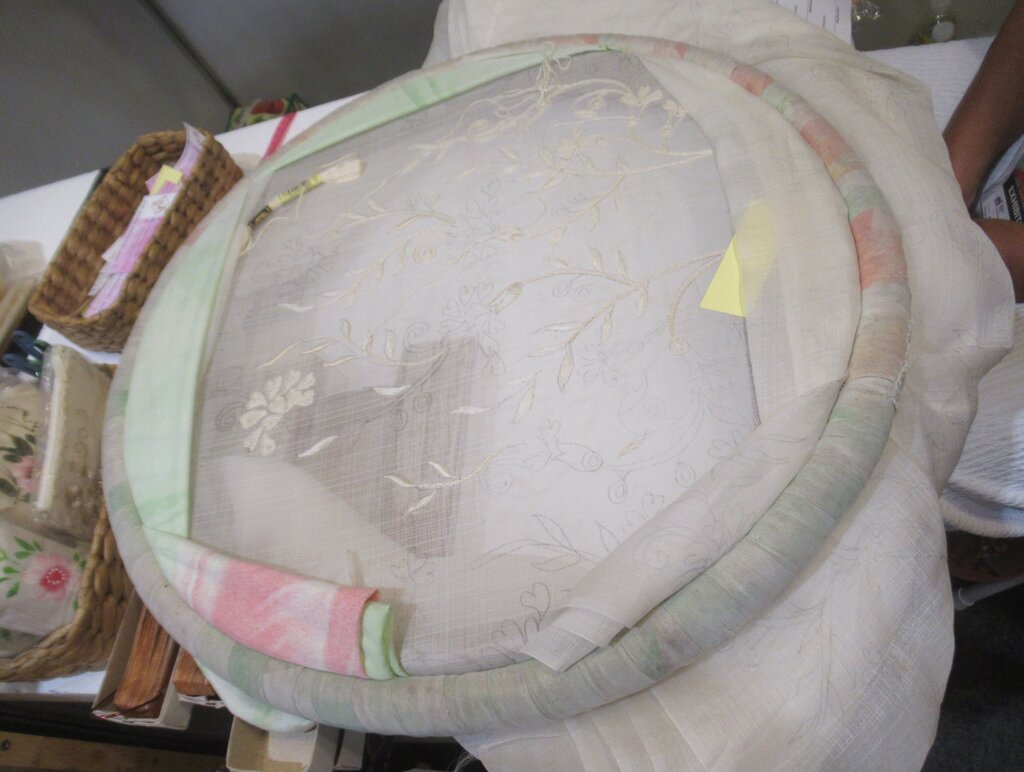
With your hoop set, it's time to thread your needle. Cut a piece of thread about 18 inches long—any longer and it's likely to tangle. Moisten the tip of the thread slightly and pinch it flat to make it easier to guide through the needle's eye.
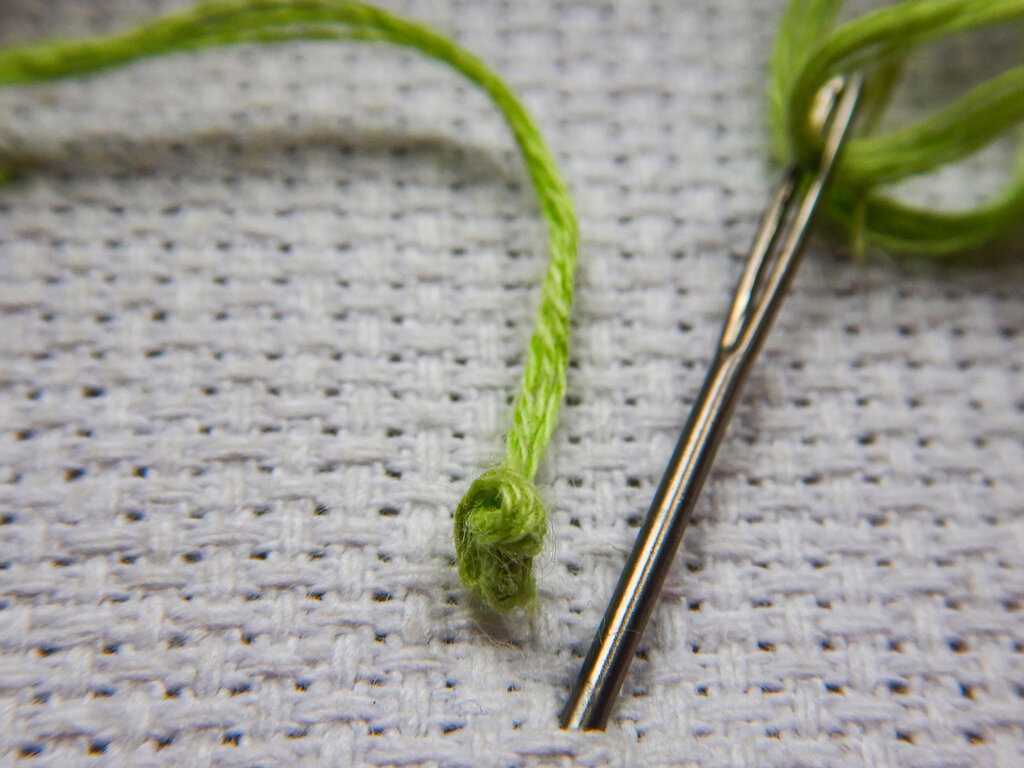
Once threaded, you need a knot to anchor your first stitch. The simplest way is to wrap the thread's tail end around your index finger twice. Roll the loops off your finger with your thumb, then pull the loops down toward the end of the thread to form a small, tight knot.
When selecting a hand-sewing needle, what does a smaller size number (e.g., a size 7 vs. a size 10) indicate?
What is the primary purpose of an embroidery hoop?
With your tools selected and your needle threaded, you're ready to learn your first stitches.