Excel Mastery for Beginners
Excel Basics
Getting Around Excel
When you first open Excel, you're looking at a workbook. Think of it as a digital notebook. Each page in this notebook is called a worksheet, or just a "sheet." You can see tabs for each sheet at the bottom-left, and you can add more by clicking the plus sign.
The main part of the screen is a grid of boxes. Each box is a cell. Cells are organized into numbered rows and lettered columns. A cell's address, or reference, is its column letter and row number, like A1, B2, or C14. The cell you've clicked on is the active cell, and it will have a green border around it.
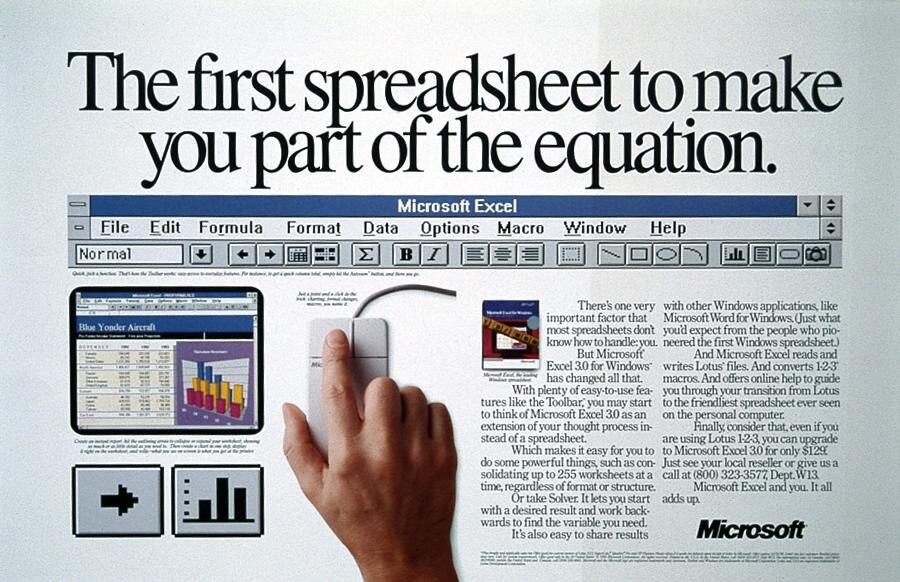
At the top, you'll find the Ribbon, which holds all of Excel's tools, grouped into tabs like "Home," "Insert," and "Page Layout." The "Home" tab is where you'll find the most common tools for formatting and editing. Just above the grid is the Formula Bar, which shows you the contents of the active cell. This bar becomes very important later when we start working with formulas.
You can navigate the grid using your mouse or the arrow keys on your keyboard. Pressing Enter moves you down one cell, while Tab moves you one cell to the right.
Entering and Editing Data
Getting information into a worksheet is simple. Just click a cell and start typing. You can enter text, numbers, or dates. When you're done, press Enter. The content is now stored in that cell.
Made a mistake? No problem. To edit what's in a cell, you can either double-click it to type directly inside the cell, or you can click the cell once and then edit its contents in the Formula Bar. Choose whichever feels more comfortable.
Sometimes your text won't fit neatly in a cell. You can easily resize columns and rows. Move your mouse to the line between two column letters (like between A and B) or two row numbers. Your cursor will change to a double-sided arrow. Click and drag to make the column or row wider or taller.
For a quick-fit, just double-click the line between two column headers. Excel will automatically resize the column to fit the widest content within it.
Making Your Data Look Good
Raw data can be hard to read. Basic formatting helps organize your worksheet and make it easier to understand. All the essential formatting tools are in the "Home" tab of the Ribbon.
You can change the font, make text bigger or smaller, and apply bold, italic, or an underline. You can also change the color of the text itself or add a background color to a cell, which is called the Fill Color.
Borders are another great way to group information. You can add a border around a single cell or a whole block of cells to make them stand out. It's like drawing lines on paper to create a table.
| Task | Due Date | Status |
|---|---|---|
| Draft Report | May 1 | In Progress |
| Team Meeting | May 3 | Not Started |
| Final Review | May 10 | Complete |
The table above is plain. But with a little formatting—a background color for the header, bold text, and some grid lines—it becomes much clearer and more professional. These small touches make a big difference.
Now, let's test what you've learned about the basics of the Excel environment.
In Excel, what is the term for the entire file you are working on, which contains one or more sheets?
Which of the following is the correct address, or reference, for the cell located in the third column and the fifth row?
Great job. You've now got a solid handle on the fundamental building blocks of Excel. You can navigate the interface, enter data, and apply simple formatting to make your information clear and readable.