Excel Basics for Young Learners
Excel Interface
Your First Look at Excel
When you open Microsoft Excel, you're looking at a workbook. Think of it as a digital notebook. Just like a physical notebook has pages, an Excel workbook has worksheets, often called spreadsheets. You can see these as tabs at the bottom of the screen, usually starting with "Sheet1".
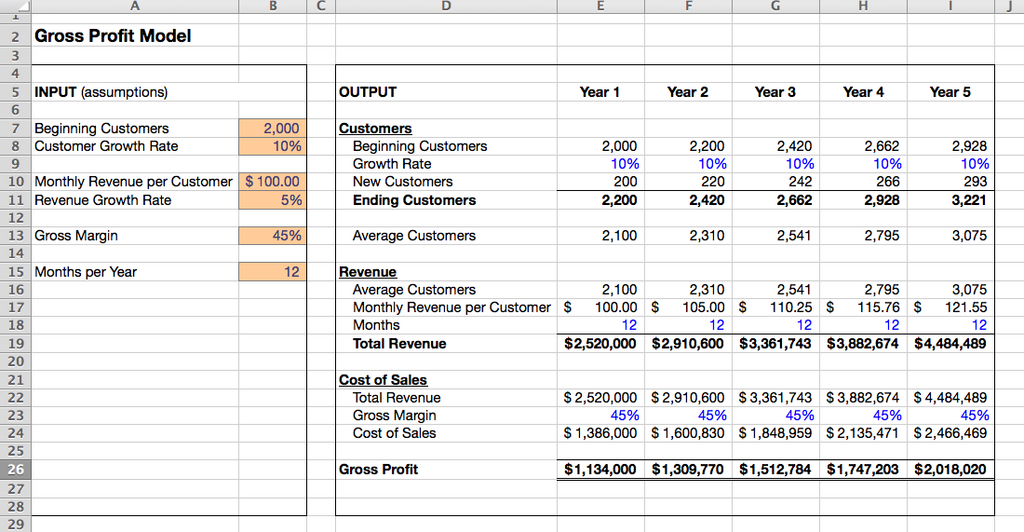
Each worksheet is a giant grid made up of boxes. This grid is where you'll enter and organize your information, whether it's a budget, a project plan, or a simple list.
The Building Blocks
The grid is made of three key parts: columns, rows, and cells.
Columns are the vertical stacks of boxes, labeled with letters (A, B, C...).
Rows are the horizontal lines of boxes, labeled with numbers (1, 2, 3...).
A cell is the single box where a column and a row intersect.
Each cell has a unique address, or cell reference, which is just its column letter followed by its row number. For example, the cell in the very top-left corner is called A1. The cell to its right is B1, and the cell below it is A2.
To work with a cell, you first need to select it. Just click on it. The selected cell will have a border around it, and its reference will appear in the Name Box, which is located just above the column headers.
Your Command Center
At the top of the Excel window is the Ribbon. This is where you'll find all the tools and commands you need. The Ribbon is organized into a series of tabs, each focused on a specific type of task.
| Tab | Purpose |
|---|---|
| File | Manage your workbooks: open, save, print, and share. |
| Home | Contains the most common commands, like formatting text (bold, colors), aligning content, and cutting/copying/pasting. |
| Insert | Add things to your worksheet, such as charts, tables, pictures, and shapes. |
| Page Layout | Adjust settings for printing, like margins and orientation. |
| Formulas | Access Excel's library of built-in functions for calculations. |
| Data | Tools for working with large sets of information, like sorting and filtering. |
Don't worry about memorizing every button. The key is to know which tab to look in when you want to do something. If you want to change how your text looks, start with the Home tab. If you need to add a graph, head to the Insert tab.
Opening and Saving
All of your file management happens in the File tab. When you click it, it opens a different view called the Backstage view.
Here's what you need to know:
- New: Creates a blank workbook.
- Open: Opens an existing workbook you've already saved.
- Save: Saves the current changes to your file. If it's a new file, it will ask you where to save it and what to name it.
- Save As: Saves a copy of the current workbook. This is useful for creating a new version of a file while keeping the original unchanged.
Getting comfortable with the layout is the first step. Click around the different tabs and see what's there. You can't break anything just by looking!
Now that you know your way around the basic interface, you're ready to start entering data and making Excel work for you.