ESP32 MicroPython IoT Projects
Introduction to ESP32 and MicroPython
Meet the ESP32
At the heart of countless smart devices, from light bulbs to thermostats, you'll often find a tiny computer called a microcontroller. Think of it as a miniature brain designed for a specific task. One of the most popular and powerful of these is the ESP32.
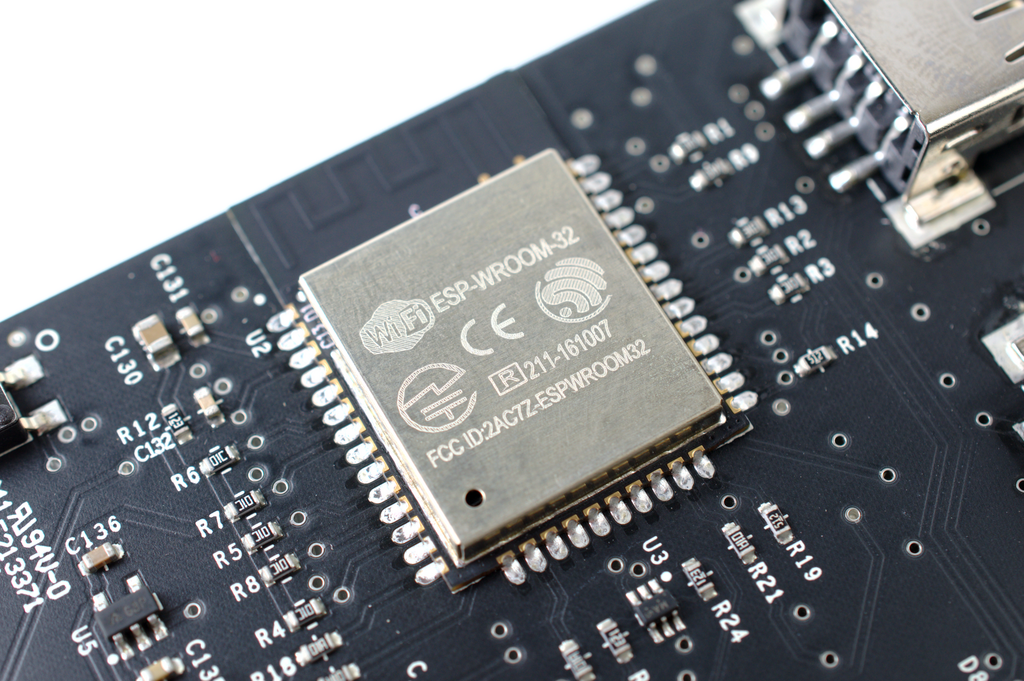
The ESP32 isn't just a simple processor. It's a complete "System on a Chip" (SoC), which means it packs a CPU, memory, and input/output controllers all into one small package. What makes it a favorite for hobbyists and professionals alike are its built-in Wi-Fi and Bluetooth capabilities. This allows your projects to connect to the internet or other devices wirelessly, right out of the box.
Python on a Chip
Traditionally, programming microcontrollers meant using languages like C or C++. These are powerful but can be complex for beginners. This is where MicroPython comes in. It's a lean and efficient version of the popular Python 3 programming language, specifically designed to run on small devices like the ESP32.
MicroPython allows you to write clean and simple Python code to control hardware, instead of the more complex low-level languages. This makes electronics more accessible and fun.
One of MicroPython's best features is its interactive prompt, also known as the REPL (Read-Eval-Print Loop). The REPL lets you connect to your ESP32 and type commands one by one, seeing the results instantly. This is fantastic for testing ideas and learning how the hardware works without having to write, compile, and upload a full program every time you make a small change.
Setting Up Your Workspace
To start programming your ESP32, you need two things: a code editor and the MicroPython software (called firmware) on the board itself. A great editor for beginners is Thonny, a simple Python IDE that comes with tools to communicate with your ESP32. You can download it for free from the Thonny website.
Once Thonny is installed, the next step is to flash the MicroPython firmware onto your ESP32. This process erases the board's existing software and replaces it with the MicroPython interpreter.
Flashing is a one-time setup step. After this, you can run and save as many Python scripts as you like.
First, you'll need to download the latest stable firmware file for the ESP32 from the official MicroPython website. Look for a file ending in .bin.
Next, you'll use a command-line tool called esptool.py to flash the board. If you have Python installed on your computer, you can install it by running pip install esptool in your terminal. With your ESP32 plugged into your computer's USB port, you'll run two commands.
First, erase the flash memory. This command cleans the board, preparing it for the new firmware. You'll need to replace PORT with your ESP32's serial port name (like COM3 on Windows or /dev/ttyUSB0 on Linux/Mac).
esptool.py --chip esp32 --port PORT erase_flash
Next, write the new firmware. This command uploads the .bin file you downloaded to the ESP32. Make sure the path to your firmware file is correct.
esptool.py --chip esp32 --port PORT --baud 460800 write_flash -z 0x1000 esp32-firmware.bin
Your First Script
With the firmware installed, open Thonny. Go to Tools > Options and select the 'Interpreter' tab. Choose 'MicroPython (ESP32)' as the interpreter and select your device's serial port. Thonny will then connect to your board.
You should see the MicroPython REPL prompt (>>>) in the Shell panel at the bottom. You can now type Python code directly and execute it on the ESP32. Try it out:
print('Hello, ESP32!')
The board will immediately respond with Hello, ESP32!. This immediate feedback is the power of the REPL.
Now for the classic first hardware project: blinking an LED. Most ESP32 boards have a small, built-in LED, usually connected to General Purpose Input/Output (GPIO) pin 2. We can control it with a simple script. Type these lines one by one into the REPL.
# Import necessary libraries
from machine import Pin
from time import sleep

# Set up the LED pin (usually pin 2) as an output
led = Pin(2, Pin.OUT)

# Turn the LED on and off
led.value(1) # Turn on
sleep(1)     # Wait 1 second
led.value(0) # Turn off
You just controlled a physical object with code! You can also save this script as a file on your computer and run it through Thonny. Even better, you can save it directly onto the ESP32's filesystem with the name main.py. When a file is named main.py, the ESP32 will run it automatically every time it powers on.