Embroidery Machine Fundamentals
Embroidery Machine Basics
Meet Your Machine
An embroidery machine might look complex, but it's built around a few key parts that work together to create beautiful designs. Let's break them down.
The spool pin holds your top thread, which the machine pulls from to create the top side of your stitches. From there, the thread follows a specific thread path, a series of guides and levers that lead it to the needle. Getting this path right is crucial for smooth stitching.
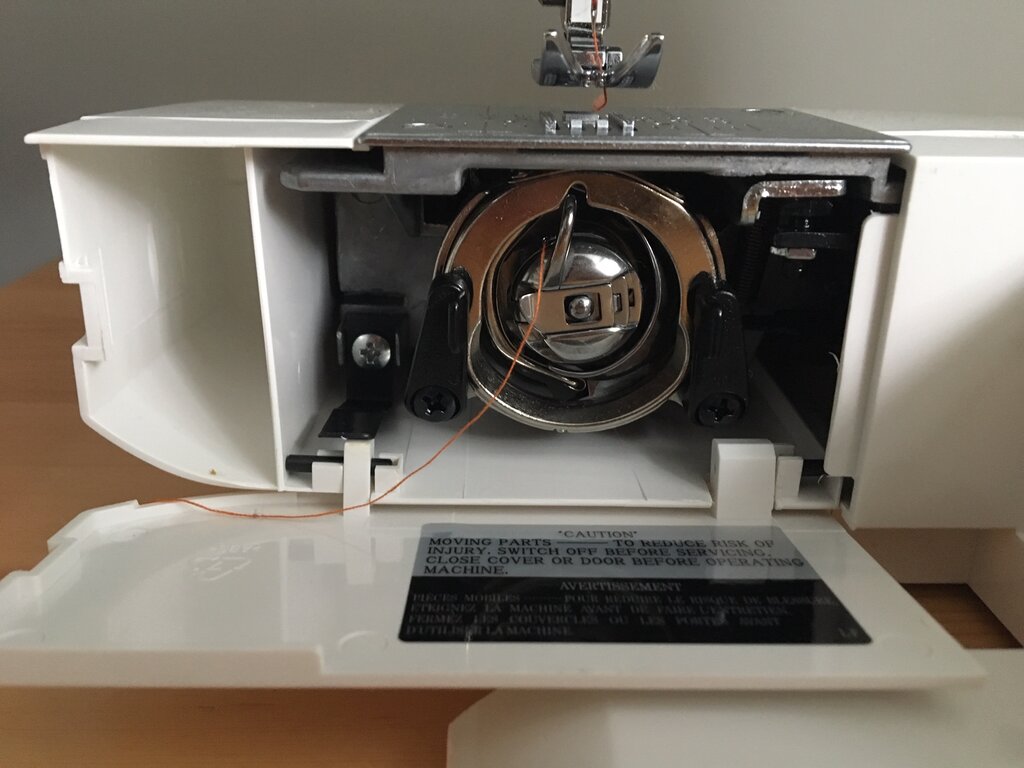
The needle does the actual stitching, moving up and down to pierce the fabric. Just below it is the bobbin, a small spool that holds the bottom thread. The machine loops the top and bottom threads together to form a lockstitch.
The hoop is a frame that holds your fabric tight and flat, which is essential for preventing puckers. The hoop clicks into the hoop attachment on the machine, which moves the fabric around under the needle according to your design. Finally, the control panel is your command center. It's where you'll load designs, choose colors, and start the stitching process.
Getting Ready to Stitch
Before you can embroider, you need to set up the machine. This involves two main tasks: threading the machine and hooping your fabric.
Threading the machine seems intimidating at first, but most modern machines have numbered guides printed right on them to show you the way. Just follow the numbers in order.
The process generally goes like this:
- Place your spool of thread on the spool pin.
- Guide the thread through the upper thread path, following the numbered sequence.
- Pass the thread through the tension mechanism, which controls how tightly the thread is pulled.
- Thread the needle. Many machines have an automatic needle threader to make this step easier.
Next is the bobbin. You'll wind thread onto an empty bobbin and drop it into the bobbin compartment, leaving a short tail of thread. When you start stitching, the machine will pick up this bobbin thread automatically.
Now for the fabric. Hooping correctly is one of the most important skills in machine embroidery. The goal is to get the fabric taut, like the surface of a drum, but not stretched out of shape. You'll also use a piece of stabilizer—a special backing material—along with your fabric. Stabilizer supports the fabric and prevents stitches from distorting.
To hoop, you'll separate the inner and outer rings of the hoop. Place your stabilizer and fabric over the inner ring, then press the outer ring down over it. Tighten the screw until the fabric is secure.
From Design to Fabric
With your machine threaded and fabric hooped, you're ready for the fun part. Embroidery designs are digital files, usually loaded onto the machine via a USB stick or a direct computer connection.
Once loaded, the design appears on your machine's control screen. Here, you can make adjustments. You can resize the design slightly, rotate it, or move its position within the hoop. The screen will also show you the different thread colors needed for the design and the order in which they're used.
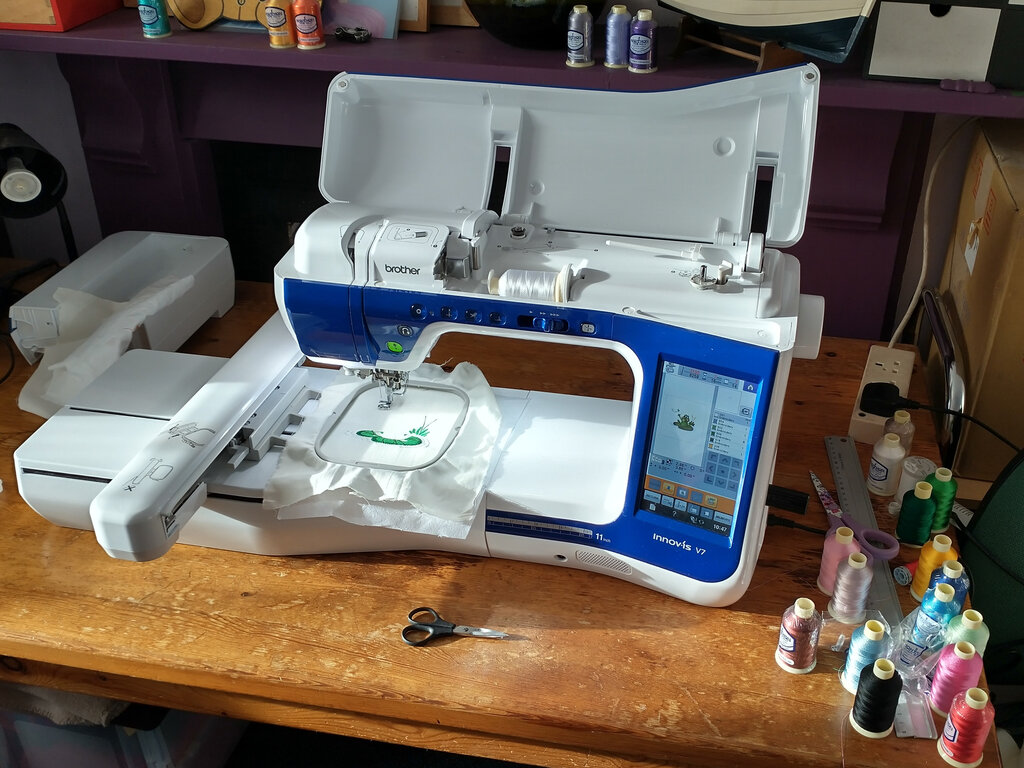
When you're happy with the placement, you'll attach the hoop to the machine and press the start button. The machine will begin stitching the first color. It's a good idea to watch the first few stitches to make sure everything is running smoothly. The machine will automatically stop and tell you when it's time to change the thread to the next color in the sequence.
And that's it! The machine handles all the complex movements, moving the hoop precisely while the needle stitches, bringing your digital design to life on fabric.
Ready to test your knowledge?
What is the primary function of the bobbin in an embroidery machine?
When hooping fabric, what is the main purpose of using a stabilizer?
Now you know the basic parts and operations of your embroidery machine. The best way to get comfortable is to practice these setup steps until they feel like second nature.