Embroidery Essentials
Embroidery Tools and Materials
Gathering Your Supplies
Before you can make your first stitch, you need the right tools. Think of it like cooking: the best ingredients and utensils make the process smoother and the result better. For embroidery, your core supplies are needles, thread, fabric, and a hoop. A few other small items will also make your life much easier.
Needles and Thread
Not all needles are created equal. The right needle depends on your fabric and thread. For most embroidery, you'll use a needle with a sharp point and an eye large enough for your thread to pass through without fraying.
| Needle Type | Best For |
|---|---|
| Crewel | General embroidery, fine details |
| Chenille | Thicker threads, like wool |
| Tapestry | Counted-thread work like cross-stitch |
Crewel needles are the most common and versatile. They have a sharp tip and a medium-sized eye, making them perfect for piercing tightly woven fabrics.
The thread you'll use most often is called embroidery floss. It's a cotton thread made of six individual strands twisted together. You can use all six strands for a thick, bold line, or you can separate them to create finer, more delicate stitches. This versatility is what makes it so popular.
floss
noun
A soft, slightly twisted thread, typically made of cotton or silk, used for embroidery.
Other types of thread include pearl cotton, which isn't divisible and comes in various thicknesses, and specialty threads like metallic or silk for adding texture and shine.
Fabric and Hoops
The fabric is your canvas. For beginners, natural fibers like cotton or linen are excellent choices. Look for fabrics with a medium, even weave. If the weave is too tight, it’s hard to pull the needle through. If it’s too loose, your stitches might look sloppy.
To keep your fabric taut while you work, you'll need an embroidery hoop. Hoops usually consist of two rings, one fitting inside the other. You place your fabric over the inner ring, then press the outer ring down over it, tightening a screw to hold the fabric in place.
A taut fabric is the key to even, neat stitches. A hoop prevents the fabric from puckering as you pull your stitches tight.
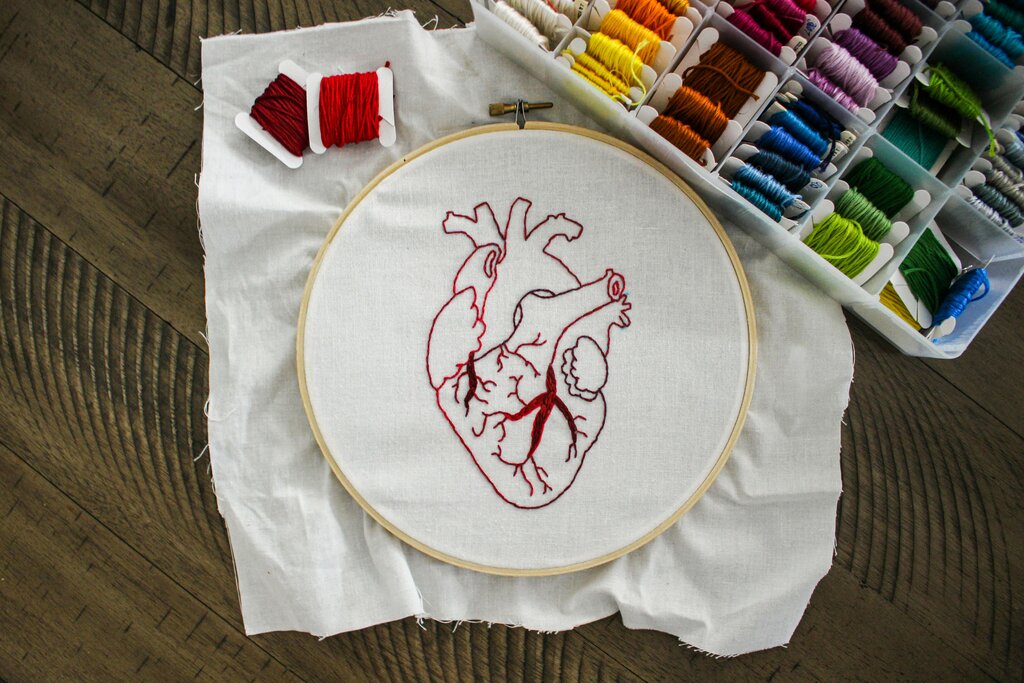
Using a hoop is simple. Loosen the screw on the outer ring. Place the fabric over the inner ring, making sure the area you want to stitch is centered. Then, gently press the outer ring over the fabric and inner ring. Pull the edges of the fabric to make it drum-tight before tightening the screw completely.
The Finishing Touches
A few other tools will round out your kit. A small, sharp pair of scissors is essential for snipping thread cleanly. Embroidery scissors, sometimes called snips, are ideal because their fine tips let you cut threads close to the fabric without damaging your stitches.
A thimble is a small cap worn on your finger to protect it from the needle. While not strictly necessary for everyone, it can save you from sore fingers during long stitching sessions, especially when working on tough fabric.
Finally, you'll need a way to mark your design on the fabric. Water-soluble pens or heat-erasable pens are great options. The marks from these tools disappear with a bit of water or the heat from an iron, leaving your finished project clean.
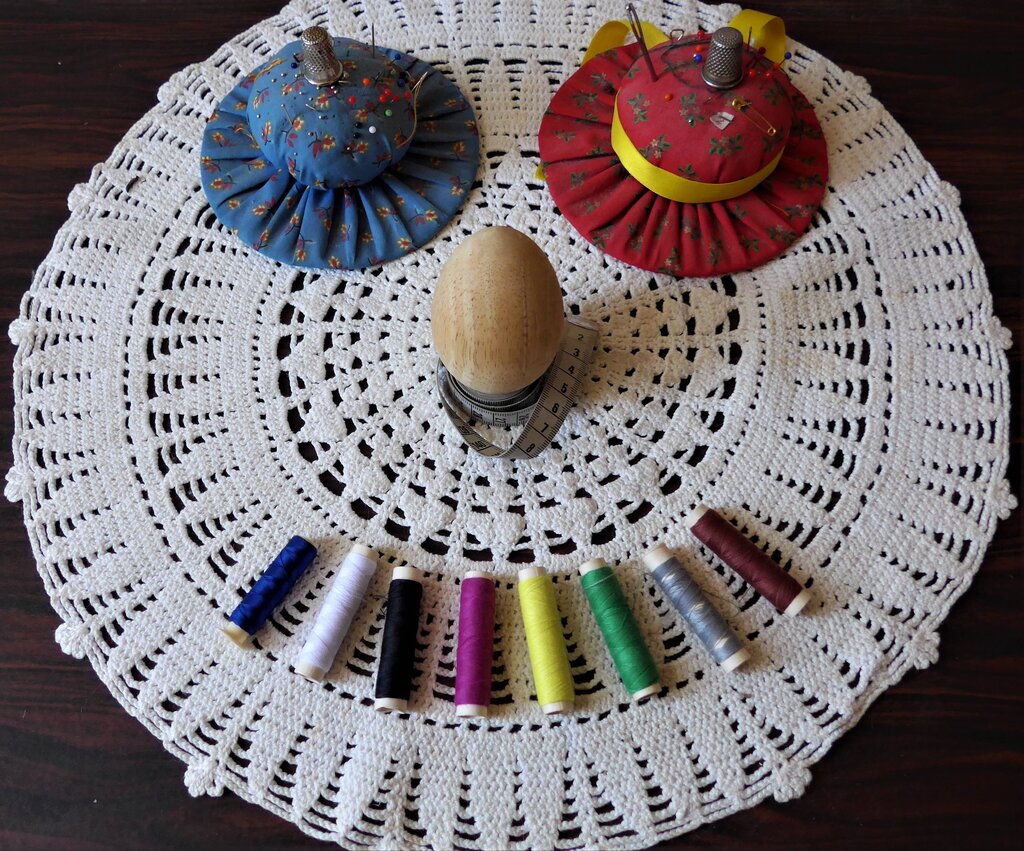
With these basic materials, you're ready to set up your first project.
Ready to check your understanding?
What is the primary function of an embroidery hoop?
What is the main advantage of using standard embroidery floss?
Now that you have your tools, you're prepared to learn the fundamental stitches that bring embroidery designs to life.