Elevating Your Digital Photography
Mastering Manual Exposure
Beyond the Basics of Exposure
You already know that aperture, shutter speed, and ISO form the exposure triangle. Think of them not just as individual settings, but as a team of negotiators. Every change you make to one forces a compromise from the others to maintain a balanced exposure. Moving beyond automatic modes means you're in charge of these negotiations, making creative decisions instead of letting the camera guess.
The exposure triangle is a way to visualize how aperture, shutter speed, and ISO work together to create the perfect exposure for your photos.
This control is about intention. Instead of just getting a 'correctly' lit photo, you can decide exactly how it looks and feels. Do you want a tack-sharp image of a speeding car, or a dreamy, blurred waterfall? Do you want a shallow, cinematic focus on a single person in a crowd, or a deep landscape where every detail is crisp? Manual mode is the key to unlocking these choices.
The ISO and Shutter Speed Trade-off
Imagine you're shooting a fast-moving cyclist at dusk. To freeze their motion, you need a high shutter speed, say 1/1000s. But as the light fades, a fast shutter means less light hits your sensor, resulting in a dark image. Your first instinct might be to open your aperture as wide as possible, but what if it's already at its maximum, like f/1.8? This is where the trade-off begins.
To keep that motion-freezing shutter speed, you have to increase the ISO. Boosting the ISO makes the sensor more sensitive to light, brightening your image. However, there's no free lunch. Pushing the ISO too high introduces digital noise, which looks like fine grain or speckles. You must decide what's more important for the shot: a clean, noise-free image that might have motion blur, or a sharp, frozen subject with some visible grain.
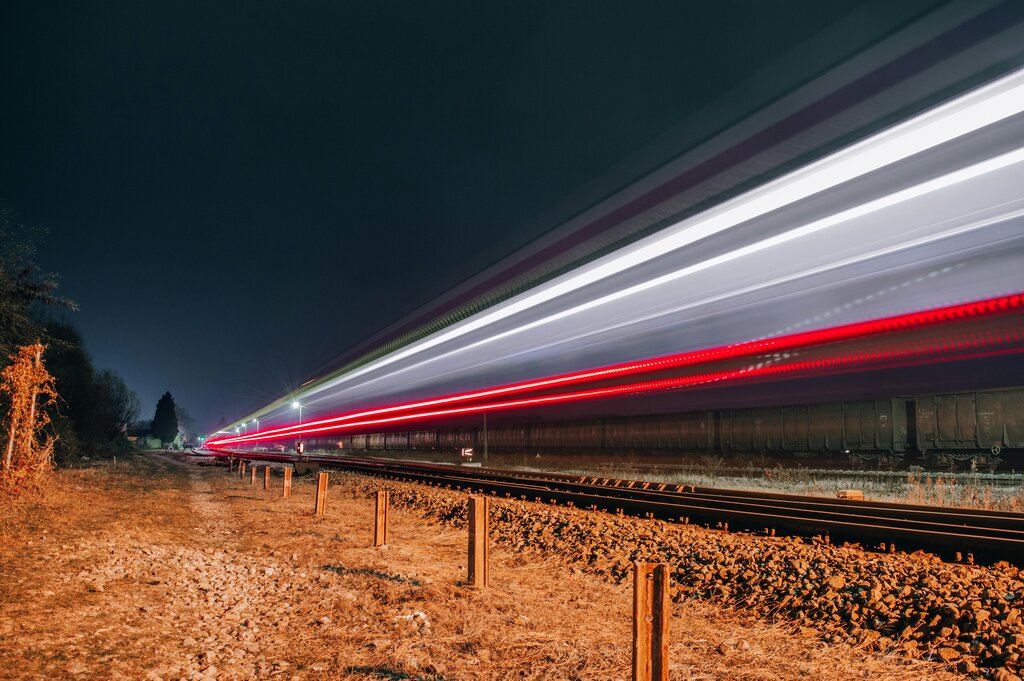
A high ISO lets you use faster shutter speeds in low light, but at the cost of image quality. This is the constant battle between sharpness and cleanliness in your photos.
Modern cameras handle high ISO much better than older models, but the principle remains the same. A low ISO (like 100 or 200) will always produce the cleanest image. A high ISO (3200, 6400, or beyond) will brighten the scene but degrade the fine details and introduce grain. The key is to find the highest ISO you're comfortable with for a given situation—the point where you get the shutter speed you need without sacrificing too much image quality.
Aperture, Sharpness, and Diffraction
Aperture's primary creative role is controlling the depth of field—the amount of your scene that's in sharp focus. A wide aperture like f/1.8 gives you that beautiful, blurry background perfect for portraits. A narrow aperture like f/16 keeps everything from the foreground to the mountains in the distance sharp, which is ideal for landscapes.
But there’s a hidden catch. You might think that for maximum sharpness, you should always use the narrowest aperture possible, like f/22. However, every lens has a sweet spot. As you close the aperture down to very small openings, an effect called diffraction kicks in. This optical phenomenon actually makes the entire image slightly softer, defeating the purpose of using a narrow aperture in the first place.
For most lenses, the sharpest performance is found in the middle of their aperture range, often between f/5.6 and f/11. This is the balance point before diffraction becomes noticeable. So, when shooting a landscape, you might be better off at f/11 for a universally sharp image, rather than pushing it to f/22 and introducing softness you didn't intend.
Balancing for Mood and Style
Once you understand the trade-offs, you can start using the exposure triangle to create a specific mood. Want a dark, moody portrait? Intentionally underexpose by a stop. You can do this by using a faster shutter speed or a slightly narrower aperture. Want a bright, airy scene? Overexpose slightly by slowing the shutter or opening the aperture.
The relationship between these settings is often referred to as reciprocity—the idea that different combinations of shutter speed and aperture can produce the exact same exposure. For example, an exposure of 1/125s at f/8 is equivalent to 1/250s at f/5.6. Both let in the same total amount of light. However, the creative effect is completely different. The first option will have a deeper depth of field, while the second will freeze motion more effectively and have a shallower depth of field.
| Shutter Speed | Aperture | ISO | Total Exposure | Creative Effect |
|---|---|---|---|---|
| 1/500 s | f/2.8 | 200 | Same | Freezes motion, shallow depth of field |
| 1/125 s | f/5.6 | 200 | Same | Moderate motion blur, deeper focus |
| 1/30 s | f/11 | 200 | Same | Significant motion blur, very deep focus |
This table shows how you can achieve the same brightness with different settings, each choice telling a different visual story. Your job as a photographer is to pick the combination that best matches your creative vision.
Now, let's test your understanding of these creative trade-offs.
When photographing a landscape, why might an aperture of f/11 produce a sharper overall image than the narrowest setting of f/22?
You are photographing a fast-moving subject in low light. To freeze the motion, you need a very fast shutter speed. What is the most likely compromise you'll have to make?
Mastering manual mode is about practice. Go out and experiment. Shoot the same subject with different combinations of settings. See how the mood changes. This hands-on experience is what will turn technical knowledge into creative instinct.