Editing Your Oboe Course
Navigating Oboe's Course Editor
Exploring the Course Editor
Welcome to the Oboe course editor. This is where you'll build, organize, and refine your course content. Think of it as your digital workshop. Everything you need to create an engaging learning experience is right here.
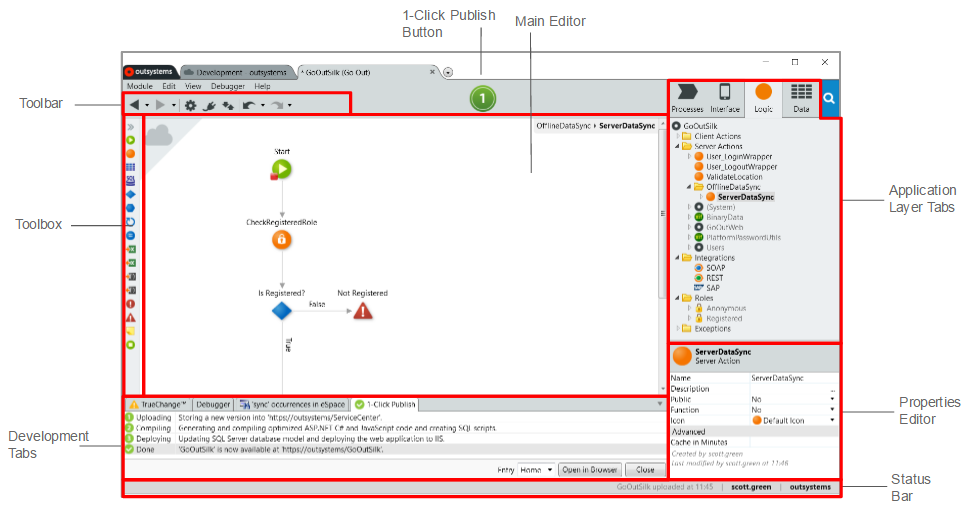
The editor is designed to be intuitive, but let's take a quick tour to get you comfortable. The interface is generally divided into a few key areas that help you manage your course structure and edit content simultaneously.
The Main Workspace
The Oboe editor is organized into several panels. On the left, you'll typically find the Course Outline, which shows the structure of your chapters and sections. The large central area is the Content Editor, where you'll do your writing and add media. To the right is the Properties Panel, which lets you adjust settings for the specific content block you've selected. A Toolbar with common actions sits at the top.
Key Tools and Features
The toolbar at the top of the editor provides quick access to the most important functions. From here, you can:
- Add Content Blocks: Insert text, headers, images, code snippets, and quizzes.
- Save Progress: While Oboe auto-saves, you can manually save your work.
- Preview Course: See how your course will look to a learner.
- Access Settings: Open course-level settings like the title and description.
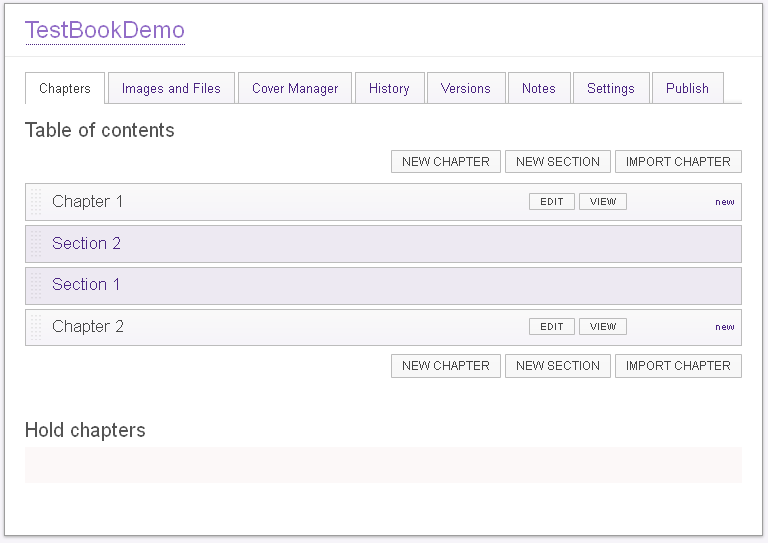
Each piece of content, whether it's a paragraph, an image, or a quiz, is treated as a modular 'block.' You can easily drag and drop these blocks to reorder your content in the Course Outline panel.
Customizing Your Workspace
You can tailor the editor to fit your workflow. The panels are resizable; just click and drag their borders to give more space to the outline or the editor. Some users prefer to hide the side panels to focus purely on the content. Look for a 'Focus Mode' or similar view option in the toolbar to minimize distractions.
Now that you're familiar with the layout, let's get ready to add some content.