DS18B20 Temperature Sensor Guide
Sensor Basics
Your First Smart Sensor
Think about an old mercury thermometer. As it gets warmer, the liquid inside expands and rises up the tube. To know the temperature, you have to look at the markings on the glass. This is an analog device. It provides a continuous, physical change that we must interpret.

Now, think of a modern digital thermometer. You press a button, and a precise number like 98.6°F appears on a screen. This is a digital device. It handles all the measurement and calculation internally, giving you a straightforward, numerical result. This is the key difference between analog and digital sensors in electronics.
Many basic electronic sensors are analog. A simple light sensor might output 0.5 volts in a dim room and 4.5 volts in a bright room. To turn that voltage into a useful measurement, your main circuit (like a small computer called a microcontroller) needs to read the voltage and run some math to figure out what it means. Digital sensors are different. They do the hard work for you.
Meet the DS18B20
The DS18B20 is a popular digital temperature sensor. It's like the digital thermometer in our example. It has its own tiny internal 'brain', a built-in , that measures the temperature, converts it into a number, and sends that number out, ready to use. There's no complex math for you to do. This makes it a favorite for projects like home weather stations and automated climate control systems.
The most common version of this sensor comes in a small, black plastic component with three metal legs. This form factor is called a . It looks a lot like other common electronic parts, so it's important to be able to identify it.
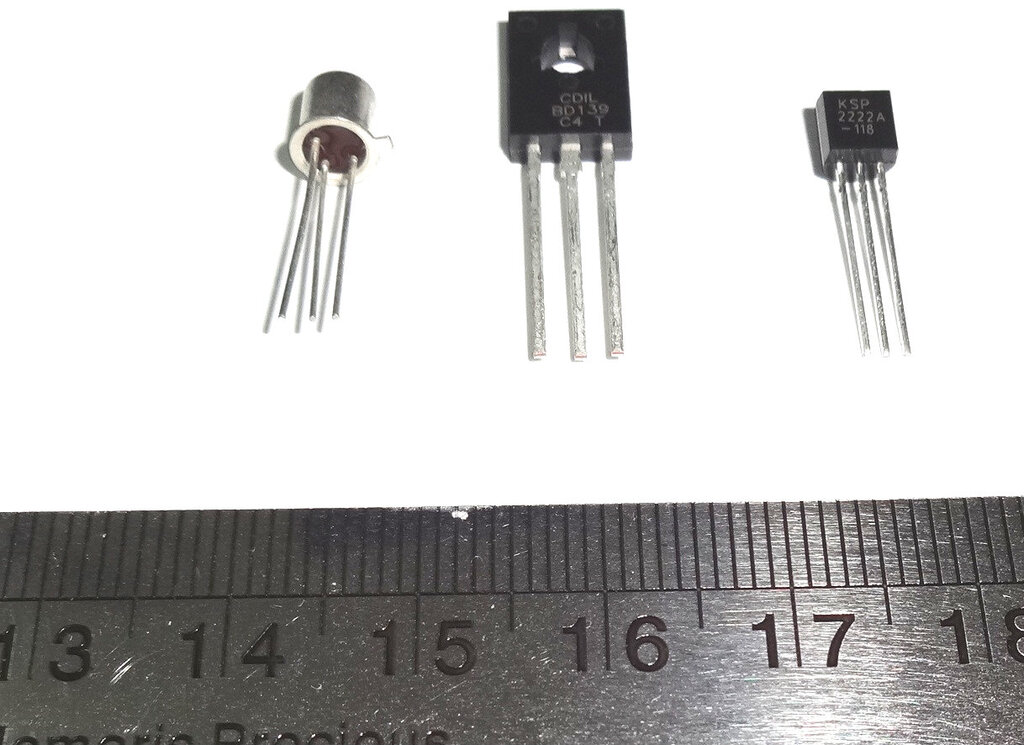
Pins and Power
Those three legs, or pins, are how the sensor connects to a circuit. Each has a specific job. If you hold the sensor with its flat face towards you, the pins are, from left to right:
- Ground (GND): The return path for the electrical current. Think of it as the 'zero' point for the circuit.
- Data (DQ): This is the communication line. The sensor sends the temperature data through this pin.
- Power (VDD): This pin receives the electrical power the sensor needs to operate.
To work correctly, the DS18B20 needs a specific amount of electrical 'pressure', which is called . This sensor is quite flexible; it can run on a voltage supply between 3.0 volts (V) and 5.5V. This range is perfect for beginners, as it's compatible with the most common microcontrollers like Arduinos, which typically provide either 3.3V or 5V.
Connecting the power and ground pins incorrectly can permanently damage the sensor, so always double-check your wiring!
Now that you know what the DS18B20 is and how it works, you're ready to start thinking about how to use it in a circuit. Let's test your understanding.
What is the primary advantage of using a digital sensor like the DS18B20 over a basic analog sensor?
If you hold a DS18B20 sensor with its flat face towards you, what is the function of the leftmost pin?
You've learned about the fundamental differences between sensor types and the specifics of the DS18B20. These concepts are the building blocks for countless electronics projects.