Drawing the Human Face
Facial Proportions
Start with a Framework
Drawing a human face can seem daunting. Where do you even begin? Luckily, while every face is unique, most follow a set of predictable proportions. Artists have used these guidelines for centuries to create balanced and realistic portraits. Mastering them gives you a reliable starting point for any face you want to draw.
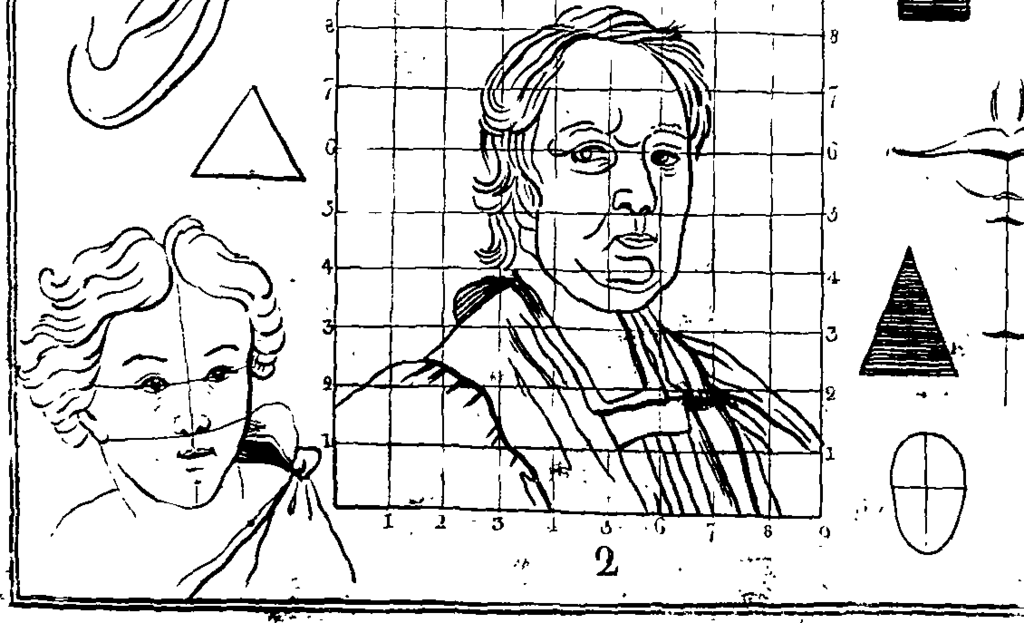
The first step is to forget the details. Don't think about eyes or noses yet. Instead, start with a simple oval shape. This oval represents the entire head, from the top of the skull to the bottom of the chin.
Think of these proportions as a map for the face. You'll still draw the unique features, but the map ensures everything is in the right location.
Once you have your oval, draw two lines to divide it. A vertical line runs straight down the middle, splitting the face into its left and right halves. A horizontal line cuts across the exact center, dividing the head into its top and bottom halves. These two lines are the foundation for placing every other feature.
Placing the Features
With your basic framework in place, you can start mapping out the features. It's all about dividing the space you've created.
The vertical and horizontal lines in the center of the face will be important marks to know where to place the eyes, nose and ears, for example, and will offer a more harmonious result.
Eyes: A common mistake is to place the eyes too high. They actually sit right on that central horizontal line you drew. The distance between the two eyes is roughly the width of a single eye. In fact, a typical head is about five eyes wide at this line.
Nose: Now, look at the space below the eye line. Divide that section in half with another horizontal line. The bottom of the nose rests on this new line. The width of the nose generally aligns with the inner corners of the eyes.
Mouth: Take the final section, from the bottom of the nose to the chin. Divide this space into thirds. The line where the lips meet sits on the top third line. The corners of the mouth often line up with the pupils of the eyes.
Ears: The ears are typically located between the eye line and the bottom of the nose. From the front, they might be partially hidden, but this vertical placement is a key guide.
These are not rigid rules, but a guide. People's features vary, and that's what makes them interesting. But if you start with this proportional map, you'll have a solid, believable foundation to build upon.
Considering the Profile
When you turn the head to the side, the proportions shift, but the core principles remain. The vertical measurements stay the same. The eye line is still halfway down the head, and the nose and mouth lines hold their positions relative to the eyes and chin.
The main change is in the depth. To place the ear correctly, imagine the head as more of a sphere. The ear canal generally aligns with the vertical centerline of the head, connecting to the jawbone just behind it.
By understanding these basic divisions for both the front and side views, you equip yourself with a powerful tool. You can now approach drawing any face with confidence, knowing you have a map to guide your work.
When starting a portrait, what is the first and most fundamental shape you should draw to represent the head?
A common mistake for beginners is placing the eyes too high. According to standard proportions, where should the eyes be placed?