Drawing Realistic Figures and Faces
Drawing Tools
Your Drawing Toolkit
Before you can draw a figure, you need the right tools for the job. Having the correct pencils, paper, and erasers can make a huge difference in your work. You don't need to buy the most expensive gear, but understanding what each tool does is the first step toward creating better drawings.
Pencils Are Key
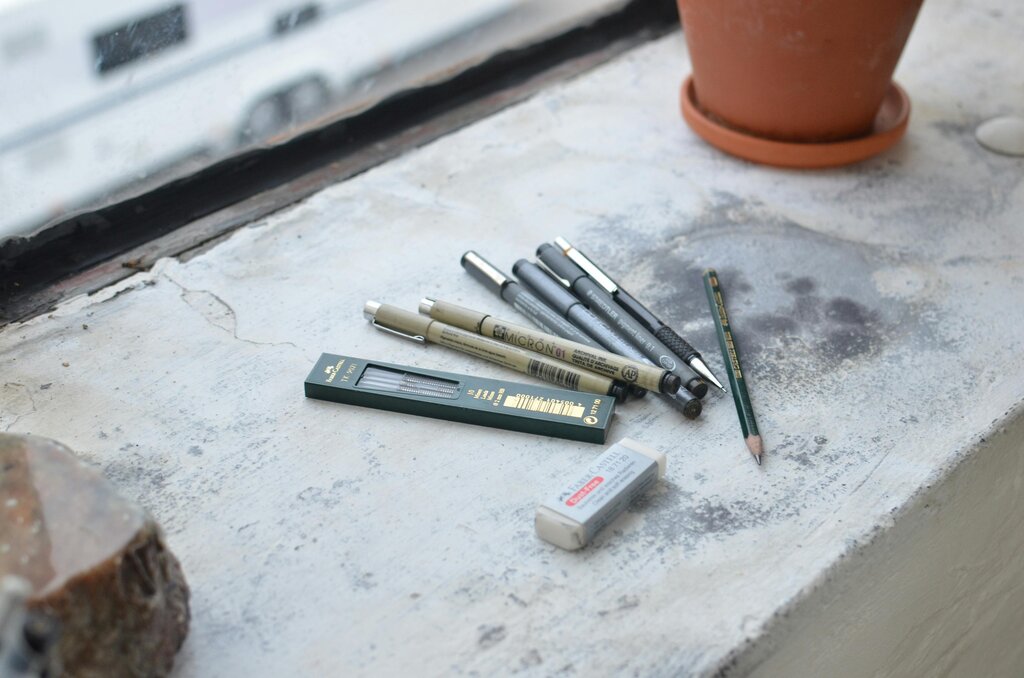
The most fundamental drawing tool is the graphite pencil. Unlike the standard #2 pencil you used in school, artist's pencils come in a range of hardness levels. This range is called the graphite scale.
Pencils are graded from H (hard) to B (black/soft). Harder pencils (like a 4H) produce light, fine lines that are easy to erase. They're perfect for initial sketches and light outlines. Softer pencils (like a 4B or 6B) create dark, rich lines that are great for adding shadows and bold details, but they smudge easily.
An HB pencil sits in the middle of the scale. It's a versatile choice for general sketching if you're just starting out.
| Pencil Grade | Hardness | Best For... |
|---|---|---|
| 6H - 2H | Very Hard | Light, precise initial sketches |
| H, F, HB, B | Medium | General sketching and line work |
| 2B - 8B | Soft | Dark shadows and bold marks |
While graphite is the standard, you might also explore charcoal pencils for even deeper, matte blacks, or mechanical pencils for consistently sharp lines without needing a sharpener.
Erasers and Paper
An eraser is more than just a tool for fixing mistakes. Different erasers have different jobs.
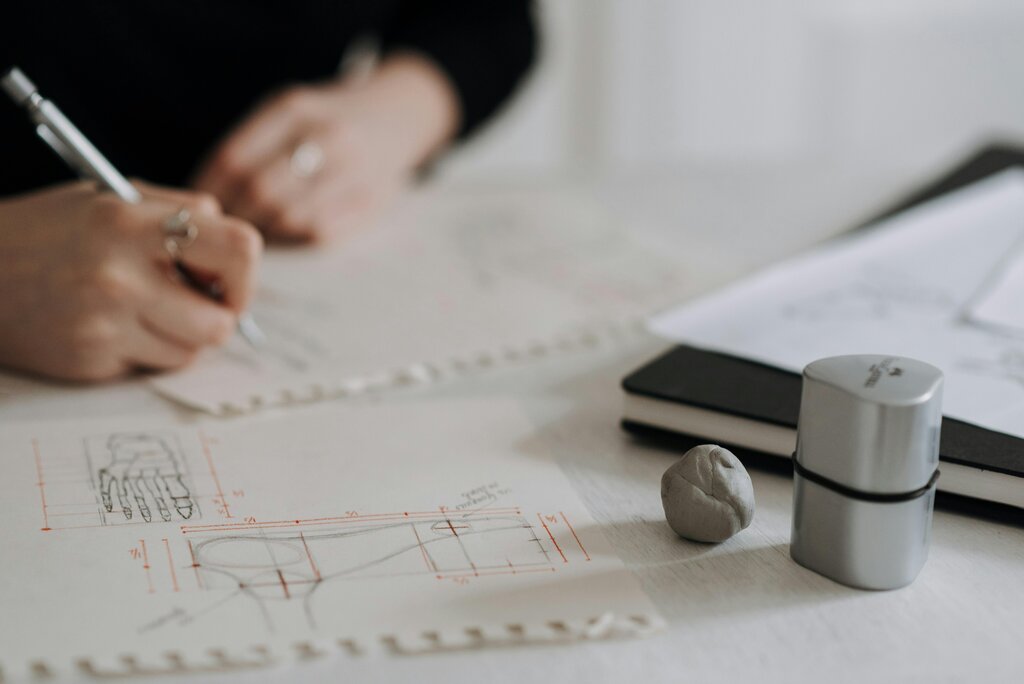
Kneaded erasers look and feel like putty. You can mold them into any shape, making them perfect for lifting graphite from the paper without damaging the surface. They are great for creating subtle highlights or softening harsh lines.
Vinyl or plastic erasers are firm and do a great job of completely removing marks. They are best for cleaning up edges and getting rid of stubborn lines, but be gentle to avoid tearing the paper.
Think of your eraser as a drawing tool, not just a correction tool. You can use it to “draw” light back into a shaded area.
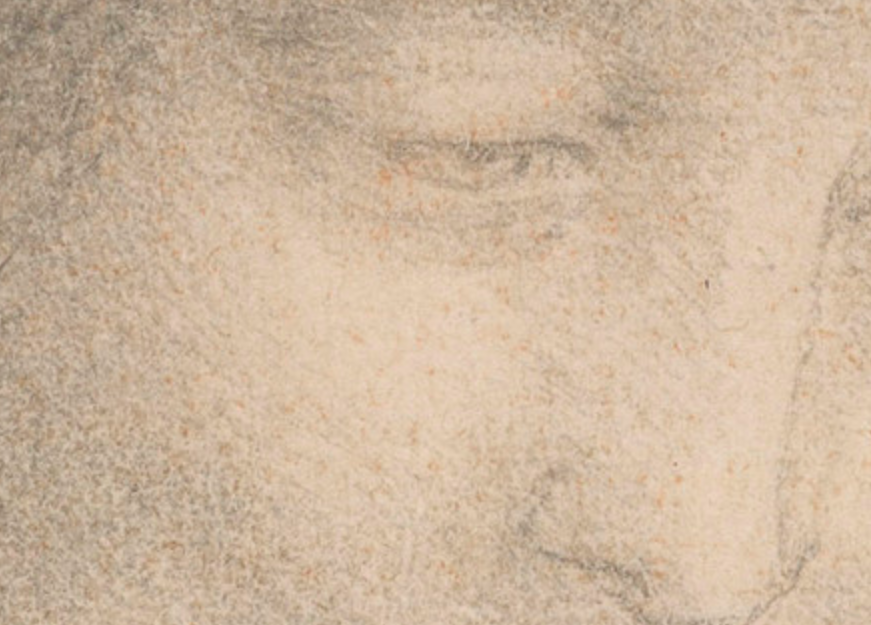
The surface you draw on is just as important as your pencil. Drawing papers vary in texture, which is often called “tooth.” A paper with more tooth has a rougher surface that grips pencil graphite well, allowing for darker marks and more layered shading. Smoother paper, like Bristol board, is excellent for fine, detailed line work.
For practice, a simple sketchbook with medium-weight, medium-tooth paper is all you need. It's affordable and lets you experiment freely.
Helpful Extras
A few extra tools can help refine your drawings. Blending tools, like a blending stump or a tortillon (a pointed roll of paper), are used to smudge and blend graphite. This creates smooth gradients and soft shadows that are difficult to achieve with a pencil tip alone. In a pinch, a cotton swab or even your finger can work, though they can leave oils on the paper.
A ruler is also handy for establishing straight lines or checking proportions in the early stages of a drawing. However, try not to rely on it too heavily. The goal is to train your hand and eye to create confident lines on your own.
Ready to check your knowledge?
An artist wants to create very dark, rich shadows in a graphite drawing. Which pencil would be the best choice for this purpose?
What is the main advantage of using a kneaded eraser?
With these basic tools in hand, you have everything you need to start practicing figure drawing. The next step is learning how to see the world like an artist.