Drawing Fundamentals
Introduction to Drawing Tools
Your Drawing Toolkit
Getting started with drawing doesn't require a lot of fancy equipment. In fact, some of the most powerful tools are also the simplest. Understanding what they do and when to use them is the first step toward bringing your ideas to life on the page. Let's look at the essentials that belong in every artist's kit.
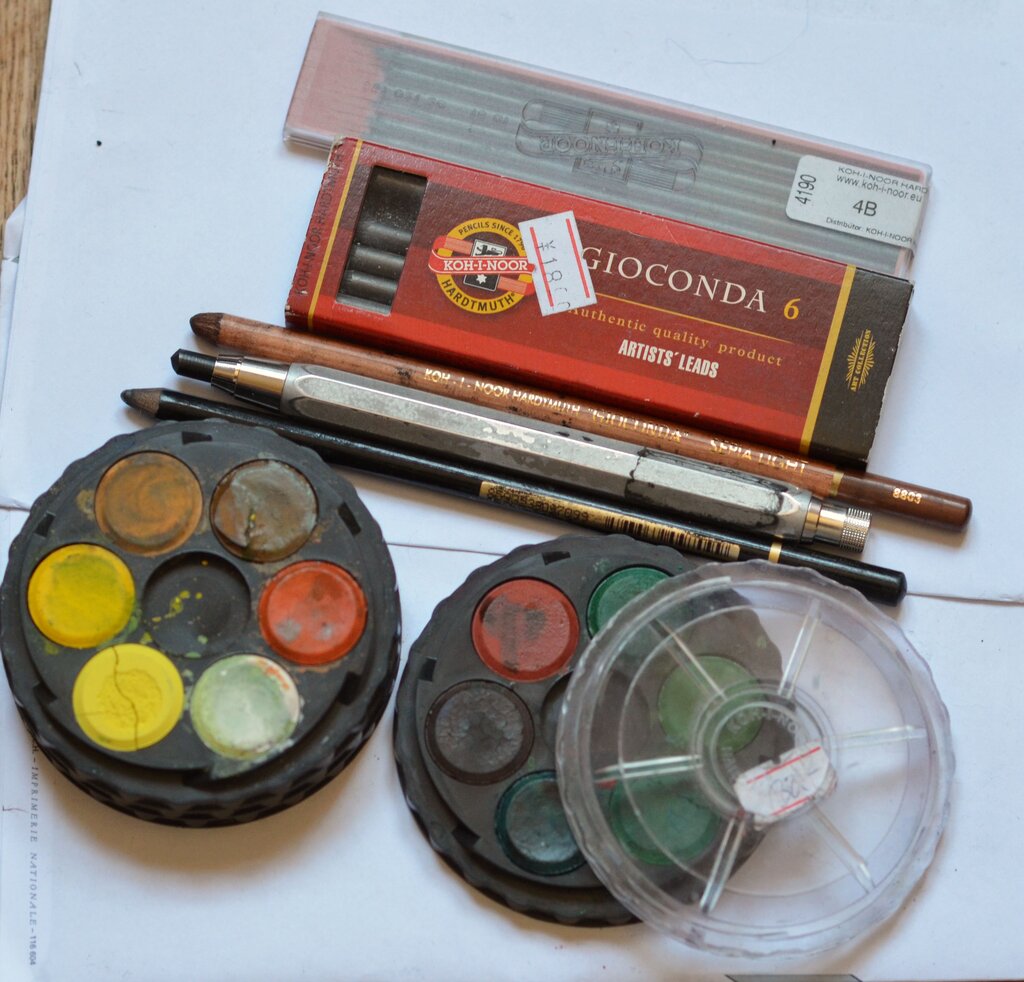
The Humble Pencil
The most fundamental drawing tool is the pencil. But you've probably noticed they come with different numbers and letters on the side, like 2B or 4H. This isn't just for decoration; it’s a grading system that tells you how hard or soft the graphite core is. This scale is your key to creating a range of tones and textures in your drawings.
The letter 'H' stands for 'Hard', while 'B' stands for 'Blackness' (or softness). The number indicates the degree. A 9H pencil has very hard graphite and makes light, crisp lines. A 9B pencil has very soft graphite and makes dark, rich marks.
H Pencils: Because they make light marks and don't smudge easily, H pencils are perfect for initial sketches, outlines, and technical drawings. The lines are easy to erase.
B Pencils: These are your go-to for shading and creating dark, expressive lines. The soft graphite blends well but can be messy if you're not careful.
If you're just starting, an HB pencil is a great middle-ground choice. A small set with a 2H, an HB, and a 2B will give you a versatile range to work with.
Tools for Correction and Creation
Erasers do more than just fix mistakes. They can be creative tools for lifting color and creating highlights. Different erasers have different jobs.
| Eraser Type | Best For | Key Feature |
|---|---|---|
| Kneaded | Lifting graphite, charcoal, pastels | Pliable and doesn't leave dust. |
| Vinyl (Plastic) | Cleanly removing lines from paper | Makes sharp, clean edges. |
| Gum | Removing light marks from delicate paper | Very gentle and crumbles as it works. |
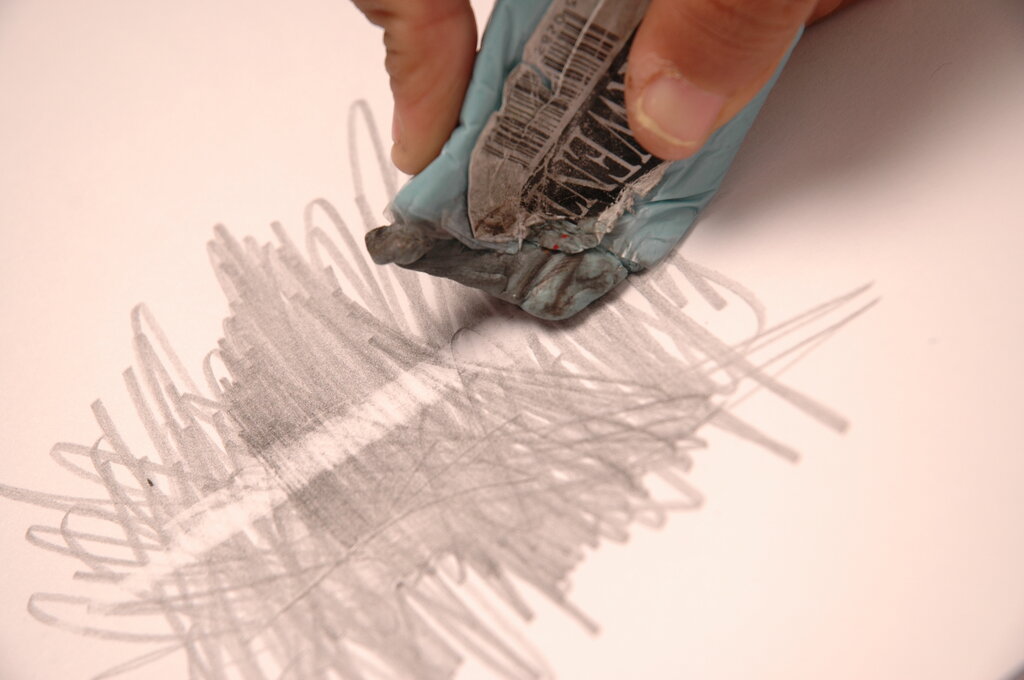
A kneaded eraser is especially useful. You can shape it to a fine point to lift out tiny highlights or flatten it to lighten a large area. It absorbs graphite rather than rubbing it away.
Choosing Your Surface
The paper you draw on has a huge impact on the final look. The main things to consider are its weight and its texture, often called 'tooth'.
Tooth refers to the surface feel of the paper. A paper with more tooth is rougher and will grab more graphite, creating a textured look. A smooth paper is better for fine, detailed line work.
For practice, a simple sketchbook with medium-weight paper (around 60-80 lb) is perfect. It's affordable and handles pencil well. As you progress, you can experiment with different papers. Bristol board is very smooth and great for ink, while charcoal paper has a pronounced tooth to hold the dusty pigment.
Finishing Touches
A few extra items will round out your toolkit and give you more control over your work.
blending stump
noun
A stick of tightly rolled paper with a point at the end, used for smudging and blending graphite or charcoal.
You can use blending stumps, or even a tissue or cotton swab, to create smooth gradients and soft shadows. A simple ruler is essential for drawing straight lines and making measurements. And don't forget a sharpener! A sharp pencil point is crucial for detail work, while a duller point is better for broad shading. A basic handheld sharpener is all you need to start.
What does the 'B' in a pencil grade, like 6B, signify?
For which task would an H-grade pencil be the most suitable choice?
With these basic tools, you have everything you need to start exploring the fundamentals of drawing. The key is to experiment and learn how each one behaves.