DIY Gel Manicure Mastery for Beginners
Essential Tools
Your Gel Manicure Toolkit
Getting a salon-quality gel manicure at home is all about having the right gear. Before you even think about painting your nails, you need to assemble a complete toolkit. It’s like cooking: the best ingredients and tools make for a better meal. Having everything ready and understanding what each item does will make the process smoother and give you much better results.
A key piece of advice before you begin your acrylic nails at home is, make sure you have everything you need at hand.
The Polishes and Lamp
Unlike regular nail polish, a gel manicure requires a three-part system: a base coat, the color polish, and a top coat. Each layer plays a specific role in creating a durable, long-lasting finish.
- Base Coat: This is the foundation. It's a clear gel that helps the color adhere to your natural nail. It also creates a protective barrier, preventing the polish from staining your nails.
- Gel Polish: This is the color layer. Gels come in a huge range of colors and finishes. The key thing to know is that they don't air-dry. They remain wet until they are cured under a special light.
- Top Coat: This is the final armor. It’s a clear gel that seals in the color, protects against chips and scratches, and provides a high-gloss (or matte) finish. A "no-wipe" top coat is a popular choice because it cures without a sticky layer, saving you a step.
The magic of a gel manicure comes from the curing process. Gel polish contains photoinitiators, which are molecules that react to specific wavelengths of UV light. When you place your nails under a UV or LED lamp, these molecules harden, or cure, the gel into a solid, durable layer.
LED lamps cure gel polish faster than UV lamps, typically in 30-60 seconds compared to 2-3 minutes for UV. Most modern gel polishes are formulated to work with both types of lamps.
Shaping and Prep Tools
Properly preparing your nails is essential for a manicure that looks clean and lasts. For this, you’ll need a few simple hand tools.
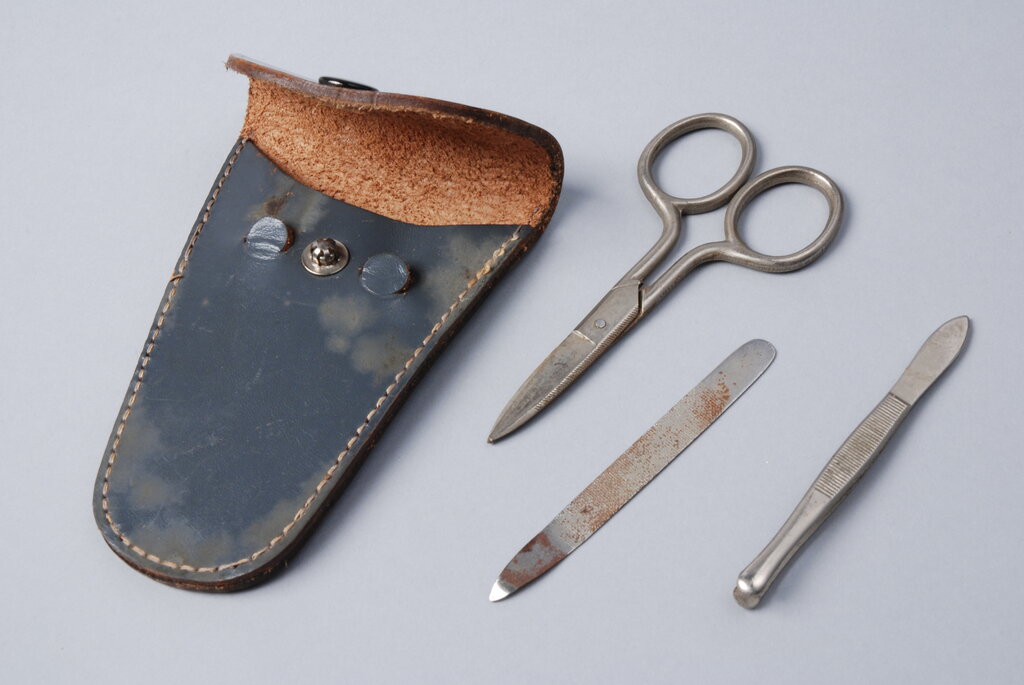
Nail Files and Buffers A nail file is used to shape the free edge of your nail. They come in different grits, which refers to how coarse the surface is. A lower grit number (like 100) is coarser and removes length quickly, while a higher grit (like 240) is finer and better for gentle shaping.
A nail buffer is a softer tool, often with multiple sides, used to gently smooth the surface of the nail plate. Buffing creates a slightly rougher texture that helps the base coat grip the nail, which is key for a long-lasting manicure.
Be gentle when buffing. You only want to remove the shine from the nail, not thin the nail itself.
Cuticle Pushers and Nippers Your cuticles are the thin layer of skin at the base of your nail. A cuticle pusher, typically made of metal or wood, is used to gently push this skin back. This creates a clean, even canvas for your polish.
Cuticle nippers are small, sharp clippers used to trim away any non-living tissue, like hangnails. Use them sparingly and with caution, as cutting into living skin can lead to infection.
Cleaning and Removal
Finally, you'll need a couple of items for cleaning up during the process and for removal when you're ready for a change.
Lint-Free Wipes and Isopropyl Alcohol After buffing and before applying your base coat, you need to cleanse the nail plate of any dust and oils. A lint-free wipe soaked in isopropyl alcohol (91% or higher is best) is perfect for this. Regular cotton balls can leave behind tiny fibers that will get trapped in your polish.
These wipes are also used to remove the sticky inhibition layer that some gel polishes leave behind after curing.
Acetone When it's time to remove your gel manicure, acetone is the most effective solvent. Pure acetone works much faster than standard nail polish remover. The process involves soaking cotton in acetone and wrapping it around each nail with foil to break down the gel.
What is the primary function of a gel base coat in a manicure?
What causes gel nail polish to harden into a durable layer?