DIY Basement Wall Framing
Understanding Basement Framing
The Skeleton of Your New Space
Finishing a basement starts with framing. Think of it as building a wooden skeleton inside your concrete foundation. This framework doesn't hold up your house—the foundation already does that. Instead, it creates the structure for everything else.
Framing defines the layout of your new living area, creating individual rooms and closets. It provides a sturdy surface for attaching drywall, paneling, or any other wall finish you choose. It also creates a necessary cavity between the cold concrete and your new interior walls. This space is essential for running electrical wiring, plumbing, and ductwork, keeping it all neatly hidden from view.
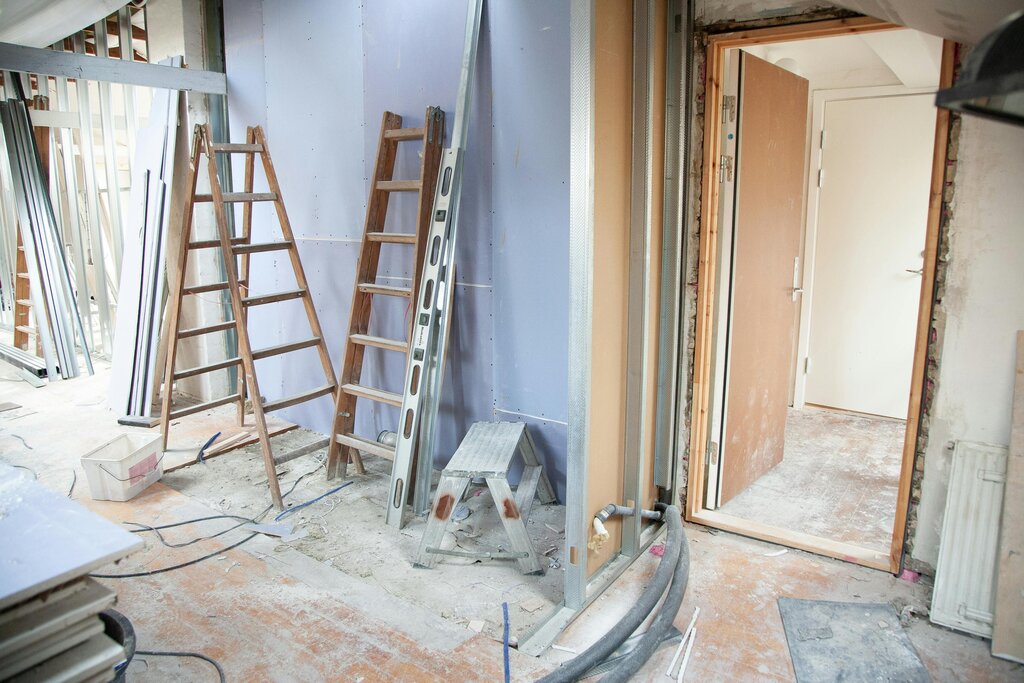
Without framing, you just have a concrete box. With it, you have the beginnings of a functional and comfortable extension of your home.
Controlling Moisture Is Job One
Before a single piece of wood is cut, you must address moisture. Basements are naturally damp because they're built below ground, surrounded by soil that holds water. Water can seep through tiny cracks in the concrete, or moisture in the air can condense on the cool foundation walls.
Ignoring this will ruin your project. Trapped moisture leads to mold and mildew, which can cause health problems and a musty smell. It will also rot wooden framing and damage drywall, turning your investment into a costly tear-out and repair job.
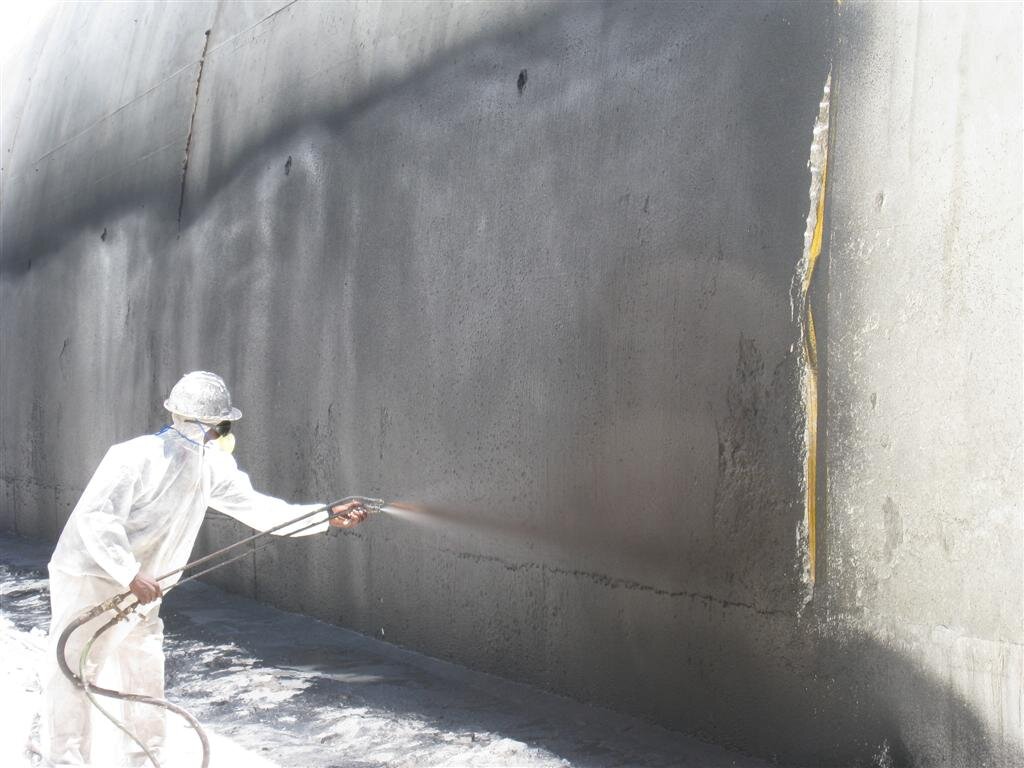
Ensure your basement is completely dry before you begin. This might involve sealing cracks in the foundation, improving drainage around your home's exterior, or running a dehumidifier. The rule is simple: solve all water problems before you even think about framing.
Never frame a damp basement. The framing will trap moisture against the concrete, creating a perfect environment for mold and rot.
Codes, Permits, and Planning
Finishing a basement isn't a casual weekend project; it's a major renovation that must follow local building codes. These are sets of rules that ensure construction is safe and structurally sound. For basement framing, codes will specify requirements like the size of lumber to use, the spacing between wall studs, and how the framing must be secured to the floor and ceiling joists.
To ensure your project meets these standards, you will almost certainly need a building permit from your local municipality. A permit triggers official inspections at key stages of the project, including after the framing is complete but before you cover it with drywall. An inspector will verify that the work is done correctly. Skipping this step can lead to fines and problems when you eventually sell your home.
The Right Materials for the Job
Choosing the right materials is straightforward but critical for a lasting result. The two main options for framing are wood and steel.
Wood studs, typically 2x4s, are the most common choice. They are affordable, widely available, and easy to cut and assemble with basic carpentry tools. A key component of wood framing is the sole plate, which is the piece of lumber that lies flat on the concrete floor. This piece must be pressure-treated wood. The chemical treatment protects it from moisture wicking up from the concrete, preventing rot at the base of your wall.
Metal studs are a popular alternative. They are perfectly straight, impervious to moisture and pests, and lightweight. While they cost a bit more and require different tools for cutting and fastening, they eliminate any worry about rot or insect damage. They are assembled with screws rather than nails.
Regardless of your choice, the basic components are the same: a sole plate on the floor, a top plate attached to the ceiling joists above, and vertical studs running between them.
With a dry space and a clear plan, you're ready to gather the materials that will transform your basement from a concrete shell into livable space.