Digital Drawing Mastery with Procreate
Procreate Basics
Your Digital Sketchbook
Welcome to Procreate, the app that turns your iPad into a powerful art studio. Think of it as a sketchbook with endless pages, every color you can imagine, and a magical undo button. When you first open the app, you'll see the Gallery, which holds all your creations.

To start a new drawing, tap the plus (+) icon in the top-right corner. This opens the New Canvas menu.
For your first project, choosing 'Screen Size' is a great way to start. It creates a canvas perfectly sized to your iPad's screen, so you don't have to worry about pixels or dimensions just yet.
Finding Your Way Around
Once you've created a canvas, you'll see the main interface. It looks clean and simple, but it’s packed with tools. Let's break down the key areas.
The tools are split between two toolbars at the top. On the left, you can go back to the Gallery or access the Actions menu (the wrench icon), which handles things like saving and canvas settings. On the right are your main creative tools: Brush, Smudge, Eraser, Layers, and Colors. The sliders on the left control your brush's size and opacity.
Drawing and Erasing
The heart of Procreate is the Brush Library. Tap the brush icon to open it. Procreate comes with a huge collection of default brushes, organized into categories like Sketching, Inking, and Painting. Try starting with the '6B Pencil' in the Sketching set for a familiar feel.
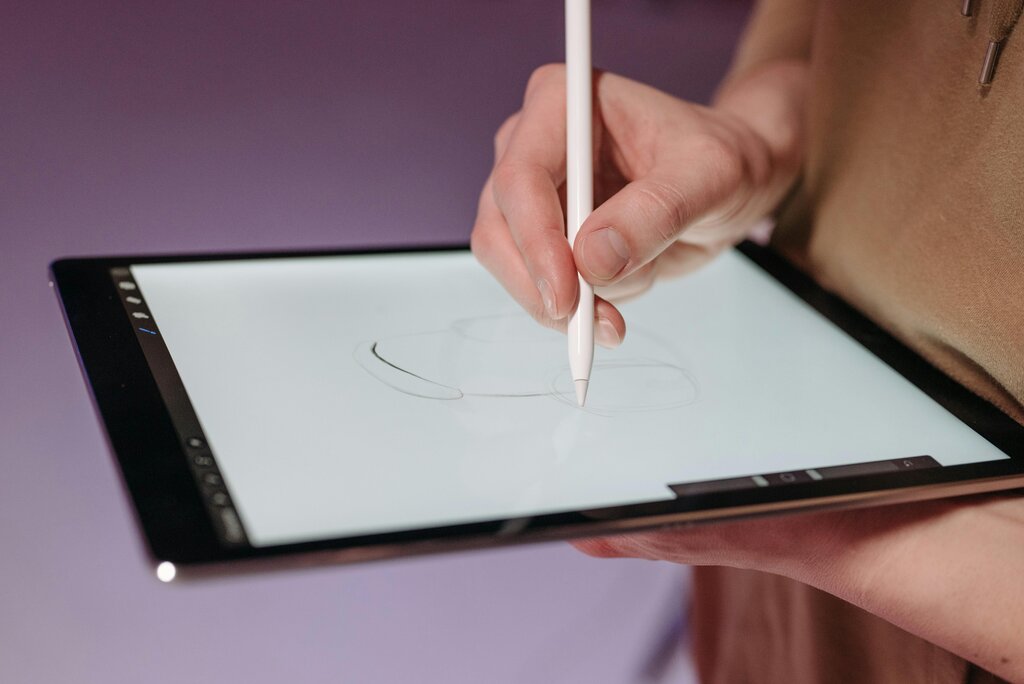
The Eraser tool works just like a brush. In fact, it is a brush. You can select any brush from your library to use as an eraser, allowing for interesting textures and effects when you remove pigment.
To change your color, tap the circle in the top-right corner. This opens the Color Panel. You can use the outer ring of the Color Disc to pick a hue and the circle inside to choose the saturation and brightness. Once you find a color you love, you can save it to a palette.
A quick tip: to undo a mistake, just tap the screen with two fingers. To redo, tap with three fingers. This is one of the most useful gesture controls you'll learn.
Working in Layers
Imagine drawing on clear sheets of plastic stacked on top of each other. That's how layers work. They let you separate elements of your drawing so you can edit one part without messing up another. For example, you can have your sketch on one layer and your final line art on a layer above it.
To access your layers, tap the Layers icon (two overlapping squares) in the top-right toolbar. You can add a new layer by tapping the plus (+) sign, and you can reorder them by tapping and holding a layer to drag it up or down in the stack. Your currently active layer will be highlighted in blue.
How do you create a new canvas to start a drawing in Procreate?
In the main drawing interface, where are your primary creative tools (Brush, Smudge, Eraser, Layers, Colors) located?
These are the fundamentals of Procreate. The best way to learn is to simply open a canvas and start drawing. Experiment with different brushes, colors, and layers, and don't forget to use that two-finger tap to undo anything you don't like.