DaVinci Resolve Essentials
Introduction to DaVinci Resolve
Your All-in-One Studio
DaVinci Resolve is more than just a video editor. It’s a complete post-production suite that professionals use for editing, color correction, visual effects, and audio mixing—all in one application. Originally famous for its powerful color grading tools, it has grown into a powerhouse for the entire filmmaking process.
Think of it like a workshop with different rooms for different tasks. You have a room for cutting and arranging your footage, another for painting it with color, one for creating special effects, and a soundproofed studio for audio. Resolve organizes these “rooms” into workspaces called Pages.
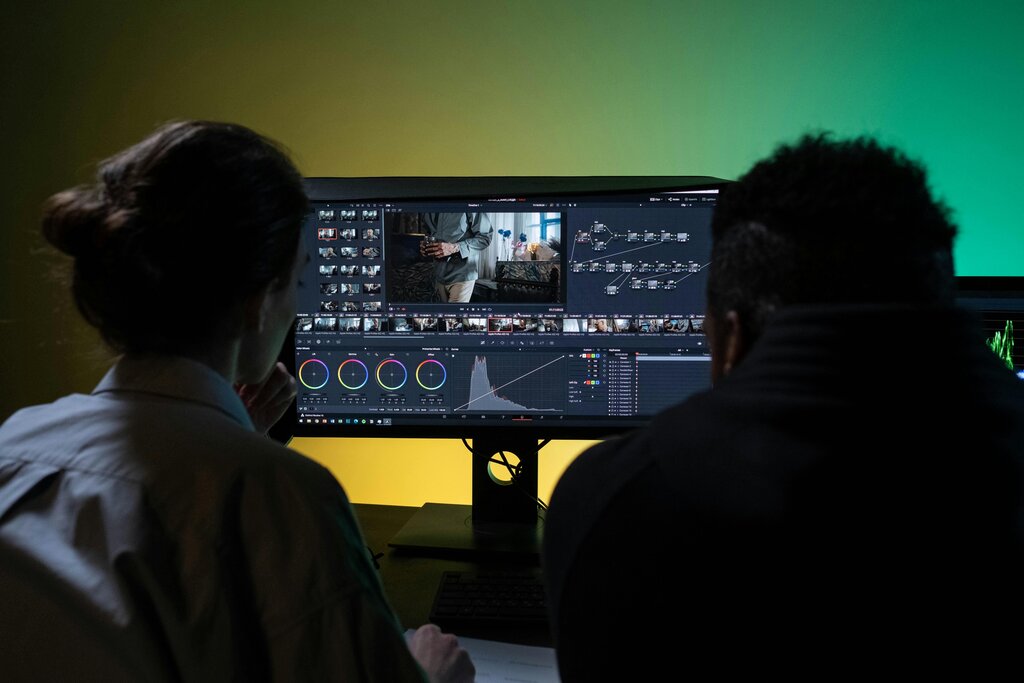
Meet the Workspaces
At the bottom of the DaVinci Resolve window, you'll see a series of buttons. These switch you between the different Pages. Each Page is a workspace optimized for a specific task. While you can do a little bit of everything on each page, they are designed to help you focus.
| Page | Icon | Primary Function |
|---|---|---|
| Media | Folder | Importing and organizing all your video and audio files. |
| Cut | Scissors | A streamlined interface for quickly assembling rough cuts. |
| Edit | Filmstrip | The traditional, powerful timeline for detailed editing. |
| Fusion | Magic Wand | Creating visual effects and motion graphics. |
| Color | Color Wheel | Advanced color correction and grading. |
| Fairlight | Faders | A full digital audio workstation for mixing and sound design. |
| Deliver | Rocket Ship | Exporting your final project in various formats. |
For now, we will focus on the foundational pages: Media and Edit. Mastering these is the first step to navigating Resolve with confidence.
Setting Up Your First Project
When you first open Resolve, you’ll see the Project Manager. This is where all your projects live. Think of it as a library, and each project is a book you're writing.
To start, double-click “Untitled Project.” The first thing you should do is save it with a descriptive name. Go to File > Save Project As... and give it a name like “My First Film.”
Next, let's configure the project settings. Click the gear icon in the bottom-right corner. Here, you can set your timeline resolution (like 1920x1080 for HD) and frame rate (like 24 fps for a cinematic look). It's best to match these settings to the footage you shot.
Pro Tip: Always set your project settings before you start editing. Changing them later can cause unexpected issues.
With the project created, it's time to bring in your media. Navigate to the Media Page. On the left side, you'll see a browser for your computer's files. Find your video and audio clips.
To import them, simply drag the files from the browser on the left into the Media Pool area on the right. The Media Pool is your project's storage bin. Everything you import will be available here, ready to be used in your edit.
bin
noun
A folder within the Media Pool used to organize clips. Creating bins for footage, audio, and graphics keeps your project tidy.
You can organize your Media Pool by creating bins. Right-click in the Media Pool and select “New Bin.” You can make bins for different scenes, types of shots (e.g., “Interviews,” “B-roll”), or audio files. Good organization now will save you a lot of headaches later.
Now that your project is set up and your media is imported, you're ready to start building your story. We'll move to the Edit Page for that next.
Ready to check your understanding?
What is the primary function of DaVinci Resolve?
In the DaVinci Resolve interface, what are 'Pages'?
You've taken the first step into a larger world of post-production. With a solid foundation in project setup and media management, you're prepared to tackle the art of editing.