Darktable 5.4 Photo Editing Essentials
Introduction to Darktable 5.4
Meet Your Digital Darkroom
Darktable is a powerful, open-source photography application. Think of it as a digital darkroom where you can manage your photo negatives (RAW files) and develop them into finished pictures. It's completely free and runs on Linux, Mac, and Windows.
Getting started is simple. Head over to the official Darktable website, download the correct version for your operating system, and run the installer. The process is straightforward, just like installing any other software.
Navigating the Workspace
When you first open Darktable, you'll see it's divided into a few key views. The two you'll use most are the 'lighttable' and the 'darkroom'.
These names come from traditional film photography. The light table was used to view and organize negatives, while the darkroom was where prints were developed.
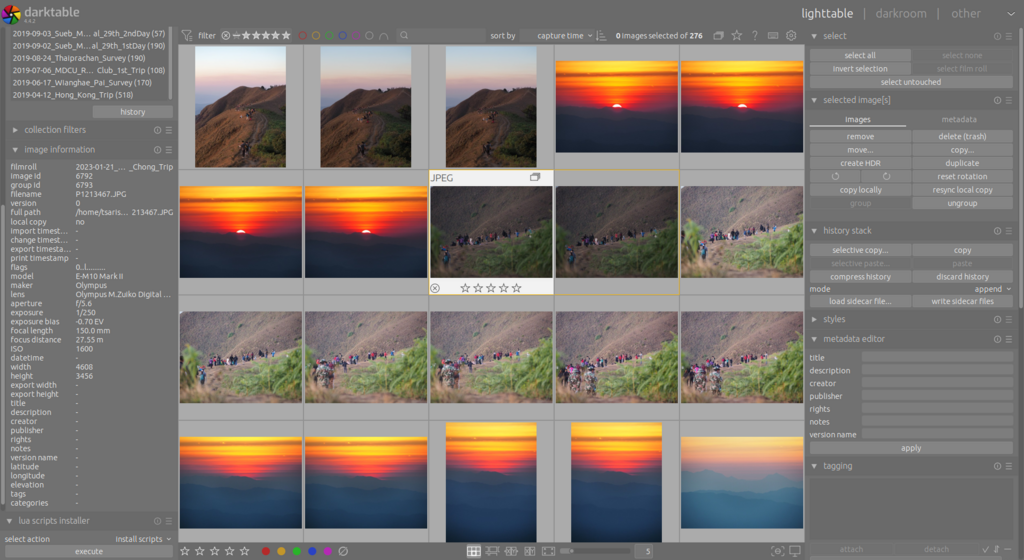
The lighttable is your management hub. Here, you'll see thumbnails of all the images you've imported. It’s where you organize your photos into collections, add ratings and keywords, and choose which image you want to edit next.
Once you've picked an image on the lighttable, double-clicking it takes you to the darkroom. This is where the magic happens. The darkroom view is dedicated to editing a single photo. On the right side, you'll find a wide array of modules for adjusting things like exposure, color, and sharpness. On the left, you can view a history of your edits.
A Basic Workflow
Let's walk through the fundamental process of working with an image in Darktable. It all starts with getting your photos into the software.
In the lighttable view, look for the 'import' button, usually on the top left. You can import from a memory card, a folder on your computer, or a connected camera. Once you select a source, Darktable will show you the images available. Choose the ones you want and click to import them.
After importing, you'll see your photos appear on the lighttable. Here's the typical flow:
- Import: Bring your photos into Darktable.
- Cull & Organize: In the lighttable, review your images. Use star ratings or color labels to mark your keepers and reject the ones you don't want.
- Edit: Double-click your chosen photo to open it in the darkroom. Make your adjustments using the modules.
- Export: Back in the lighttable, select the image (or images) you've finished editing. Use the 'export selected' module to save your final picture as a JPEG, TIFF, or other format.
A key feature of Darktable is non-destructive editing. Your original RAW files are never changed. Instead, Darktable saves a list of your edits and applies them when you export the photo.
That's the basic loop. As you get more comfortable, you'll discover the immense power packed into each of Darktable's modules, but this simple workflow is the foundation for everything you'll do.
Ready to test your knowledge? Let's see what you've learned about getting started with Darktable.
What is the primary function of the Darktable application?
In which Darktable view would you organize your photos and add star ratings?
You now have a solid grasp of the Darktable interface and its core workflow. The next step is to import some of your own photos and start exploring.