Crocheting Fundamentals
Getting Started
Choosing Your Tools
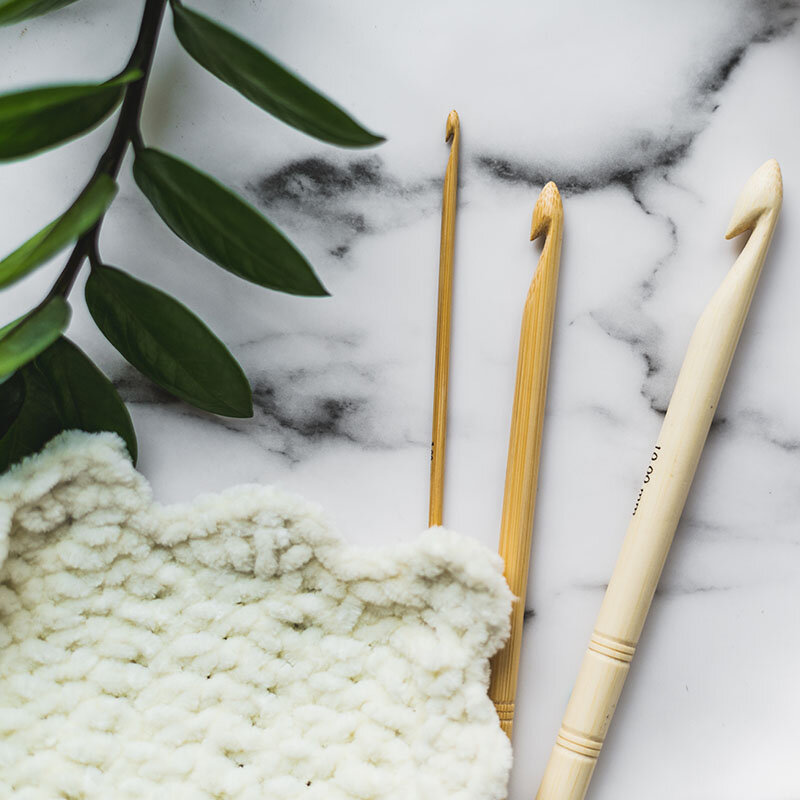
Before you can make your first stitch, you need two basic things: a crochet hook and some yarn. They work together, so it's important to match the right hook size to the right yarn weight.
Start with basic supplies: a comfortable hook, affordable acrylic yarn in a light color, and scissors.
Yarn comes in different thicknesses, known as weights. A thin yarn, like lace weight, creates delicate fabric, while a thick, bulky yarn makes chunky, warm items. The yarn label will tell you its weight and suggest a hook size to use with it. Hook sizes are usually given in millimeters (mm) or with a letter/number system in the US.
| Yarn Weight Category | Common Types | Recommended Hook Size (US) | Recommended Hook Size (Metric) |
|---|---|---|---|
| 0 - Lace | Fingering, Cobweb | B-1 | 2.25 mm |
| 1 - Super Fine | Sock, Fingering | C-2 to E-4 | 2.75 to 3.5 mm |
| 2 - Fine | Sport, Baby | E-4 to 7 | 3.5 to 4.5 mm |
| 3 - Light | DK, Light Worsted | 7 to I-9 | 4.5 to 5.5 mm |
| 4 - Medium | Worsted, Aran | I-9 to K-10.5 | 5.5 to 6.5 mm |
| 5 - Bulky | Chunky, Craft | K-10.5 to M-13 | 6.5 to 9 mm |
| 6 - Super Bulky | Roving | M-13 to Q | 9 to 15 mm |
For your first project, it's easiest to start in the middle. A medium-weight yarn (often called worsted or size 4) paired with a 5mm (H-8) or 6mm (J-10) hook is a great combination. Light-colored yarn is also helpful because it makes it easier to see your stitches as you learn.
Getting the Right Grip
How you hold your tools is a matter of comfort. There's no single "right" way, but there are two common methods for holding the crochet hook. Try both and see which feels more natural.
The Pencil Grip: Hold the hook as you would a pencil, with your thumb and index finger gripping the flat part (the thumb rest) and the rest of the hook resting on your middle finger.
The Knife Grip: Hold the hook like a knife, with your hand over the hook and your index finger resting on top for control.
Just as important is how you hold your yarn. The goal is to create consistent tension. If the yarn is too loose, your stitches will be floppy; too tight, and you'll struggle to move your hook. A common method is to weave the yarn through the fingers of your non-dominant hand. For a right-handed crocheter, this is the left hand.
Loop the yarn over your pinky finger, go under your ring and middle fingers, and then over your index finger. This setup allows the yarn to feed smoothly as you work while giving you control over the tension by gently pinching the yarn between your thumb and middle finger.
The First Knot
Every crochet project begins with a slip knot. This is an adjustable loop that you place on your hook to get started. Here's how to make one.
Lay the yarn down, making a loop with the tail end on top of the working yarn (the yarn coming from the ball). Insert your hook through the center of the loop, grab the working yarn, and pull it back through the loop. Then, pull on both ends of the yarn to tighten the knot onto your hook. The loop should be snug but still able to slide easily.