Crafting Your Own Ice Latte Candles
Introduction to Candle Making
Choosing Your Wax
The heart of any candle is its wax. The type you choose affects how your candle burns, how it smells, and how it looks. Think of it as the foundation of your project. There are several options, but a few are perfect for beginners.
Selecting the wax is crucial when it comes to candle making.
Paraffin wax is a classic choice. It's inexpensive and holds fragrance and color very well. However, it's a byproduct of petroleum, which is a concern for some people.
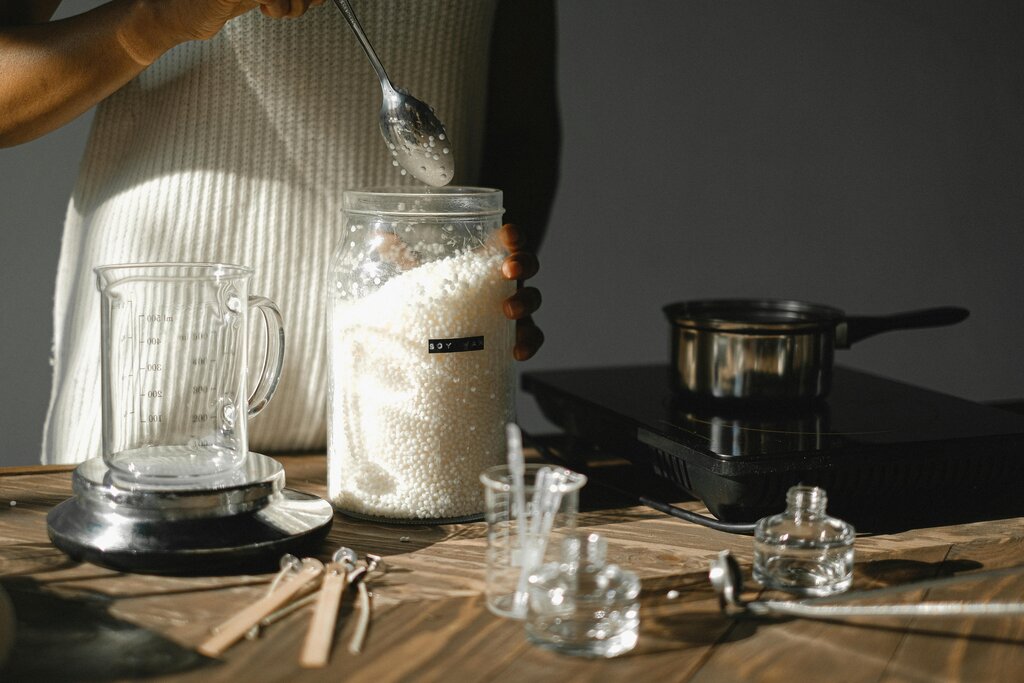
Soy wax is a popular natural alternative. Made from soybeans, it's a renewable resource that burns cleaner and longer than paraffin. It’s known for having a good “scent throw,” meaning it releases fragrance effectively. It’s also easy to clean up with just soap and water.
Beeswax is another natural option, prized for its subtle, sweet honey scent and beautiful golden color. It’s a harder wax and has a higher melting point, resulting in a very long burn time. Beeswax is often considered a premium choice and is more expensive.
| Wax Type | Source | Scent Throw | Burn Time | Notes for Beginners |
|---|---|---|---|---|
| Paraffin | Petroleum | Excellent | Standard | Inexpensive and easy to color. |
| Soy | Soybeans | Very Good | Long | Natural, burns cleanly, easy cleanup. |
| Beeswax | Bees | Natural Honey Scent | Very Long | Premium, natural, and purifies the air. |
Essential Tools and Equipment
You don't need a lot of fancy gear to start making candles, but having the right tools makes the process smoother and safer. Here’s what you’ll need to get started.
First, you need something to melt the wax in. A dedicated melting and pouring pot is ideal. Many are designed to fit inside a larger pot of water, creating a double boiler. This setup gently melts the wax and prevents it from getting too hot.
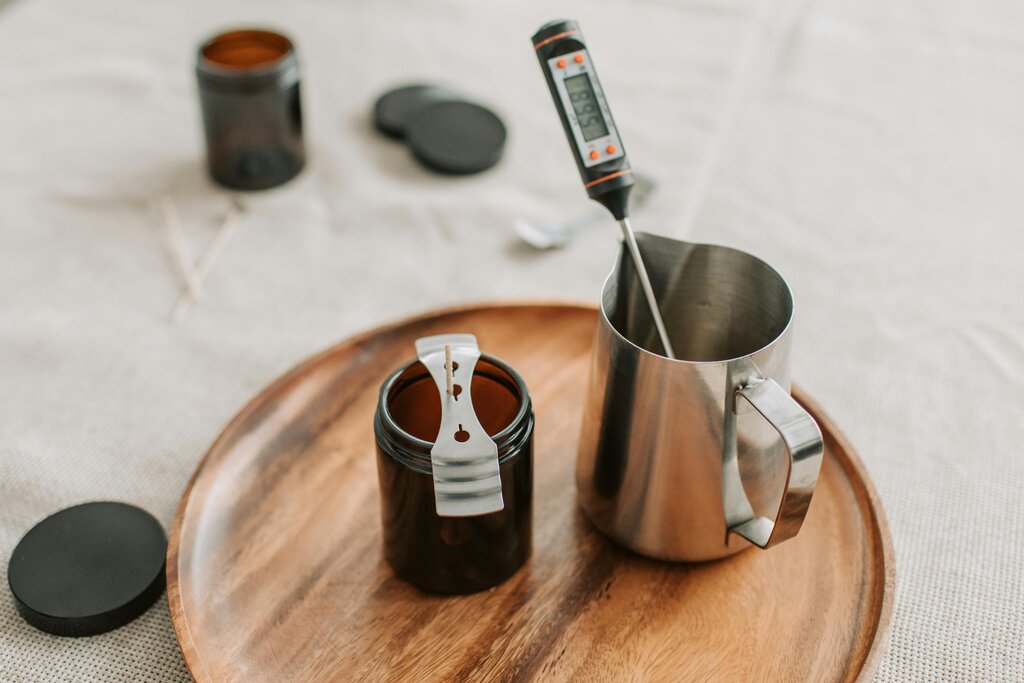
Next, a thermometer is essential for monitoring the wax temperature. Different waxes need to be heated to specific temperatures for adding fragrance and for pouring. A digital candy or meat thermometer works perfectly.
A kitchen scale is crucial for accuracy. Candle making is a bit like baking; precise measurements of wax and fragrance oil lead to consistent results. You'll also need wicks, which come in various sizes. The right wick size depends on the diameter of your container and the type of wax you're using. A wick that's too small will tunnel, while one that's too large will create too much smoke and soot.
Finally, you'll need containers for your candles. Glass jars, tins, or ceramic pots are all great options. Just make sure they are heat-safe. Wick centering tools or even clothespins can help hold the wick in place while the wax sets.
Safety First
Working with hot wax requires your full attention. Safety should always be your top priority.
Never leave melting wax unattended. Wax is flammable, and it can catch fire if it gets too hot. Always use a thermometer to keep an eye on the temperature and never heat wax directly on a stovetop. A double boiler is the safest method.
Protect your workspace by covering surfaces with newspaper or a drop cloth. Wear old clothes and consider safety goggles to protect your eyes from splashes. Keep oven mitts handy for handling the hot pot.
Always work in a well-ventilated area to avoid inhaling fumes, especially if you're using fragrance oils. Keep children and pets away from your work area. Finally, have a fire extinguisher nearby just in case. Water should never be used to put out a wax fire, as it can cause the hot wax to splatter and spread the flames.
Think of it this way: if it's too hot to touch, it's too hot to be careless with. Treat hot wax with the same respect you'd give a pot of boiling water.
The Basic Process
Once you have your wax, tools, and a safe workspace, the process itself is straightforward. Here’s a quick overview of the steps you'll follow.
-
Melt the Wax: Measure your wax using a scale and melt it gently in a double boiler. Keep your thermometer in the pot to monitor the temperature.
-
Prepare Your Container: While the wax melts, secure a wick to the bottom center of your container. You can use a wick sticker or a dab of hot glue. Use a centering tool or clothespin to hold the top of the wick straight and centered.
-
Add Fragrance and Color: Once the wax reaches the correct temperature, remove it from the heat. This is the time to add any fragrance oils or dye. Stir gently but thoroughly for about a minute to ensure everything is well mixed.
-
Pour the Wax: Let the wax cool to the recommended pouring temperature. Pour it slowly and steadily into your prepared container, avoiding splashes.
-
Let it Cure: Allow the candle to cool and solidify completely at room temperature. This can take several hours. Avoid putting it in the fridge or freezer to speed up the process, as this can cause cracking.
-
Trim the Wick: Once the candle is fully set, trim the wick to about a quarter of an inch before lighting. A properly trimmed wick ensures a clean, safe burn.
Now that you've reviewed the essential materials, tools, and steps, let's solidify your knowledge.
Time to test what you've learned. This short quiz will cover the basics we've just discussed.
Which type of wax is a petroleum byproduct known for holding fragrance and color well?
Why is a double boiler the recommended method for melting candle wax?
With these fundamentals, you're ready to start your candle making journey. Happy crafting!