Configuring RepRapFirmware for Performance
Board Architecture Selection
Matching Firmware to Your Board
Before you can configure your printer, you need to tell the software exactly what hardware it's working with. This initial step is critical. It ensures that every command the firmware sends is correctly interpreted by your specific controller board. Think of it as telling a new hire which office they're in before giving them their first task.
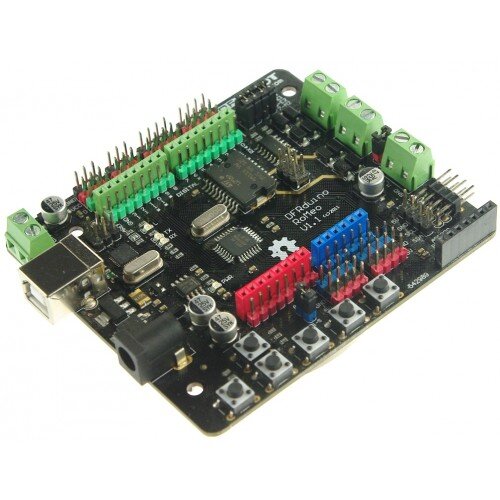
The first choice in the RepRapFirmware configuration tool is selecting your board. This isn't just a label; it preloads a template based on the board's known capabilities. Common options include the Duet 2 WiFi, the Duet 3 Mini 5+, and the powerful Duet 3 Main Board 6HC. Each has a different number of stepper motor drivers, heater outputs, and expansion capabilities.
It's also essential to select the correct firmware version. You should almost always choose the latest stable version of RRF 3.x. The move from version 2.x to 3.x was a major leap, introducing a more flexible system for assigning functions to pins. With RRF 3.x, you aren't locked into predefined roles for each connector. This means you can repurpose a fan output to control a small motor or use a spare thermistor input for a filament sensor, all through software.
Defining Your Machine's Movement
Next, you'll define your printer's kinematics. This is the system of motors, belts, and rails that moves the print head. The firmware needs to know this to translate a command like "move to X=10, Y=20" into the correct motor rotations. The three most common types are Cartesian, CoreXY, and Delta.
| Kinematic Type | Description |
|---|---|
| Cartesian | The simplest system. The X, Y, and Z axes are independent, each controlled by its own motor. Think of a standard gantry crane. |
| CoreXY | A more complex belt system where both the X and Y motors work together to move the print head in both axes. This design keeps the motors stationary, reducing moving mass and allowing for faster acceleration. |
| Delta | Uses three vertical arms to control the print head's position. All three motors work in concert for every movement, requiring more complex calculations but offering potential for very fast printing in a cylindrical build volume. |
Your choice here fundamentally changes the M584 (Drive Mapping) and M669 (Kinematics Configuration) commands in your final configuration files. Selecting a CoreXY system, for example, tells the firmware that rotating the 'A' motor moves the head diagonally, not just along one axis.
After selecting the kinematics, you must specify your machine's physical limits. This includes the maximum travel for each axis (your build volume) and the positions of the endstops, which tell the printer where 'home' is. These values populate the M208 (Set Axis Limits) command. Getting these wrong can lead to the printer trying to move beyond its physical frame, causing loud noises and potential damage.
Expansion and Pin Mapping
Modern Duet 3 boards are designed for expansion. The Duet 3 Main Board 6HC, for instance, has six high-current stepper drivers onboard but can control many more using expansion boards. These connect over a dedicated bus called and allow you to add more motors, heaters, fans, and sensors without replacing your main controller.
When you add an expansion board in the configurator, you're telling the firmware to look for devices at a specific CAN address. This is also where the power of 3.x's pin mapping shines. An extruder motor on an expansion board isn't just 'E1'; it's assigned a specific pin name like 1.motor0 (motor 0 on the board at CAN address 1). This explicit addressing prevents conflicts and makes troubleshooting a large system much easier.
Always start with the basics: get your main board and primary axes configured and tested before adding expansion boards. This isolates problems and simplifies debugging.
This foundational setup—matching the board, defining kinematics, and setting physical limits—creates the digital blueprint of your machine. Every subsequent step in the configuration process builds upon this core definition.
What is the primary reason for selecting the specific controller board at the beginning of the RepRapFirmware configuration process?
According to the documentation, which major advantage does RepRapFirmware 3.x have over version 2.x?