Colorizing Old Photos
Introduction to Photo Restoration
Breathing Life into Old Photos
Old photographs are more than just paper and chemicals. They are windows to the past, holding memories of people, places, and moments. They connect us to our family histories and to the world as it once was. But time isn't always kind to them.
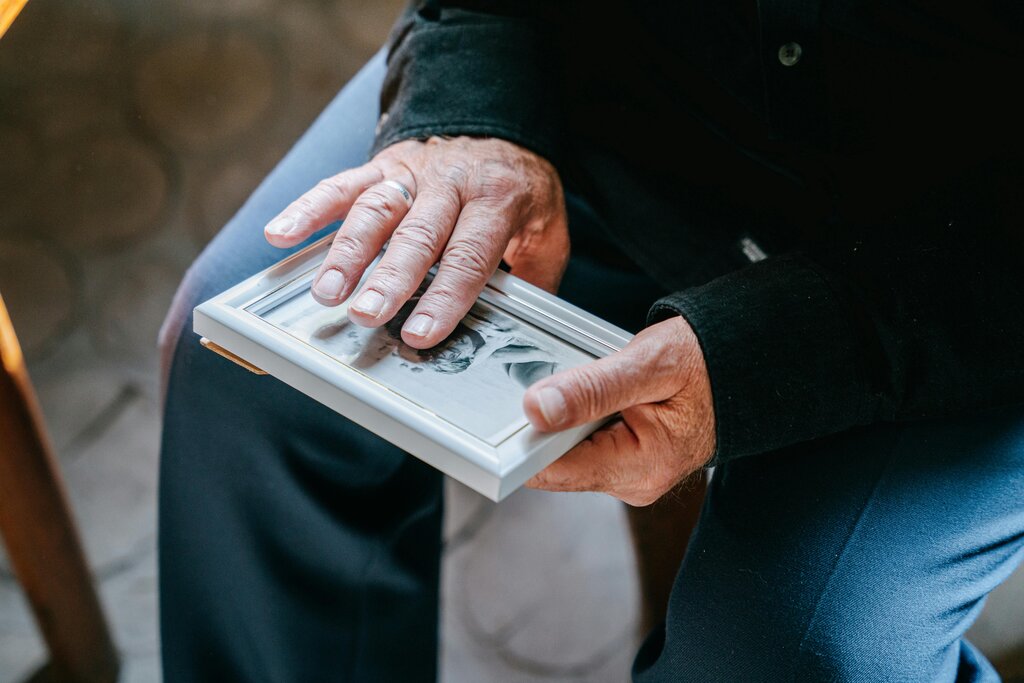
Photo restoration is the art of turning back the clock. It's a process that carefully repairs the damage caused by age, environment, or accident. The goal is not to create something new, but to preserve the original story and emotion captured in the image. It allows future generations to see faces and moments that might otherwise be lost to time.
The Ravages of Time
Photographs are fragile. Over decades, they can suffer from a variety of issues. Understanding the type of damage is the first step in knowing how to fix it.
| Type of Damage | Description |
|---|---|
| Fading & Discoloration | Colors wash out or shift, often turning sepia, yellow, or magenta due to light exposure and chemical breakdown. |
| Scratches & Abrasions | Fine lines, deep gouges, or scuffs on the photo's surface from handling or improper storage. |
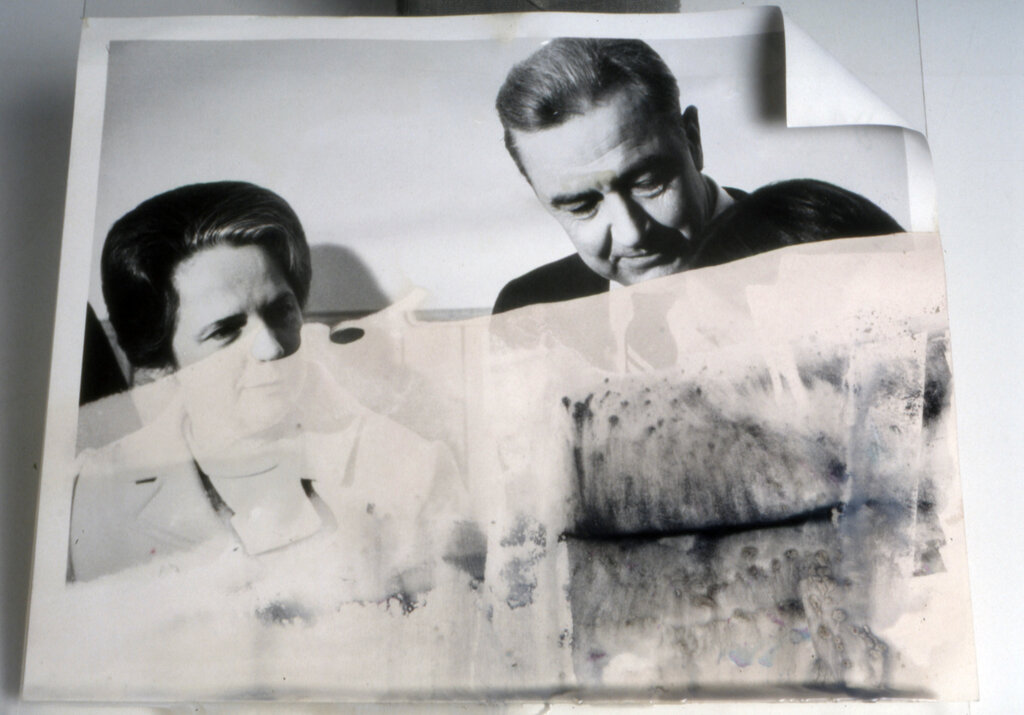
| Stains & Water Damage | Splotches, spots, or tide lines caused by moisture, mold, or spills. This can cause the photo emulsion to stick to glass. |
| Creases & Tears | Physical damage like folds, rips, or missing pieces that break the image and the paper base. |
Some damage is minor, like a few light scratches. Other issues, like severe water damage, can threaten to erase the image entirely. Each faded color or torn edge tells a story of the photograph's journey through the years.
The Restoration Journey
Restoring a photograph follows a clear path. While the specific tools can get complex, the overall process is straightforward. It's a journey from a damaged original to a preserved digital master.
1. Assess: The first step is to carefully examine the original photo. What kind of damage is present? Are there scratches, stains, or fading? Is the paper torn or creased? This initial analysis creates a roadmap for the entire restoration.
2. Digitize: Before any repairs begin, the photograph is scanned to create a high-quality digital copy. This is a critical step. The digital file becomes the canvas for all restoration work, ensuring the original, physical photo is handled as little as possible and remains unaltered.
3. Restore: This is where the repair work happens. Using digital tools, a restorer patiently fixes each imperfection identified during the assessment. Scratches are filled in, colors are balanced, and tears are mended. It’s a meticulous process that combines technical skill with an artistic eye.
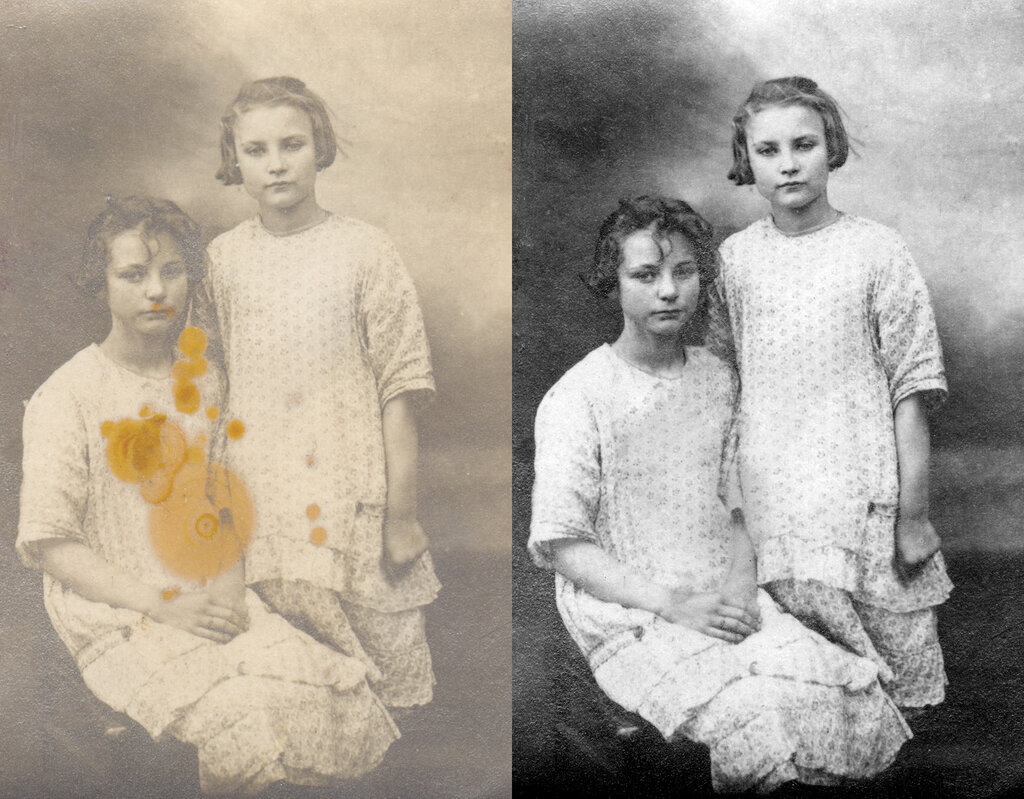
Each step is done with care, respecting the original photograph while working to bring its hidden beauty back to the surface.
Digitizing old photos, letters, and keepsakes allows you to preserve cherished memories while reclaiming physical space in your home.
Ready to test what you've learned about the basics of photo restoration?
What is the primary goal of photo restoration?
According to the described process, what is the very first step a restorer should take with a damaged photograph?
By understanding these core concepts, you've taken the first step toward preserving important visual memories for years to come.